How to Fix a Broken LED in a Shower Head
ID: 173959
Description: When you start noticing low pressure in your...
Steps:
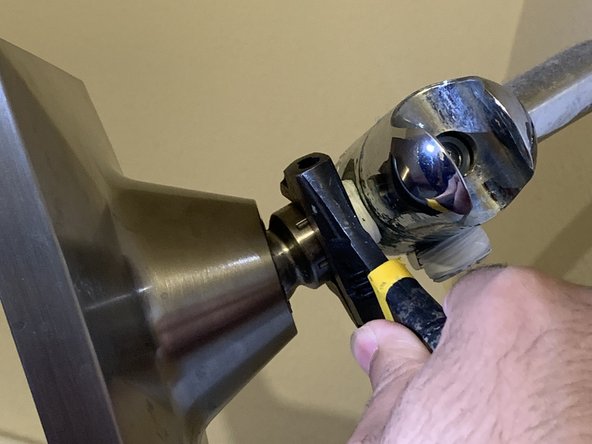
- Fit a 6-inch adjustable wrench to the shower head bracket.
- Move the wrench clockwise to loosen the shower head from the bracket.
- Apply as little pressure as possible to the shower bracket, as too much pressure can damage the attached metal.
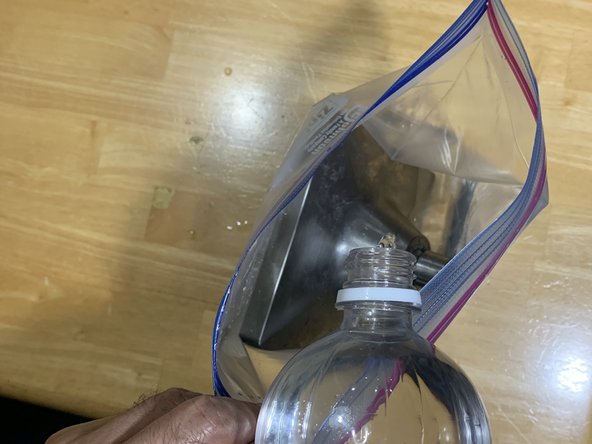
- Add water to a plastic freezer bag, then add the shower head to the bag.
- Add about one cup of distilled white vinegar to the plastic bag. Seal the plastic bag, and let the shower head rest for about two hours.
- Depending on the severity of the mineral deposits, you can let the showerhead rest in the solution for up to 8 hours.
- Be careful when using distilled white vinegar as it can leave stains; also, be careful when pouring it, as it can cause damage if the solution gets into your eye.
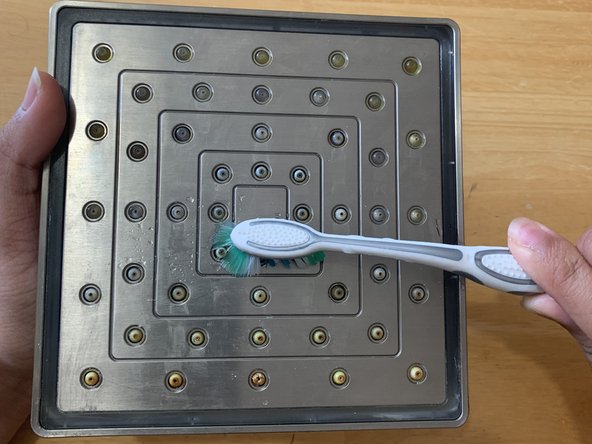
- Use a soft bristle brush to clear mineral deposits stuck to cones or on the shower head.
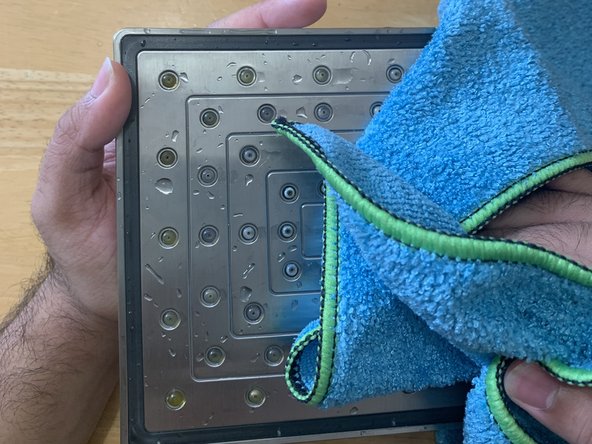
- Use a microfiber cloth to brush and dry without streaking on the steel.
- Use a heavy-duty sewing needle to clean the inner cones, penetrate the shower head cones, and remove mineral deposits.
- Using a flicking motion, remove the obstructions in the holes.
- You can use a sewing or fine needle to get into smaller holes.
- You can use nitrile gloves to get a better hold on the sewing needle and increase grip and traction.
- Be cautious when using any sharps, as needles can easily penetrate human skin.
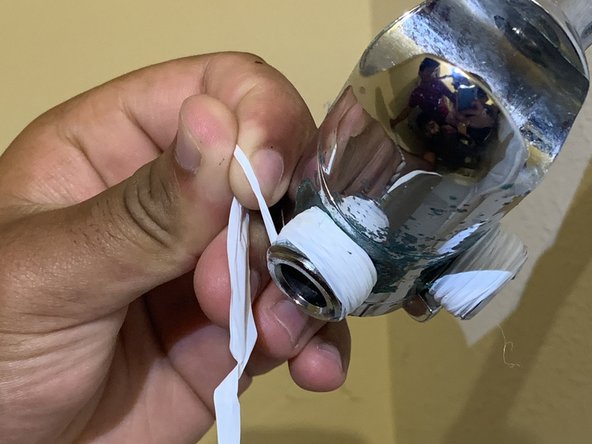
- Use a 1/2 inch piece of thread seal tape to wrap around the bracket nozzle; go clockwise when wrapping to follow the circular indents in the nozzle.
- The sealing tape is necessary to keep water pressure tight and prevent leakage.
- Using the 6-inch Wrench, get a grip on the showerhead bracket.
- Using counter-clockwise motion with the wrench, tighten the bracket onto the nozzle.
- When the shower head is back on the nozzle, turn on the hot water to remove any leftover vinegar and any other minerals from the inside.