How to Install an M.2 SSD in a UGREEN NASync Series DXP6800 Pro/DXP8800 Plus
ID: 173979
Description: Use this guide to install an M.2 SSD on a...
Steps:
- Power off the NAS device, then turn it over.
- Before inserting or removing any hard drive (including M.2 SSDs) and/or Memory module(s), please power off the device and disconnect if from its power supply.
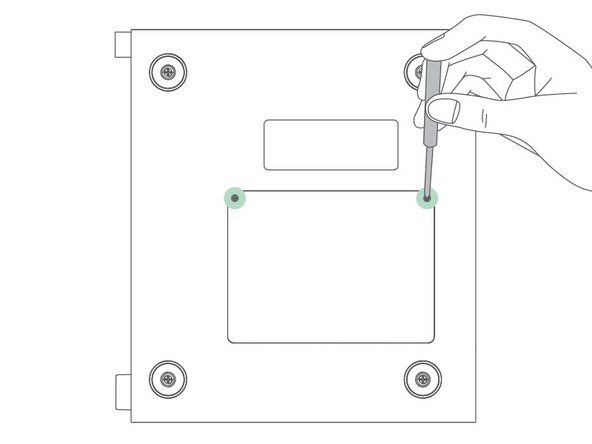
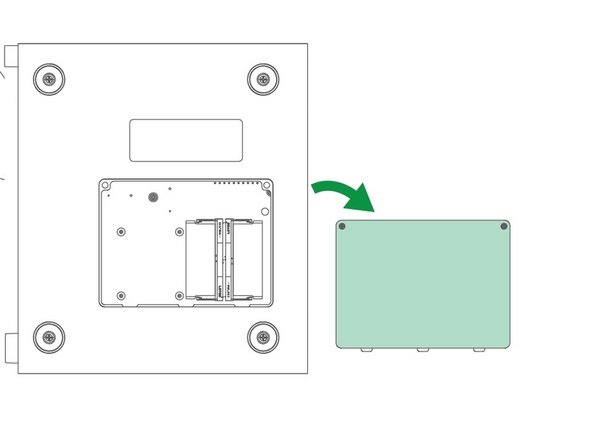
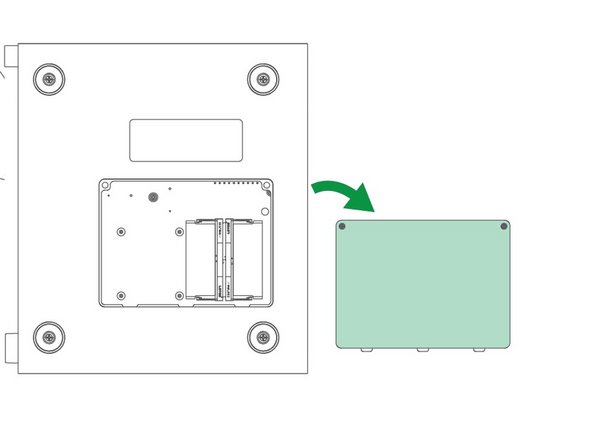
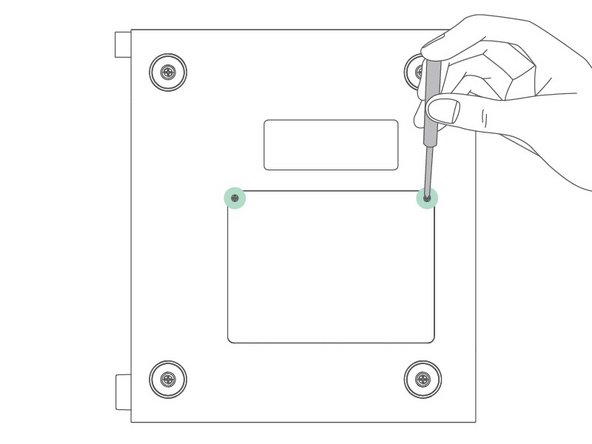
- Using a small Phillips screwdriver proceed to loosen the screws and remove the bottom panel.
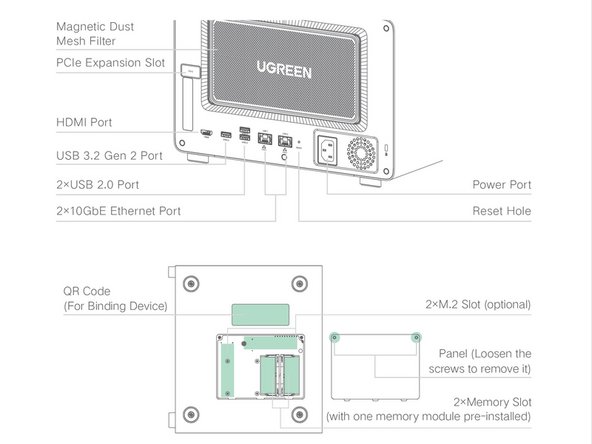
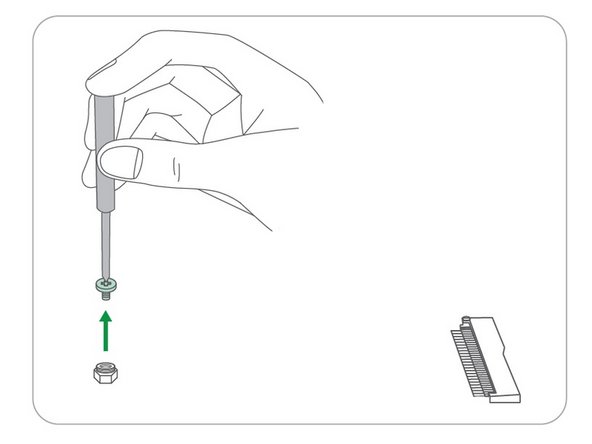
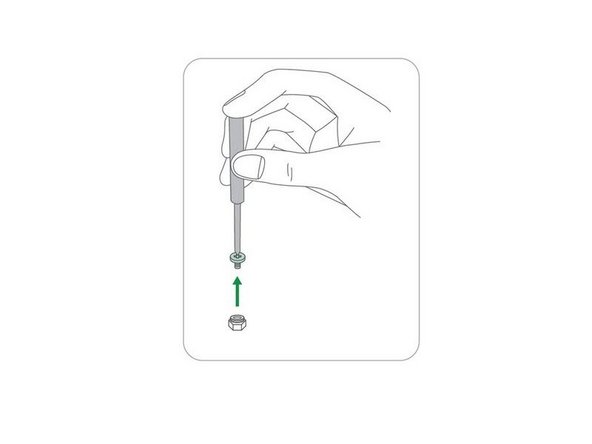
- After the panel has been removed. Locate the M.2 fixing screw(s) on the circuit board, as shown in the image. Proceed to unscrew the M.2 fixing screw(s).
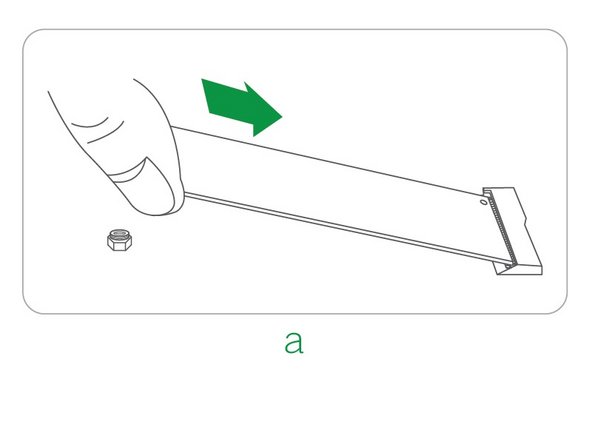
- Insert the M.2 SSD into the slot based on the direction shown in image a.
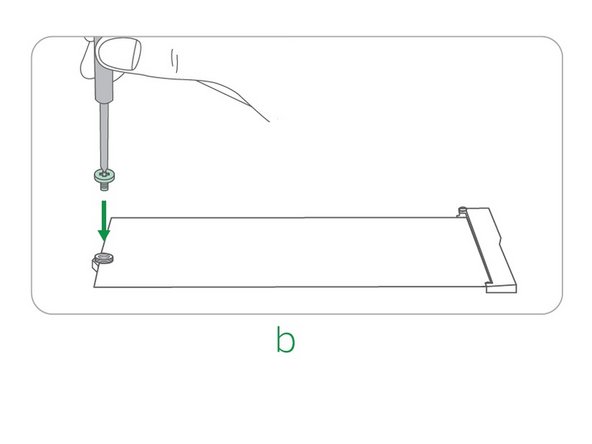
- Once in place, proceed to tighten the fixing screw(s) as shown in image b.
- Please take proper care in tightening the screws and do not overtighten.
- If your M.2 SSD came pre-installed with a heatsink, make sure to check to see if it’s compatible with your UGREEN NASync Series NAS's specifications prior to installation.
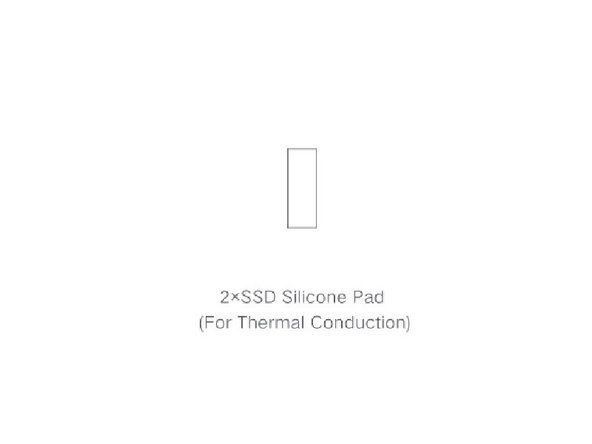
- While some M.2 SSDs come pre-installed with heatsinks, many do not. Attaching the UGREEN NASync silicone/thermal pad will help dissipate heat more effectively, keeping the SSD’s temperature within safe limits and allowing it to consistently perform at its best.
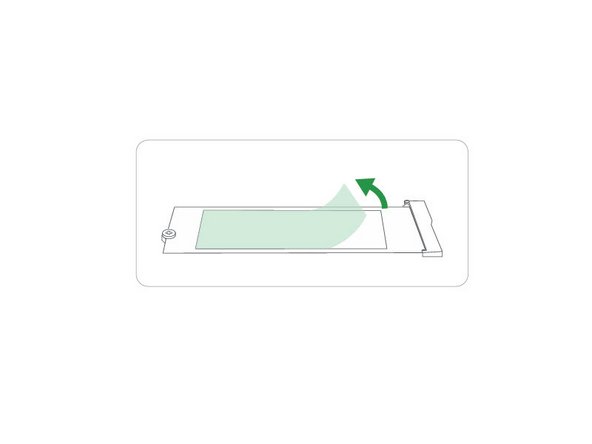
- Using a pair of tweezers or your fingers, proceed to peel off one side of the protective film away from the silicone/thermal pad.
- Align the exposed side of the silicone/thermal pad with the top-facing surface of the M.2 SSD, then proceed to lay the silicone/thermal pad on the surface of the M.2 SSD.
- Use your finger(s) to lightly press down on the silisone/thermal pad to adhere it to the surface.
- The opposite side will come in contact with the bottom panel, which doubles as a heatsink for the M.2 Solid State Drive(s).
- Proceed to replace the bottom panel, then using a small Phillips head screwdriver, tighten the screws.
- Once you have tightened the screws, you're ready to reconnect the power cord, network adapter and power on the device.
