How to Patch a Hole in the “Furry” Side of an Air Mattress
ID: 174126
Description: Most air mattresses have velour or "flocking"...
Steps:
- Lay the deflated air mattress on a flat and clean space.
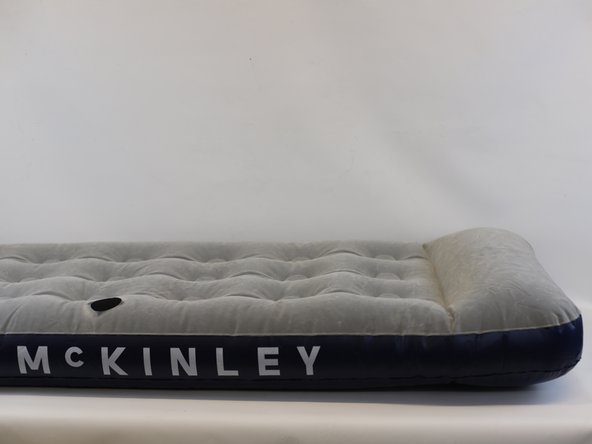
- Locate the hole that needs to be fixed (red circle), and prepare the main tools to be used.
- Note: In this example we have used a new blade from a utility knife (yellow arrow), but a new shaving razor can be used instead.
- Flatten the area around the hole to make it smooth as possible.
- Start to "shave" the fur towards you (red arrows).
- Note: You will notice that the "shaved" area will start to become darker and that "fur dust" will accumulate at the edge of the repair area, this is completely normal.
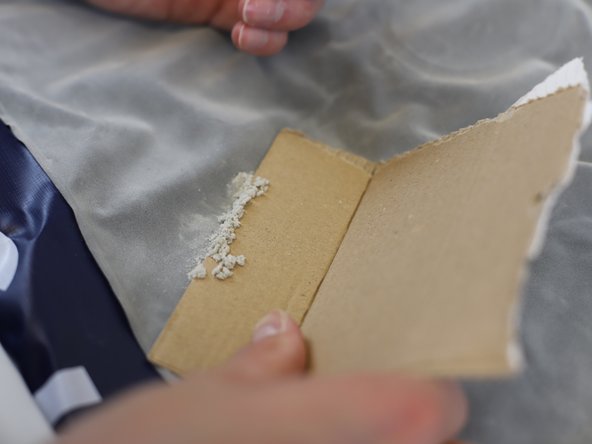
- Use a piece of paper or cardboard to collect the "fur dust".
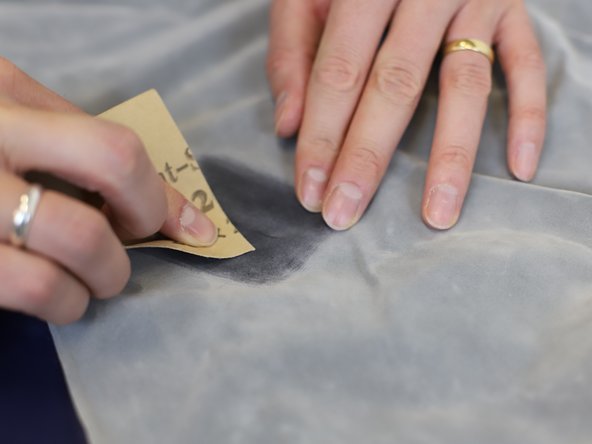
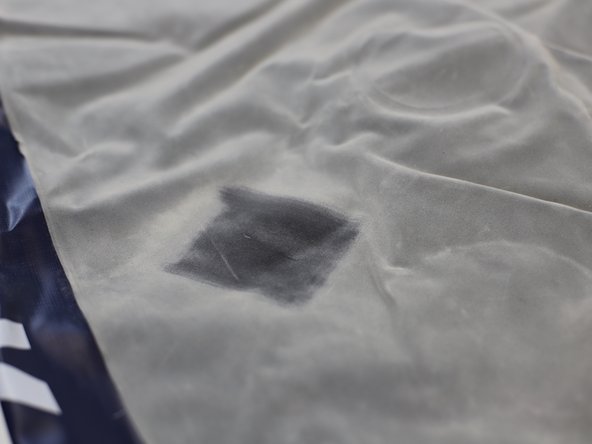
- Once all the "dust" has been collected, sand the "shaved" area until the texture is rough and no longer "furry".
- Note: This step is key to ensure the adhesion of the patch.
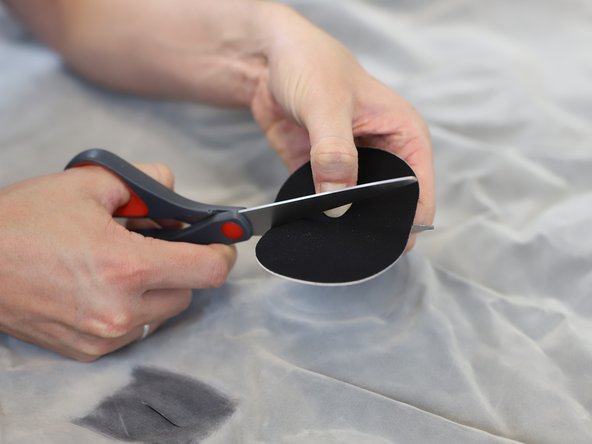
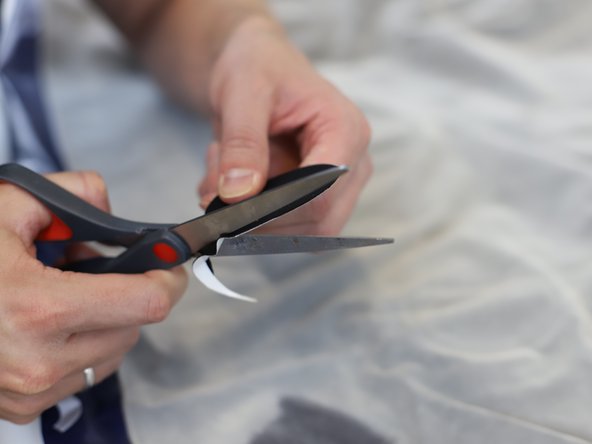
- Cut the patch to fit the size of the repair.
- Tip: Ensure that the patch it is large enough to cover the hole. As an approximate guide, the patch should be 10mm wider than the hole on all sides.
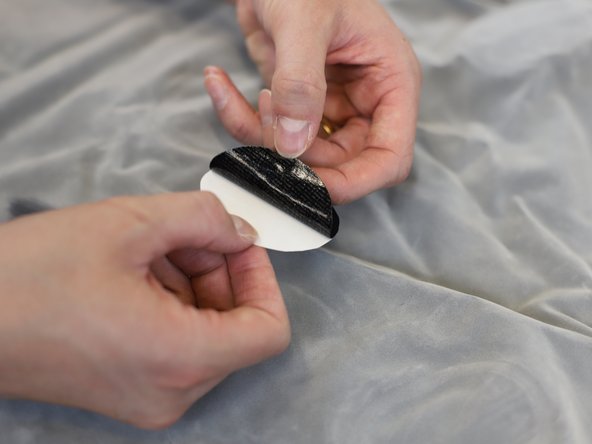
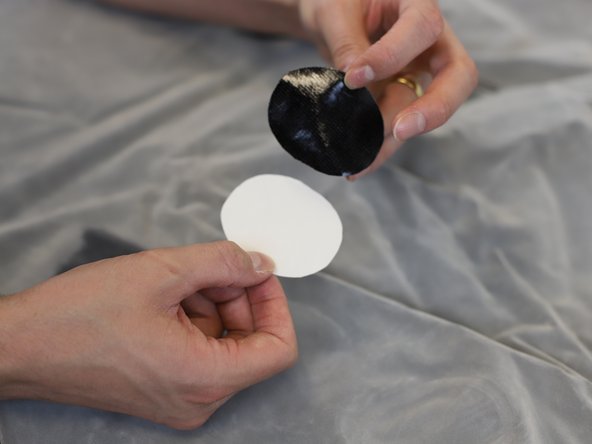
- Carefully remove the patch from the backing paper liner. Avoid touching the adhesive surface too much, as this will reduce the durability of the repair.
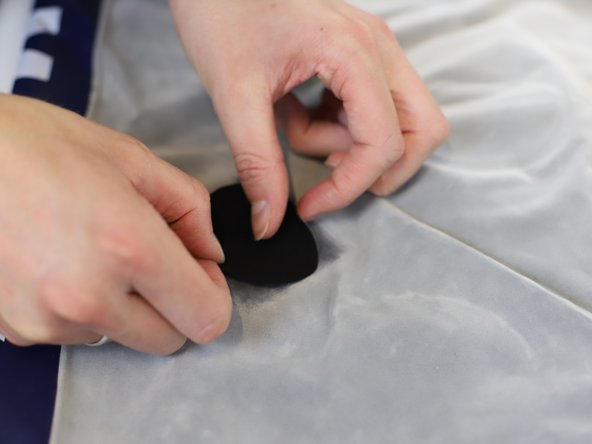
- Place the first side of the patch onto the mattress and apply pressure with a slow and careful movement.
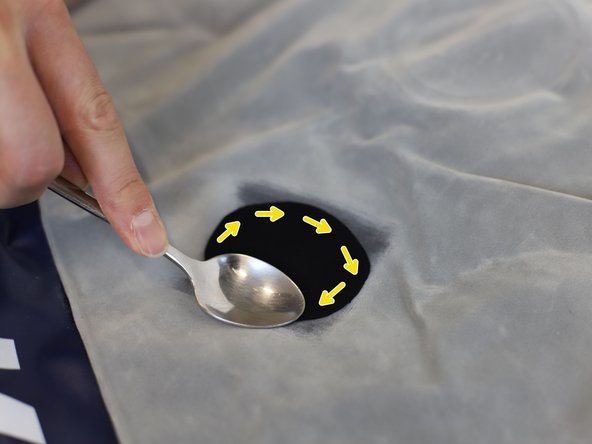
- Continue to apply pressure, this time use a spoon and move it in circular motion (yellow arrows).
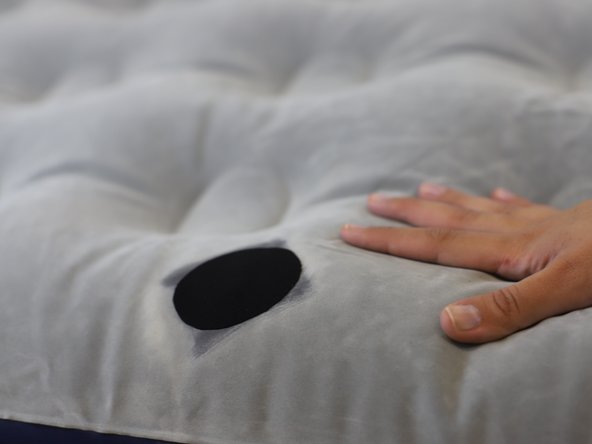
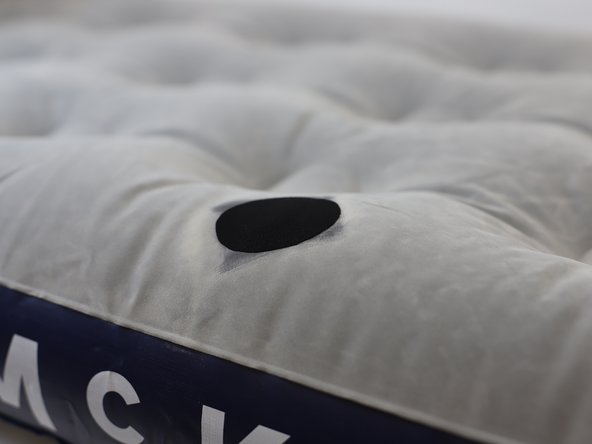
- Use an air pump to inflate the air mattress and check the repair.
- Note: To verify that the fix is working correctly, you can apply pressure with one hand next to the patch and check if it stays firm.
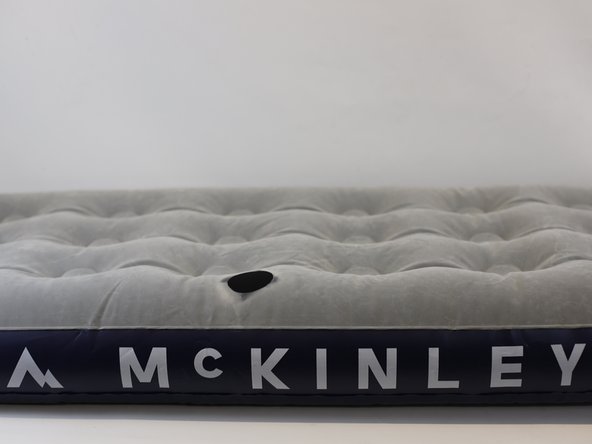
- 🛠️🏆👏 Congratulations! The repair is complete, and you're ready to go!