How to Replace the Tip of a Hiking Pole
ID: 174277
Description: Replacing a worn tip is a simple process that...
Steps:
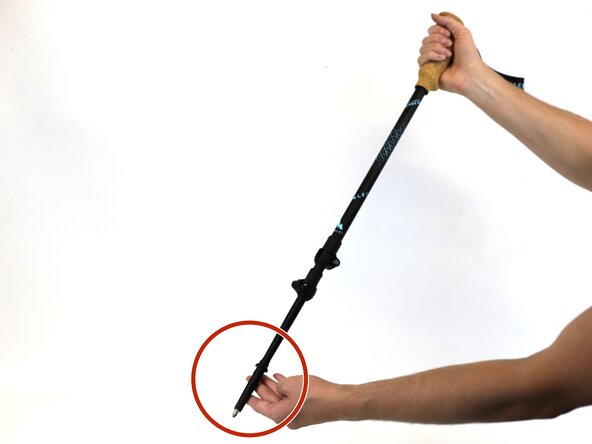
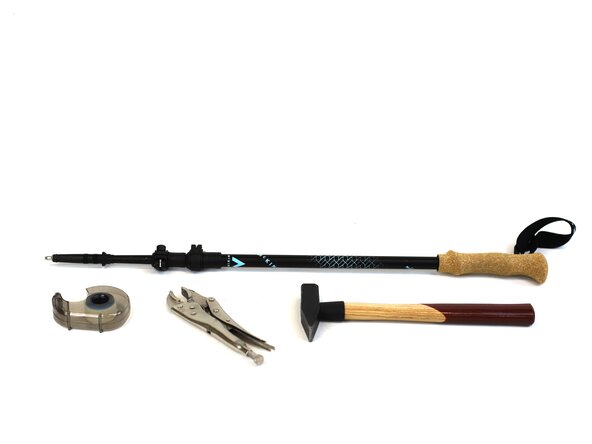
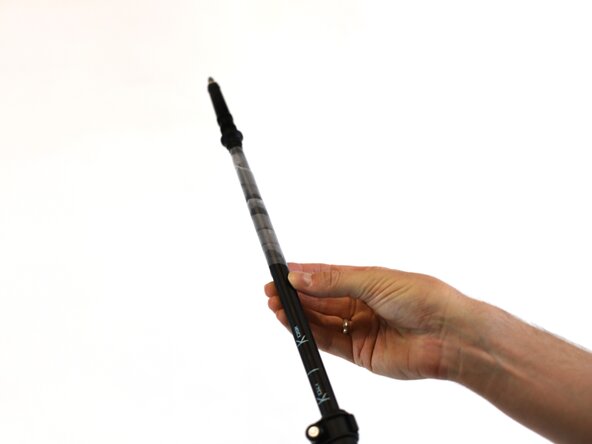
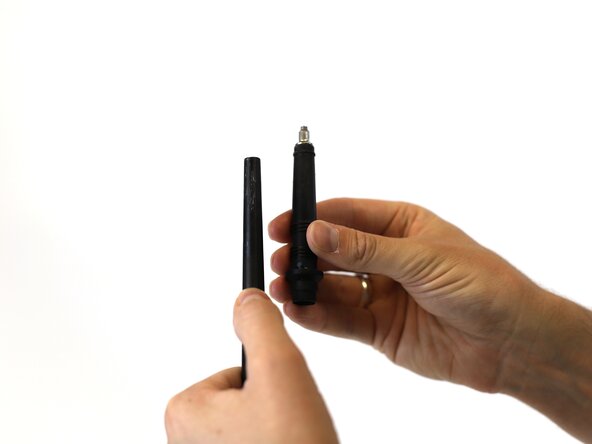
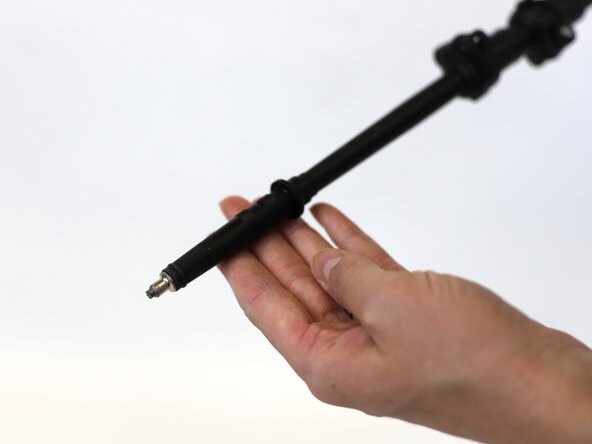
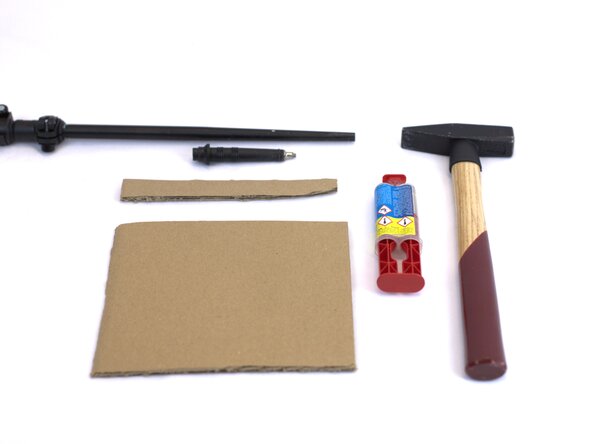
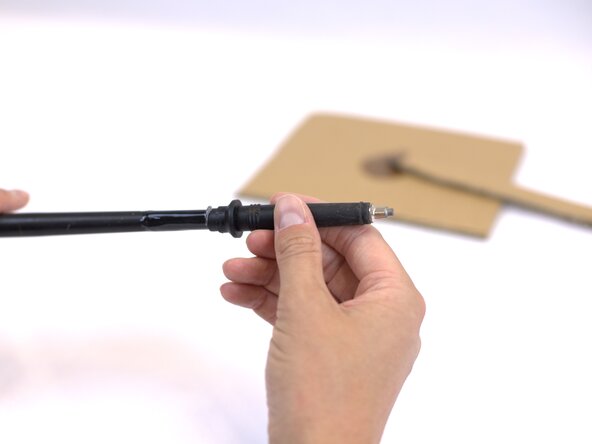
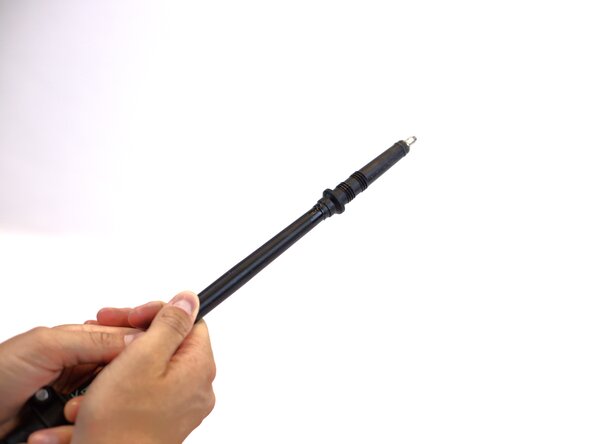
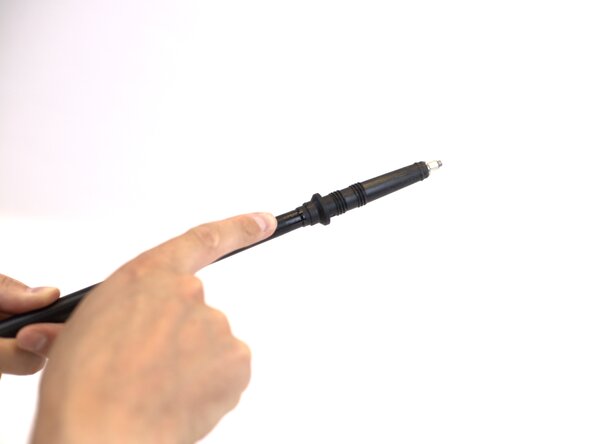
- Prepare all the tools needed for the repair and locate the tip of the hiking pole that needs to be fixed.
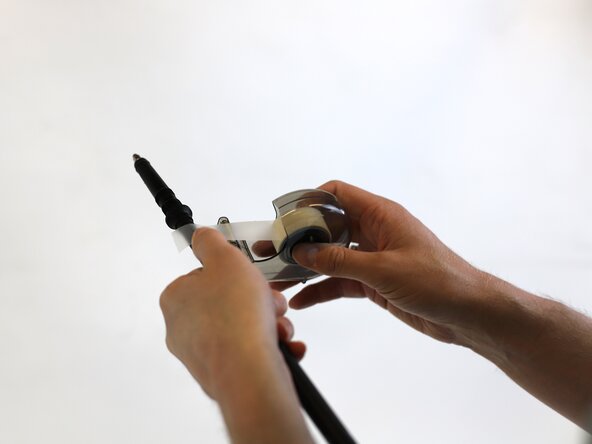
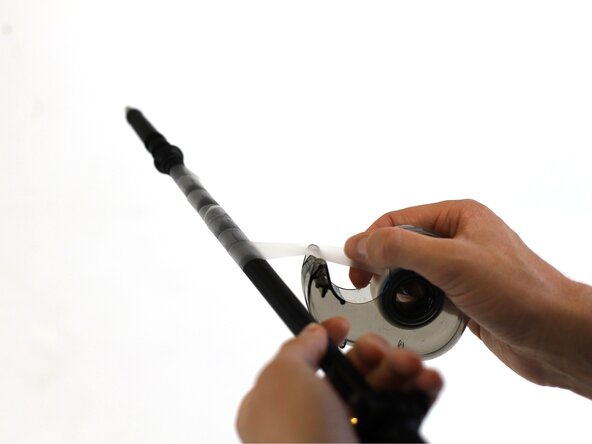
- In order to protect the pole from scratching, secure it with scotch tape.
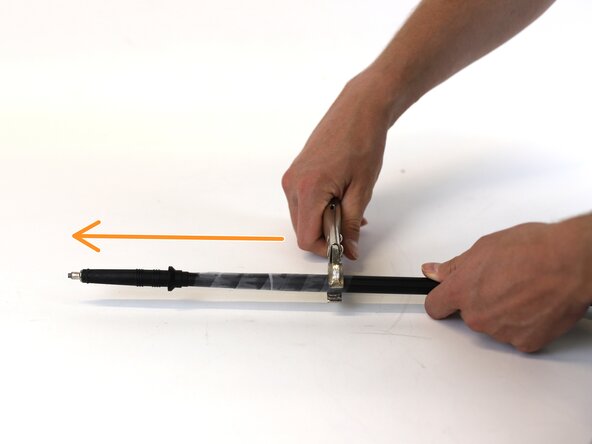
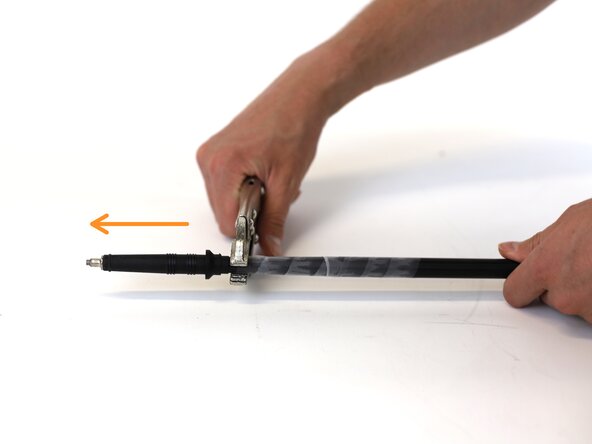
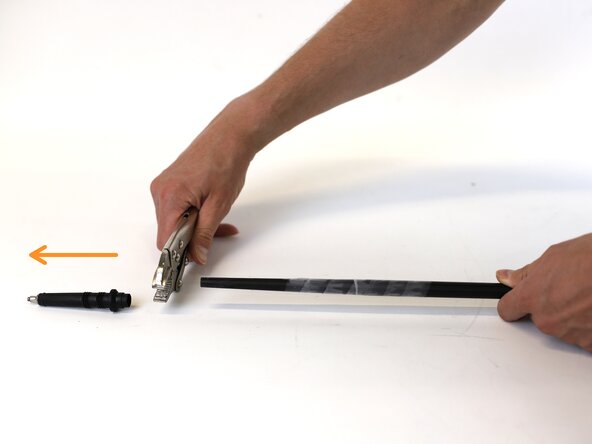
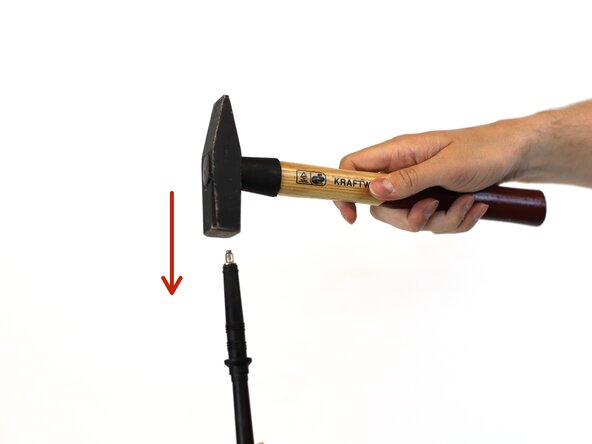
- Following the direction of the orange arrows, use an adjustable wrench to slide it fast along the hiking pole and push the tip outwards.
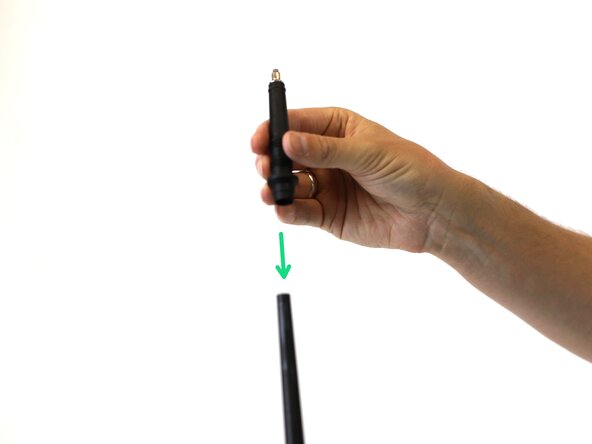
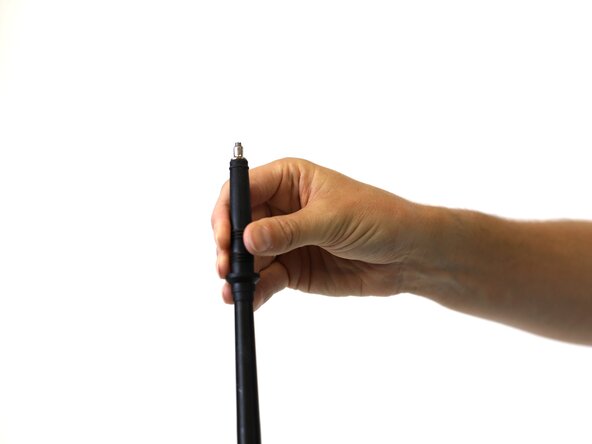
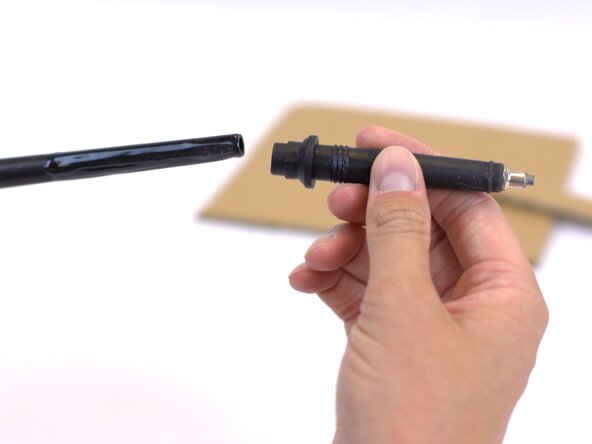
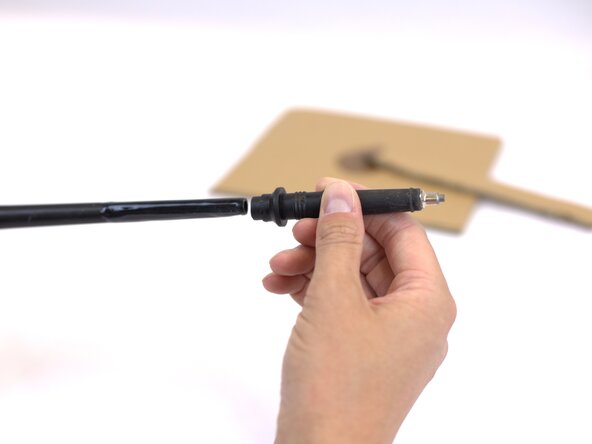
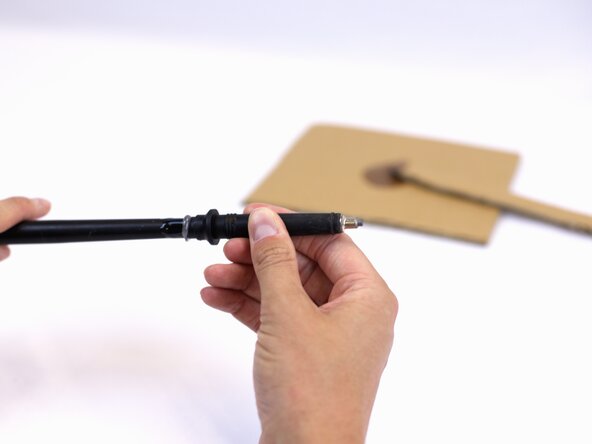
- Insert the replacement tip manually by pushing it inwards.
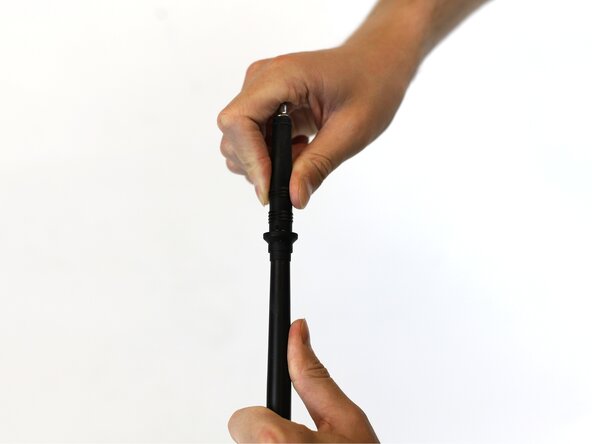
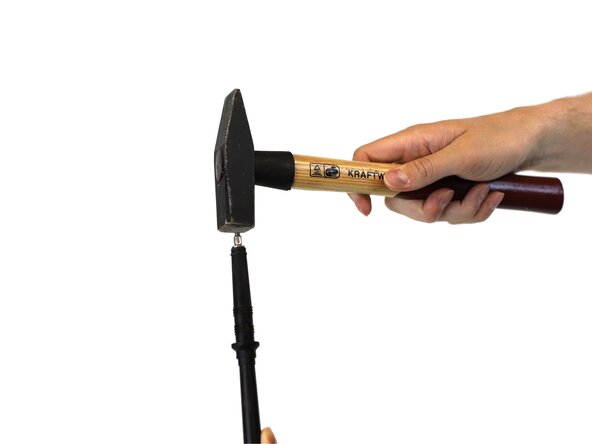
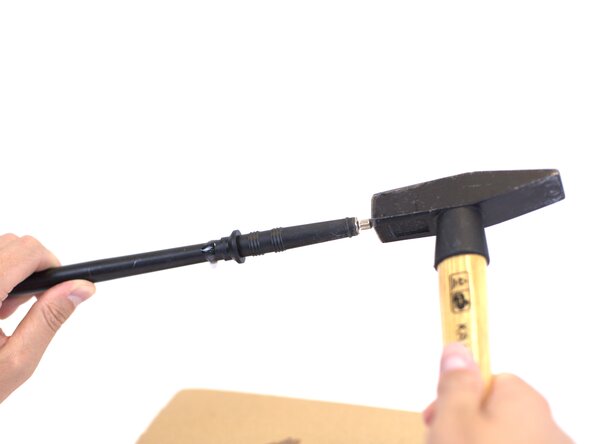
- Use a hammer to secure the tip in its new position.
- Note: only hit it once or twice with a hard tap.
- 🛠️🏆👏 Congratulations! The repair is complete, and you're ready to go!
- ...However if you need a reinforced fix, please continue on the next steps.
- Collect the tools needed for the reinforced fix.
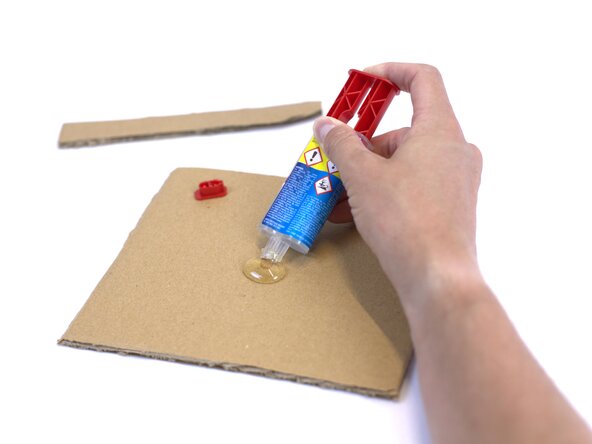
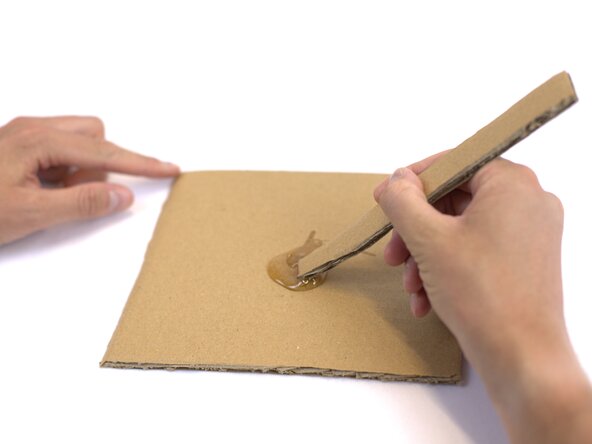
- Mix the two-component glue and continue on the next step.
- Keep mixing the glue until you notice it starts to change texture.
- The texture should be "thick" and the color should change from transparent to white.
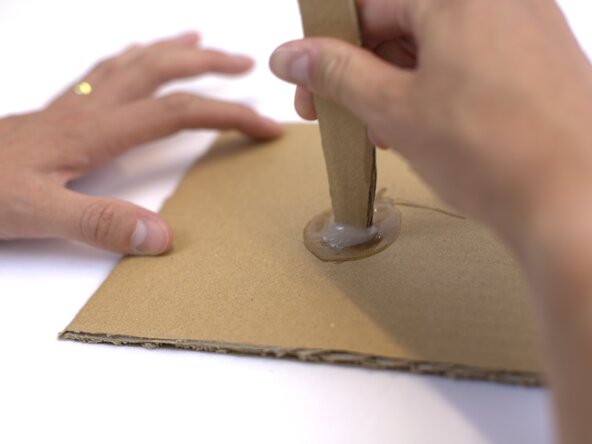
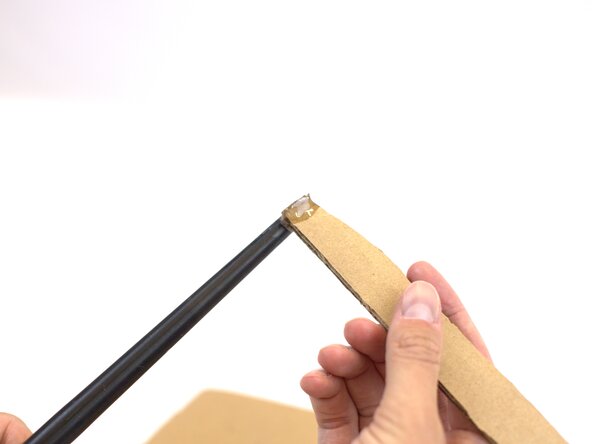
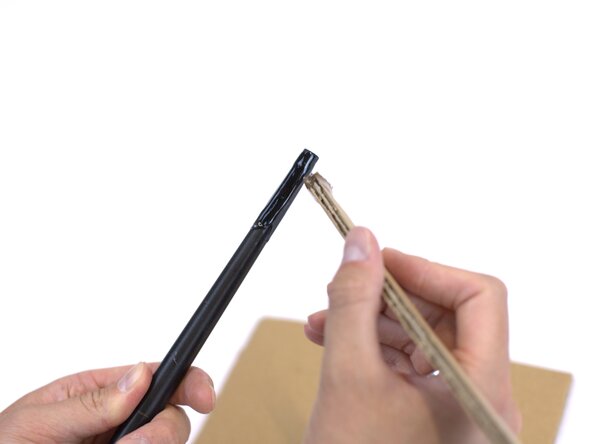
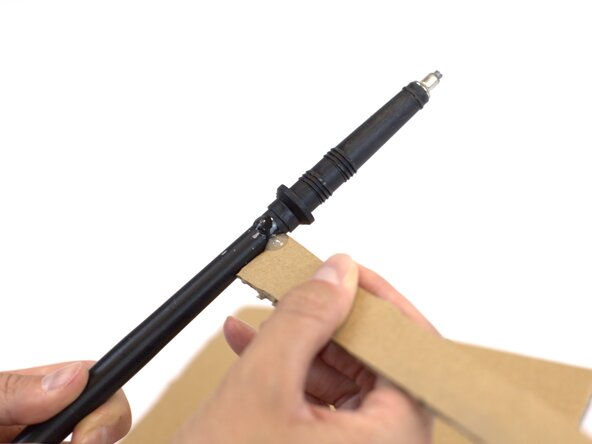
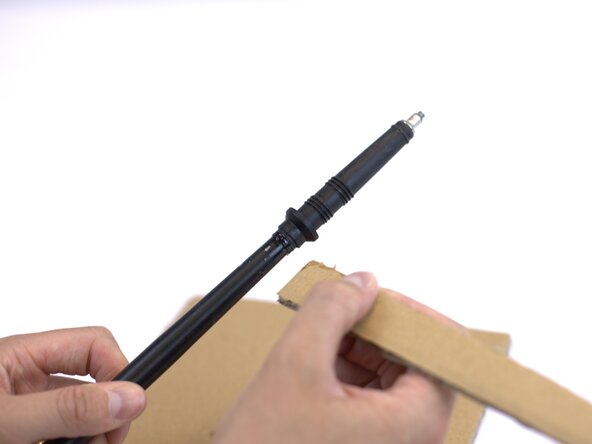
- Use a piece of cardboard to apply the mixed glue on the top of the tip of the hiking pole.
- Spread the glue evenly over the surface of the tip.
- Like in "Step 4", insert the replacement tip manually by pushing it inwards.
- Like in "Step 5", use a hammer to secure the tip in its new position.
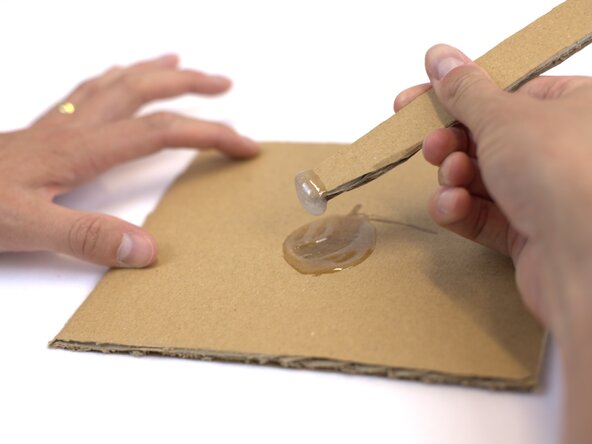
- Clean the excess glue with a spare piece of cardboard.
- 🛠️🏆👏 Congratulations! The repair is complete, and you're ready to go!