Lenovo ThinkPad T16 Gen 3 RAM Replacement
ID: 174355
Description: Follow this guide to remove, replace, or...
Steps:
- For your safety, discharge your battery below 25% before disassembling your laptop. A charged battery may catch fire if damaged. If your battery is swollen, take appropriate precautions.
- Completely shut down your laptop (don't just put it in sleep mode) and disconnect all cables.
- Flip the laptop upside-down, and rotate it so the screen hinge faces towards you.
- Use a Phillips screwdriver to fully loosen the seven captive screws securing the base cover.
- Insert your fingernail or an opening pick into the gap between the base cover and keyboard deck, next to one of the screen hinges.
- Pry up the base cover until the clips unfasten.
- Grasp the base cover along the screen hinge edge and lift slowly to unfasten the remaining clips.
- Lift and remove the base cover.
- During reassembly, lay the base cover into the frame, inserting it into the tabs along the battery edge. Press down firmly around the perimeter to reengage all the clips.
- Because of the battery connector's design, the only way to disconnect the battery is by physically removing it.
- Use a Phillips screwdriver to fully loosen the two captive screws securing the battery connector.
- Lift the edge of the battery with the connector to disconnect it.
- You may feel a little resistance from the battery connector as it disconnects—that's normal.
- Remove the battery
- During reassembly:
- Slide the plastic tabs on the long edge of the battery into their recesses in the frame.
- Lower the battery into place so the connector goes over its socket.
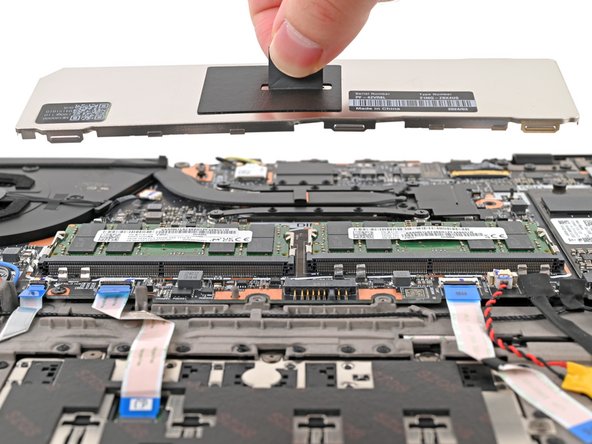
- Grab the pull tab in the middle of the RAM shield and pull straight up to remove it from its clips.
- Since the RAM shield is thin, it may bend slightly during removal. During reassembly, lay the shield into place and press down firmly around the perimeter to engage all the clips.
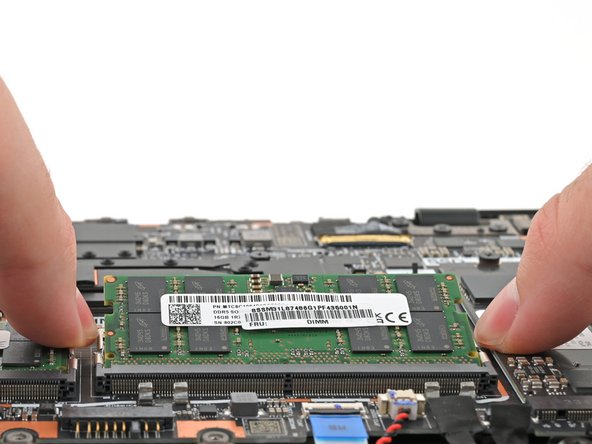
- Use your fingers to simultaneously push the two metal tabs on the edges of the RAM module down and outwards to unlatch them—the RAM should pop up at a slight angle.
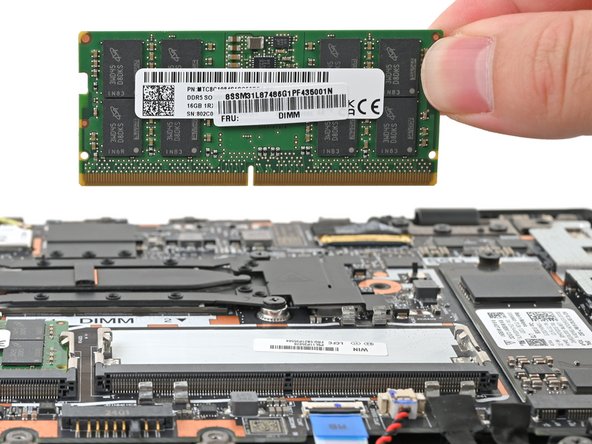
- Remove the RAM module.
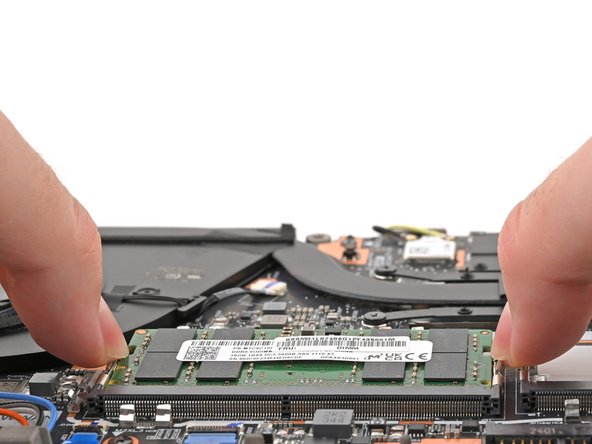
- Repeat the process for the other RAM module.
- During reassembly, fully insert the RAM at the angle it popped up at, then press down to engage the metal arms.