GE Café CYE22TP2MS1 Fresh Food Fan Motor Replacement
ID: 174516
Description: This guide will show you the process of...
Steps:
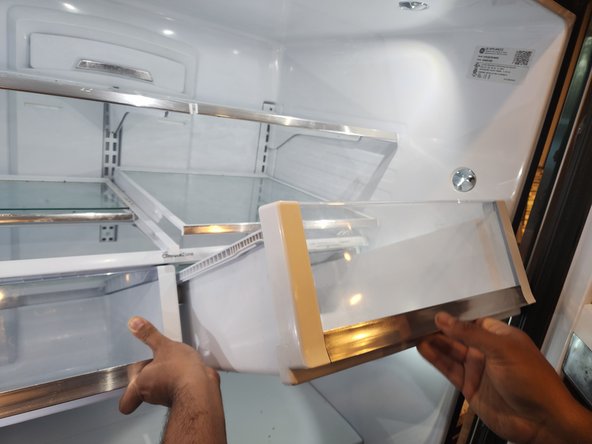
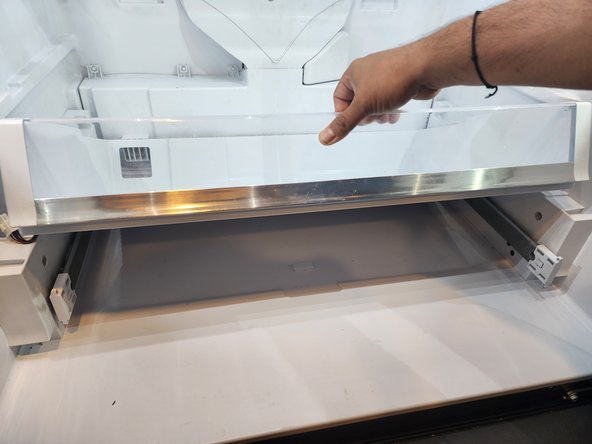
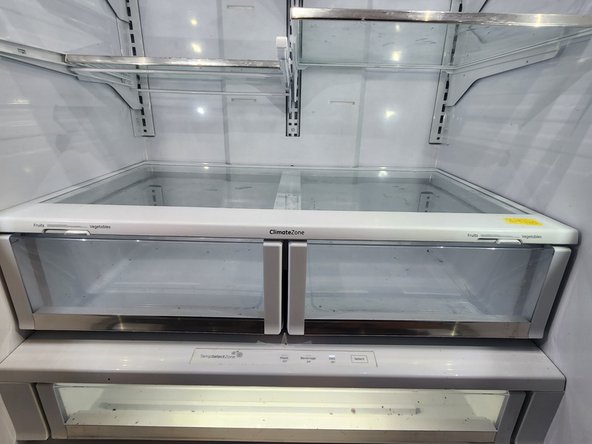
- Place one hand at the bottom of the vegetable drawers and the other hand on top ensuring the glass shelf is secure and lift upwards.
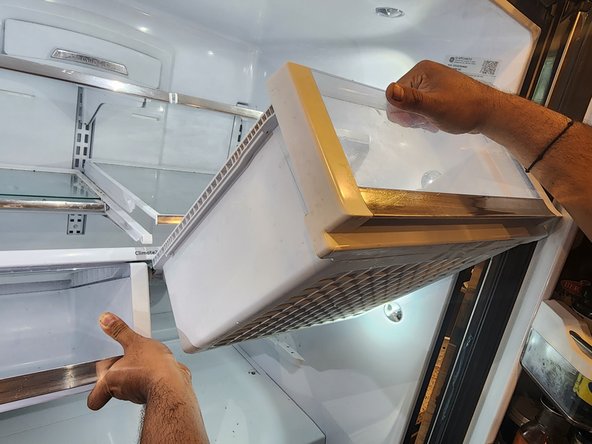
- Slide the drawers out one at a time; do not be afraid to lift slightly upwards in case the drawers are being obstructed.
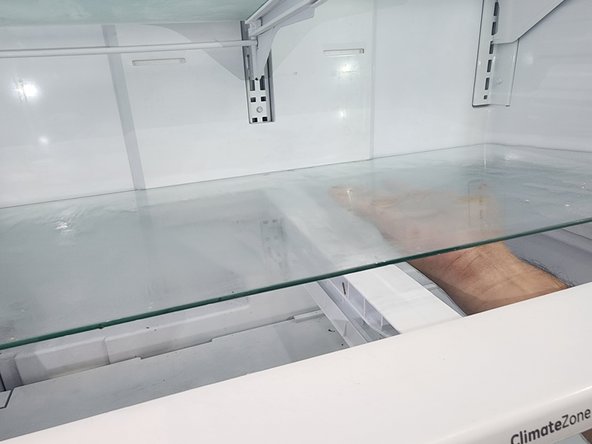
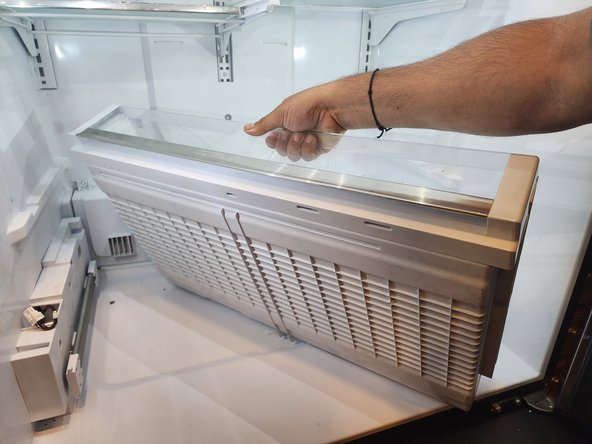
- Place your hand at the back of the glass and slowly lift the glass shelf upwards.
- After you lift the glass slowly slide it backwards and lift up to separate the glass from the shelf.
- Remove the glass and tilt the drawer shelf sideways to remove.
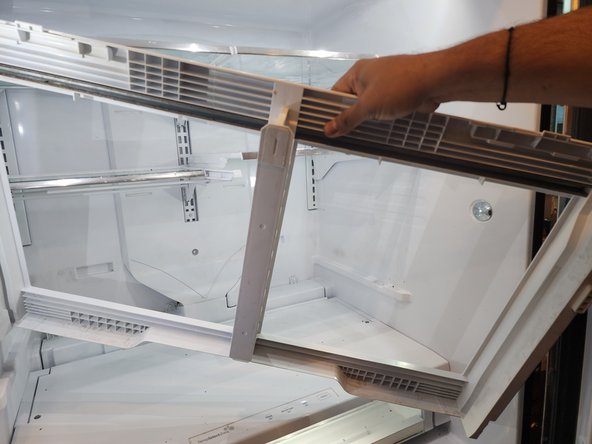
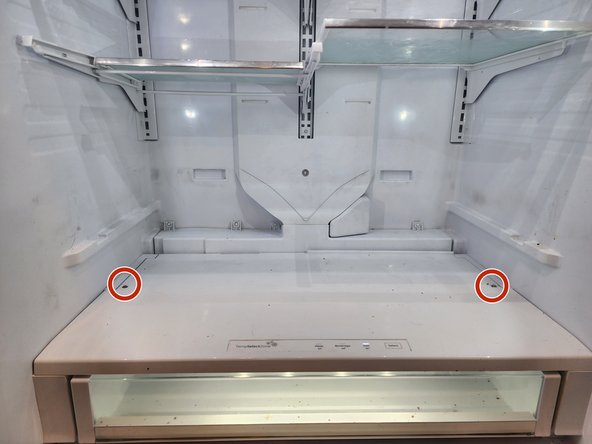
- Locate the two screws on top of the deli drawer. The top of the deli drawer has two sections.
- Remove the two screws using a 1/4 inch hex driver.
- Lift the front section of the deli shelf to expose the temperature zone panel connector.
- The screws hold down both sections. Do not attempt to lift the shelf without removing the screws.
- Locate the locking tab on the connector.
- Using both hands, gently press on the locking tab and pull to disconnect.
- Remove both sections of the shelf, exposing the deli drawer.
- Secure the temperature zone connector by placing it in the side panel hole.
- Using one hand, lift the deli drawer upwards.
- Tilt the drawer sideways and remove.
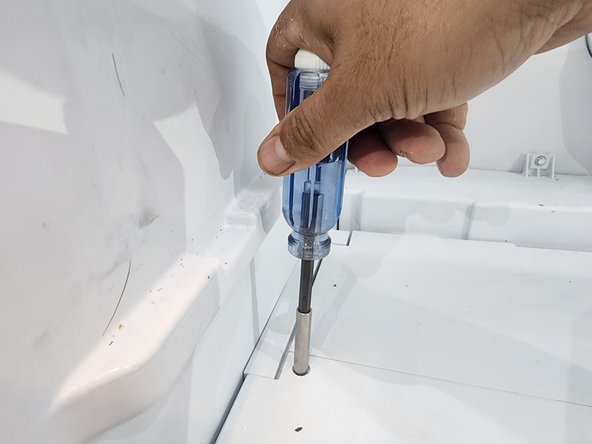
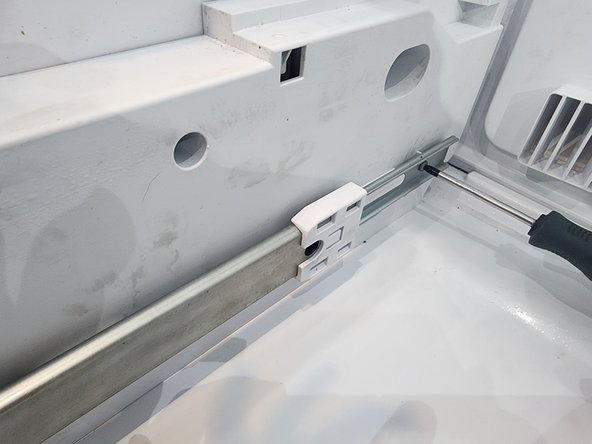
- Remove the screw visible when the slider is closed using a Phillips #1 screwdriver.
- Move the slider out to remove the second screw.
- Remove the screw using a 1/4-inch hex nut driver.
- Repeat the above steps for the other side.
- Hold the front of the deli drawer panel and slide it out to remove.
- Repeat the step to remove the other side panel.
- Be careful with the temperature zone connector while sliding the panel out.
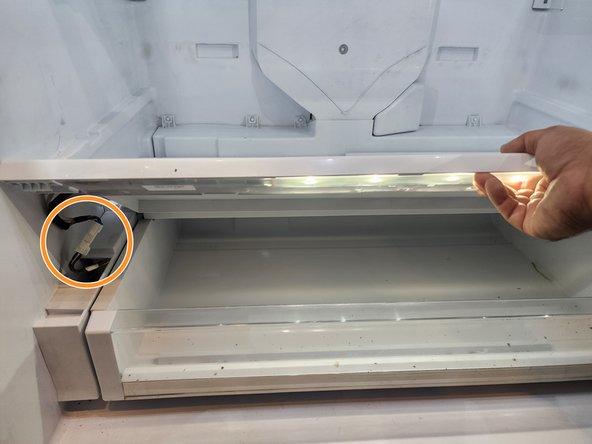
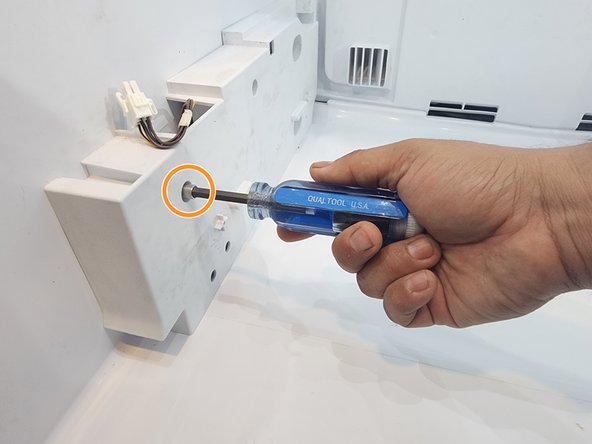
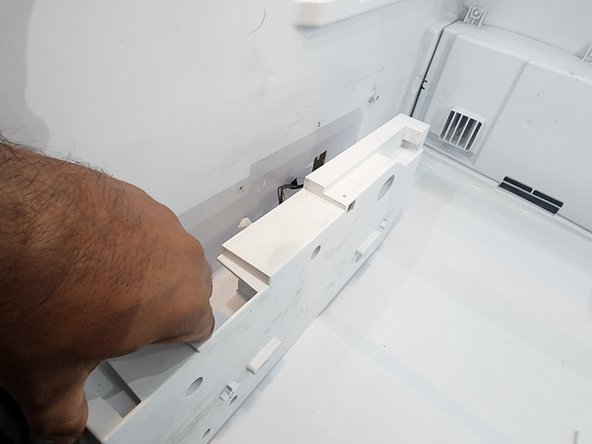
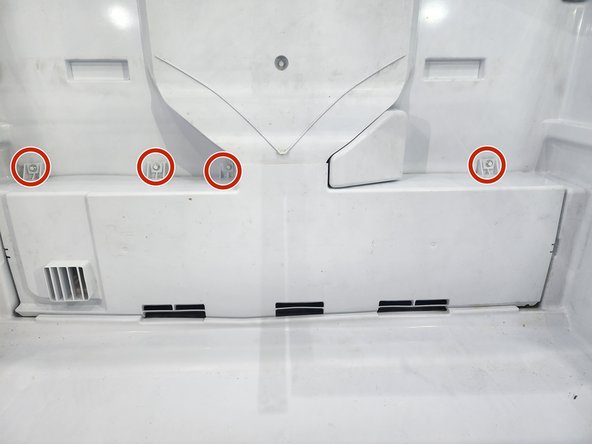
- Remove the four screws using a 1/4 inch hex nut driver.
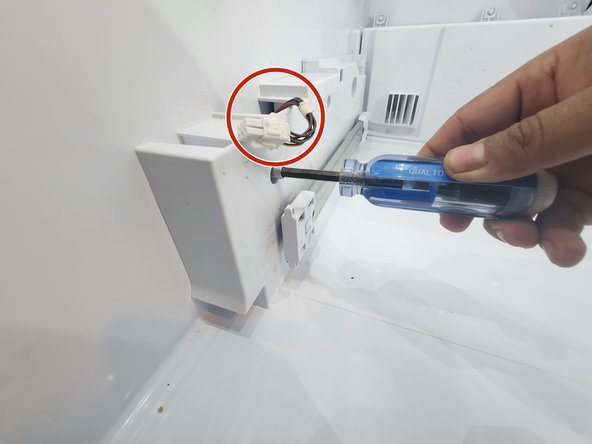
- Gently pry open the fresh food fan connector cover.
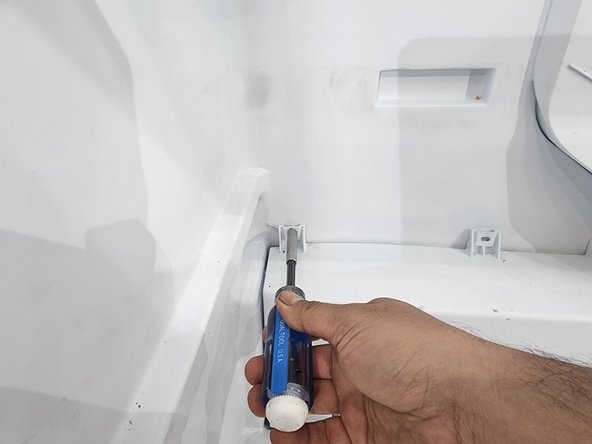
- Using a 1/4-inch hex nut driver, remove the hidden fifth screw.
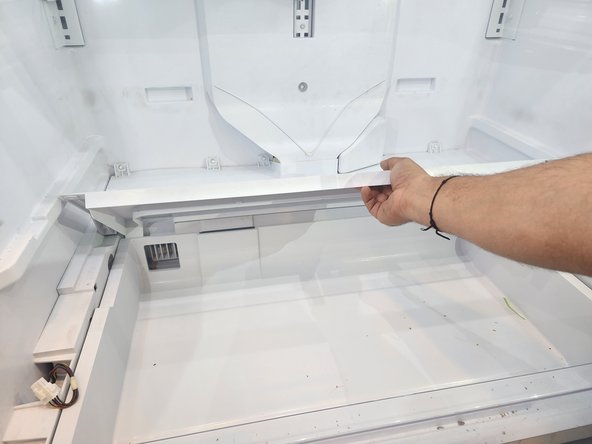
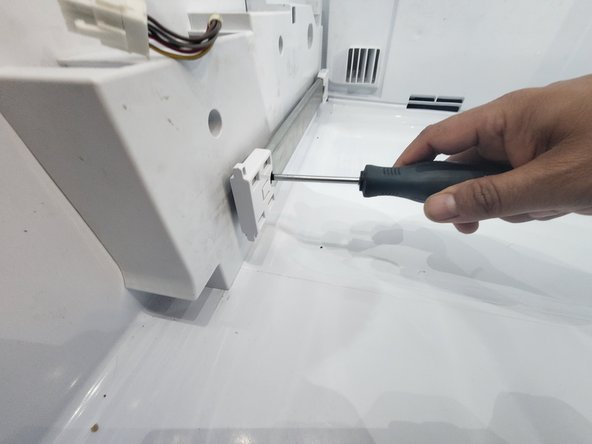
- Pull open the evaporator cover.
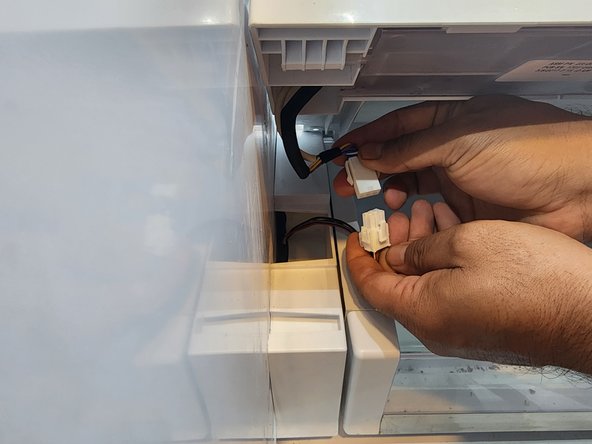
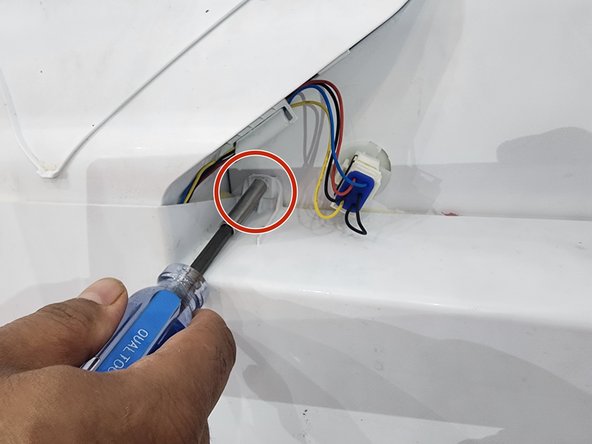
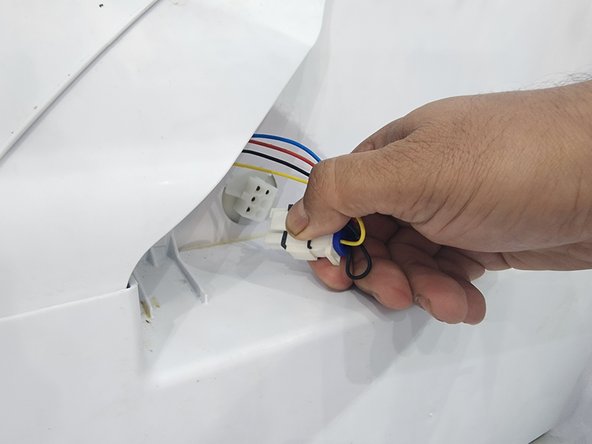
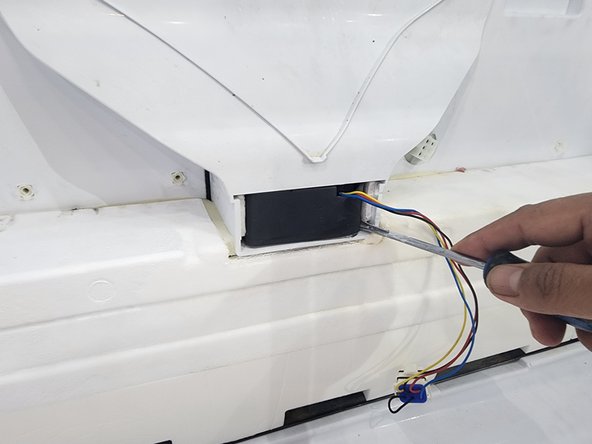
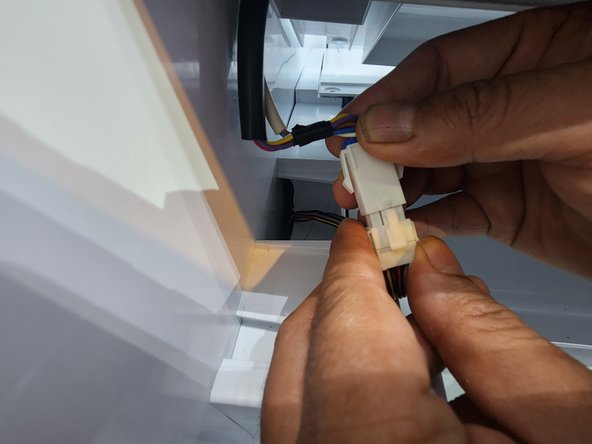
- Locate the locking tabs on both sides of the fresh food fan connector.
- Gently pressing down on the locking tabs, pull back the connector to disconnect.
- Using a spudger, gently pry out the fresh food fan.
- Please pry out both the sides evenly to avoid damage to the rubber cover.
- While sliding out the fan, make sure to note the placement of the fan.
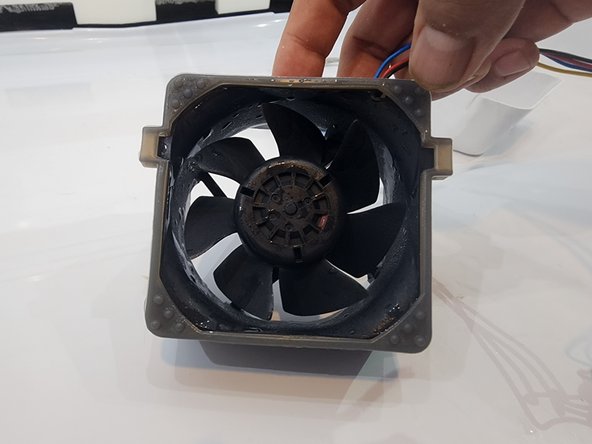
- Inspect the rubber cover for damage.
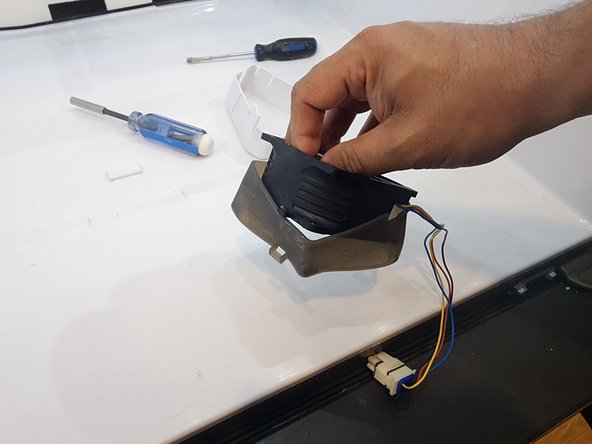
- Install the rubber cover on the new fan.
- Slide the new fan gently into the slot.
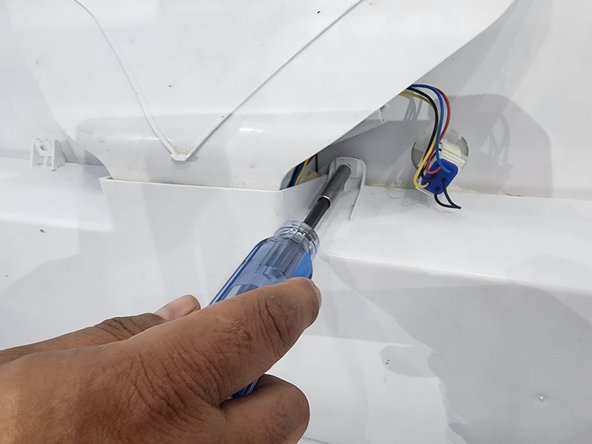
- Run the connector wires through the wire holder.
- Plug-in the connector to the refrigerator.
- Install the evaporator cover ensuring a tight seal.
- Using a 1/4-inch hex nut driver, fasten all the five screws.
- Put back the fresh food fan connector cover.
- Line up the back of the side panel with the tab located on the side of the refrigerator.
- Ensure the temperature zone connector is secured above the side panel.
- Fasten the screw using a 1/4-inch hex nut driver.
- Install the sliders using a Phillips #1 screwdriver.
- Repeat for the other side.
- Place the deli drawer and the back section of the deli shelf into the fridge.
- Using both hands, reconnect the temperature zone connector with the front section of the shelf.
- Fasten the two screws using a 1/4-inch hex nut driver.
- Re-install the vegetable drawer shelf without the glass by tilting it sideways and sliding it in.
- Place the glass shelf and slide it in the vegetable drawers.
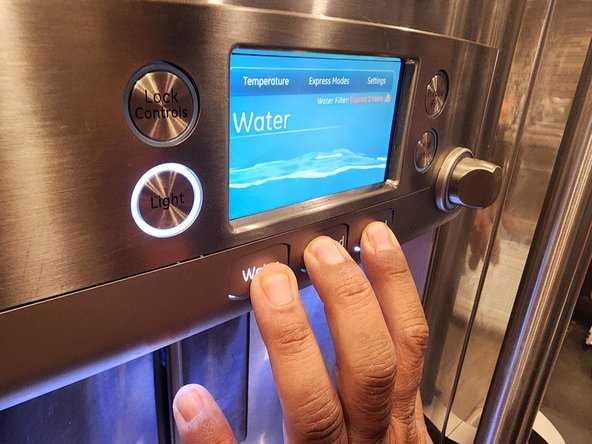
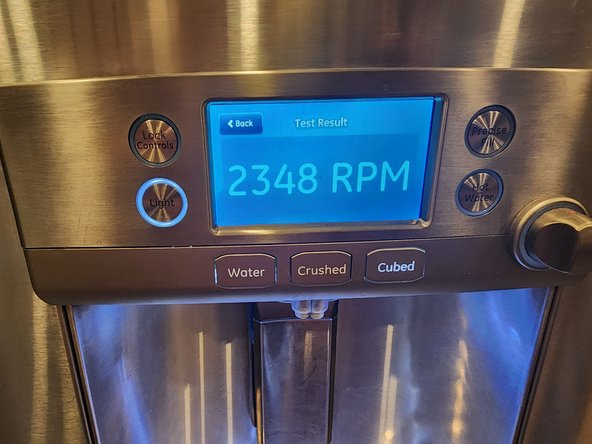
- Perform a test to ensure the fresh food fan operation by using the ice maker and water panel on the door of the refrigerator.
- Turn on the light, select cubed and then press water, crushed and cubed together at the same time to enter service mode.
- Select yes to enter service mode on the panel.
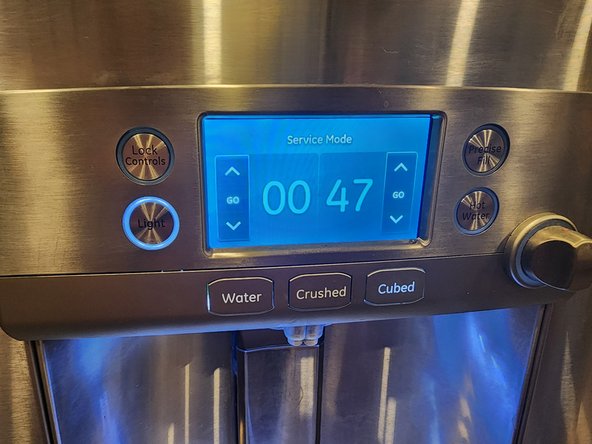
- Press the right hand side up arrow till you reach test mode 47 and select go.
- In order to ensure the fresh food fan is working, the RPM should be above 2300.