Allersearch Hippo Deluxe Room Steam Vaporiser
ID: 175706
Description: This is a full teardown of a warm mist...
Steps:
- Tearing down this (now discontinued) Allersearch Room Vaporiser/Humidifier. Though I bought this from an op shop specifically for a teardown, the product was still functioning.
- Height: 320mm
- Length: 250mm
- Width: 210mm
- First took apart the red cap which is used to seal the water container. The cap itself contained a, seal/plunger, tension spring and plastic screw. This mechanism seals the reservoir to be water tight but as soon as the container is placed on the base the mechanism allows the seal to break and release water slowly to the heating element.
- Total Height: 34mm
- Diameter: 38mm
- Screw head diameter: 5.5mm (*now missing)
- Screw height: 35mm (*now missing)
- Rubber seal diameter: 19mm (*now missing)
- Tension spring height: 24mm
- Tension spring diameter: 4mm
- The white base and the blue container itself were two separate parts were sealed together quite strongly. It was hard to snap it into two, so I went in with a hacksaw.
- Base thickness: 35mm
- Height: 210mm
- Length: 268mm
- Width: 148mm
- This part of the product is easily removable as it requires regular cleaning to maintain cleanliness. Inside the chamber there are two additional parts.
- There is also a triangular removable essence tray (E.T) on top to add essential oils.
- Height: 210mm
- Length: 170mm
- Width: 90mm
- E.T Height: 30mm
- E.T Length: 30mm
- E.T Width: 15mm
- The steam chamber contained two parts. The first part Mist Nozzle was screwed into the Mist Chimney with 2 screws (M3 x 0.5mm Phillips Head Screw) (*now missing)and the Mist Chimney onto the chamber with an additional 4 of the same screws. These connected parts directs the steam evenly up and through the sides of the steam chamber.
- Mist Nozzle Length: 79mm
- Mist Nozzle Height: 85mm
- Screw head diameter: 5mm
- Screw shaft length: 10mm
- Mist Chimney Length: 125mm
- Mist Chimney Height: 100mm
- Mist Chimney Width: 50mm
- The Heating Cone directs the steam (to the Mist Nozzle that sits above it) and controls the steam flow as to not scald its users. Underneath this, is where the healing element is situated.
- This is the small passage way where the water drips through from the reservoir to be heated up.
- Using the cone release switch next to it, The cone comes out easily. The cone requires regular cleaning which in this case is seen to be neglected.
- Length: 110mm
- Height: 117mm
- Width: 76mm
- The cone also has a gripper for the users to easily to clean.
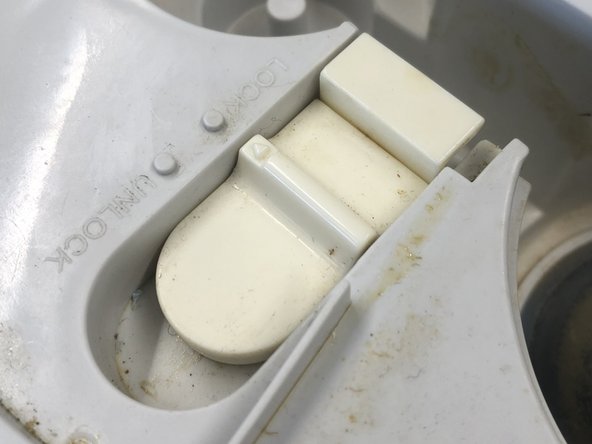
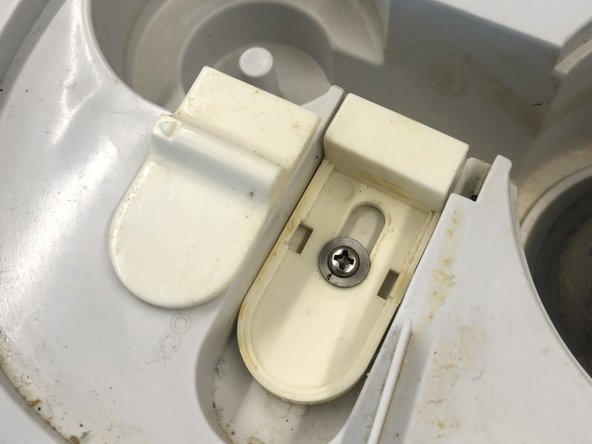
- The release switch was a slider mechanism whose top component could just be easily snapped off. Bottom part of the switch was screwed ( M2 x 1mm Phillips Head Screw) into the base.
- Top switch length: 35mm
- Top switch width: 23mm
- Bottom switch length: 49mm
- Bottom switch width: 23mm
- Bottom switch height: 15mm
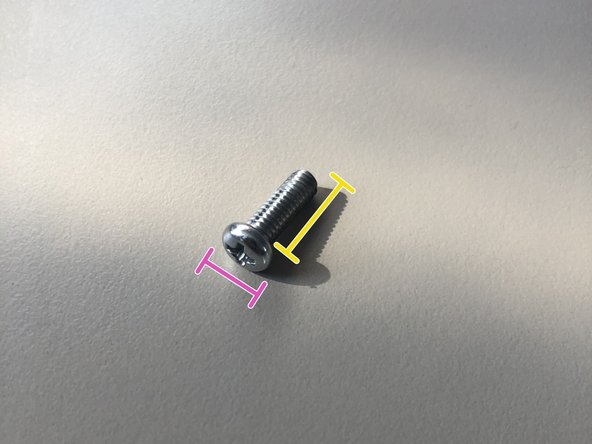
- Screw head diameter: 10mm
- Screw shaft length: 8mm
- I first tried unscrewing 4 screws (M2 x 1mm Phillips Head Screw) from bottom of the base. Although one of the screws was quite stuck and would not unscrew, I moved on to saw through the seal with a multi tool.
- Screw head diameter: 7mm
- Screw shaft length: 12mm
- Snapped off the dial and unscrewed the, M3 x 1mm Phillips Head Screw, from the rotary switch. This switch, dial, heating element and devices are all connected.
- Dial diameter: 37mm
- Dial height: 12mm
- Screw head diameter: 7mm
- Screw shaft length: 2mm
- After removing the dial and halfway sawing through the two parts, I realised that under the 'Hippo Deluxe' brand sticker, there were 2 screws (M2 x 1mm Phillips Head Screw) that needed to be unscrewed to separate the two parts.
- Base length: 270mm
- Base width: 225mm
- Bottom Base height: 100mm
- Top Base height: 90mm
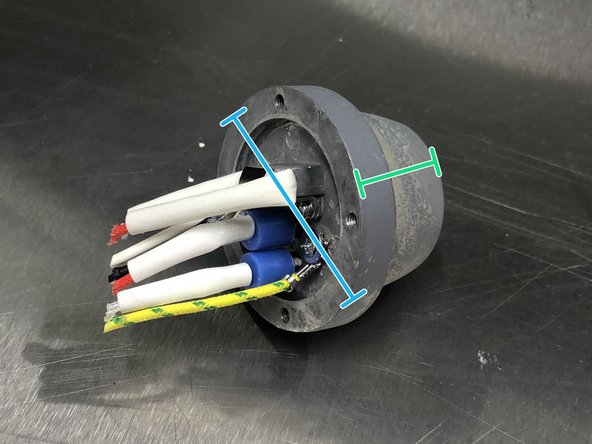
- The heating device was screwed in with 4, M3 x 0.5mm Phillips Head Screw. This was situated on top of the heating cone, underneath the steam chamber.
- This the rim of the base that grips the heating elements in its place. It also helps keep the element relatively clean.
- Rim Outer Diameter: 64mm
- Rim Inner Diameter: 50mm
- Length/diameter of the base: 57mm
- Height: 46mm
- Screw head diameter: 7mm
- Screw shaft length: 12mm
- Finally I removed the 2 screws (M2 x 1mm Phillips Head Screw) holding down the power cord. Cut off all wires.
- This is the Rotary Switch that connects the dial and heating device. It has a bare shift actuator and I couldn't get it open but most likely houses the PCB.
- The red and green Led diffuser caps go top of the small Led bulb and next to the signs indicating 'empty' and 'on'