Disassembling Shark Rotator Powered Lift-Away Handle
ID: 175786
Description: If you needed to disassemble the handle to: (1)...
Steps:
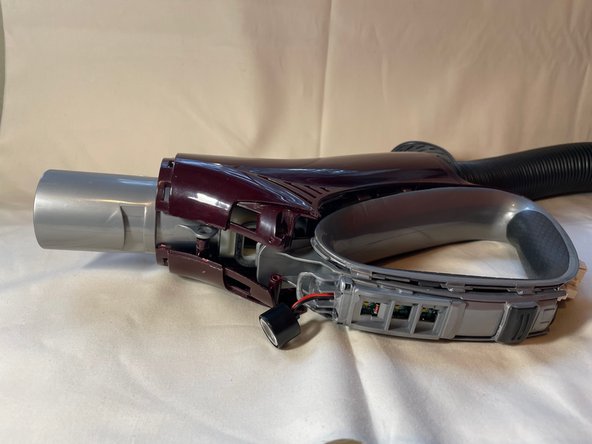
- Remove the two tamper-resistant T9 screws on the front of the handle.
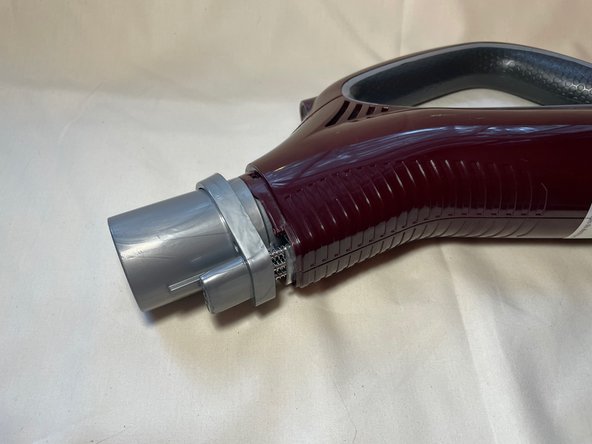
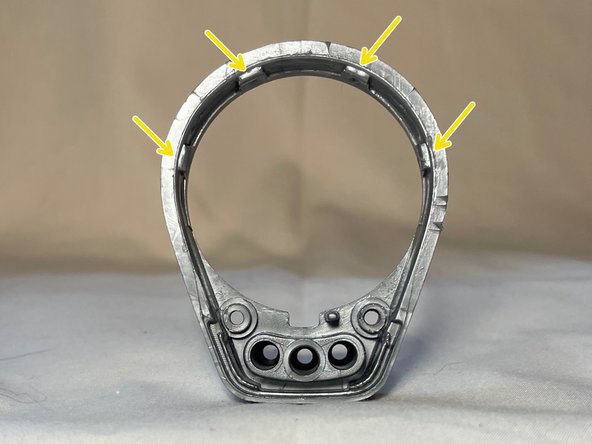
- With the screws removed, lever the sliver collar off of the rest of the handle.
- Note the four tabs that hold the silver collar in place.
- Remove the LED by prying gently on the lower edge.
- Remove the LED shroud by pushing the LED backward through the shroud.
- Remove the tamper-resistant T20 screw at the rear of the handle.
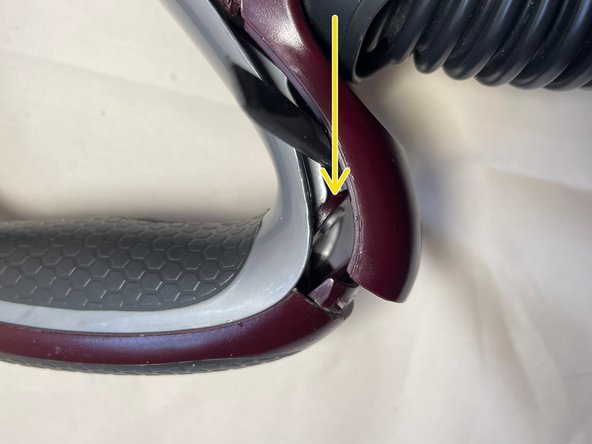
- Once removed, pry back the bottom portion of the cover.
- This exposes a plastic tab from the upper part of the handle that locks over the screw post in the interior of the handle.
- Lever the tab off of the post and proceed to remove the rest of the upper part of the handle from the interior by separating at the seams along the sides.
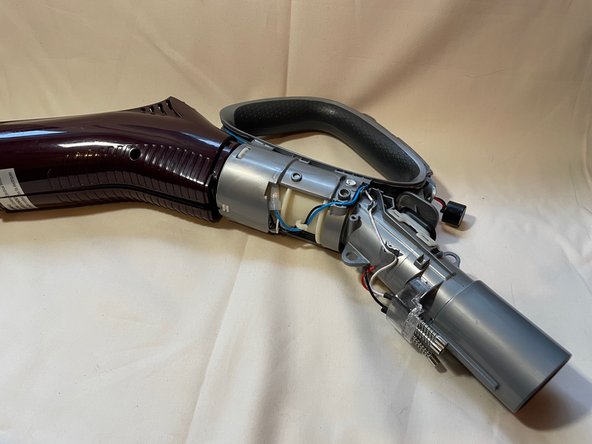
- At this point you should have access to the on/off switch, if that was your goal, otherwise there is a circuit board that the LED attaches to (with the floor setting indicator LEDs) that is accessible behind one or two more screws.
- Remove the two tamper-resistant T20 screws holding together the two sides of the handle.
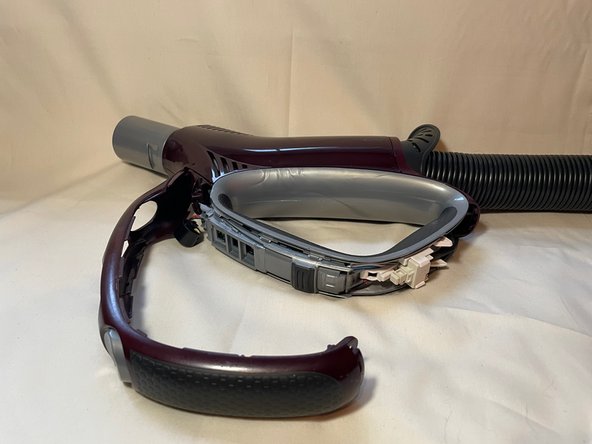
- Separate the two sides of the handle starting at the front. Make sure to slide the post out of the tab holding it in place.
- You can now spread apart the two sides and slide them off of the handle and down the hose.
- There is no need to remove the collar or hose support on the rear of the handle which hold the two halves together.
- With the main part of the handle exposed, pull out the crimped wire connectors, unhook the wires, and untangle everything so you have slack for the next step.
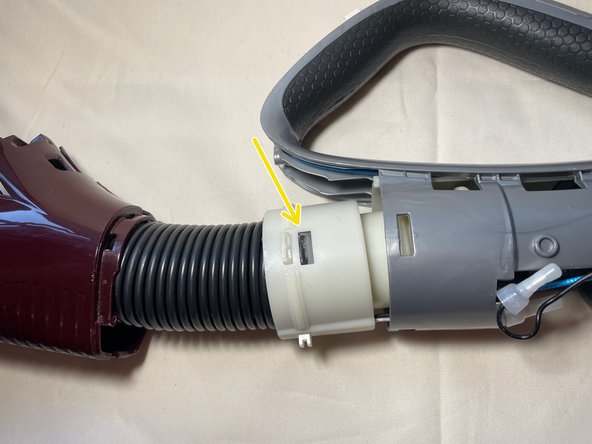
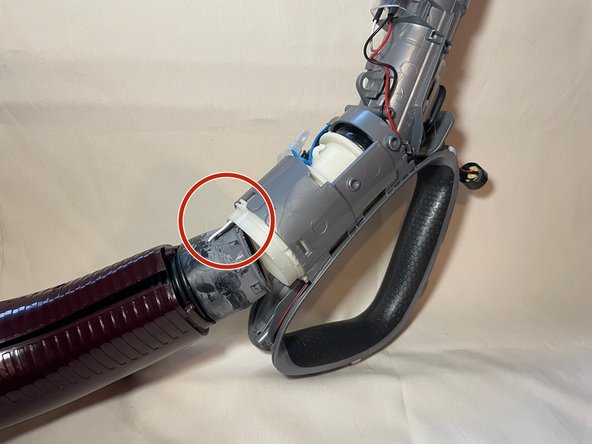
- There are two white tabs to remove the plastic hose collar from the handle.
- With the collar partially removed, there are two black rubber tabs which hold the hose inside of the hose collar.
- Be very careful not to pull too much on the wires where they come out of the hose!! They are delicate and send power through the handle to the on/off switch, LEDs, and roller brush.
- Now you can remove the obstruction stuck in the bend of the handle, or whatever else was your problem.