Google Pixel 9 Battery Replacement
ID: 175889
Description: This repair guide was authored by the iFixit...
Steps:
- Let your Pixel's battery fully discharge until it dies before starting this repair. A charged lithium‑ion battery may catch fire if damaged.
- Unplug all cables from your phone.
- Adhesive secures the perimeter of the back glass to the frame.
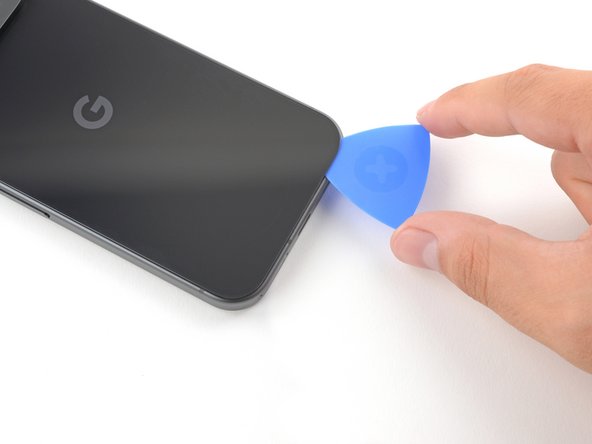
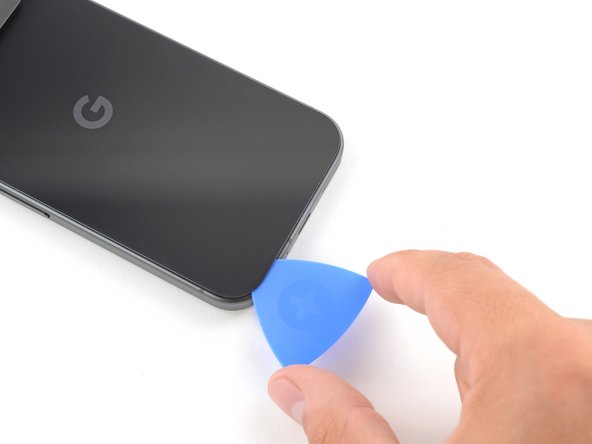
- When separating the adhesive, don't insert your tool more than 3 mm under the back glass to avoid damaging the internal components.
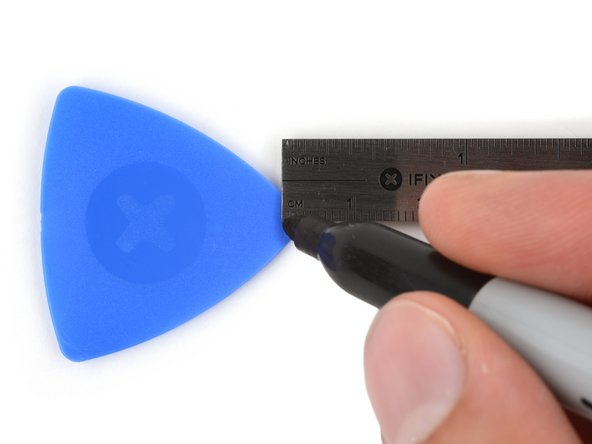
- To help, measure and mark 3 mm from the tip of an opening pick with a permanent marker.
- If your screen or back glass is badly cracked, a suction cup may not perfectly adhere.
- Lay overlapping strips of packing tape over the glass to protect yourself and make disassembly easier. Ensure there's a smooth area near the bottom edge that's large and smooth enough for a suction cup to stick to.
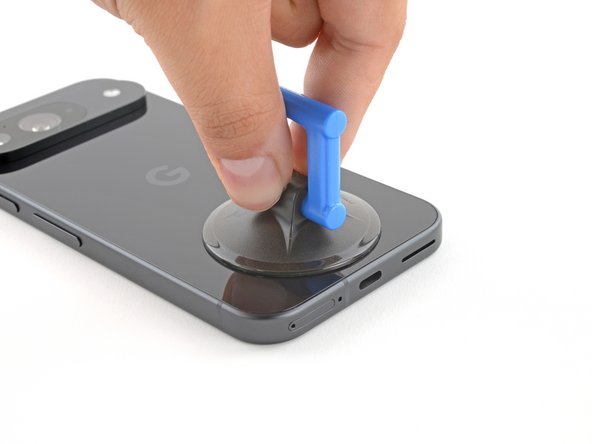
- Place a suction handle at the bottom edge of the back glass, as close to the edge as possible.
- Push down to attach the suction cup.
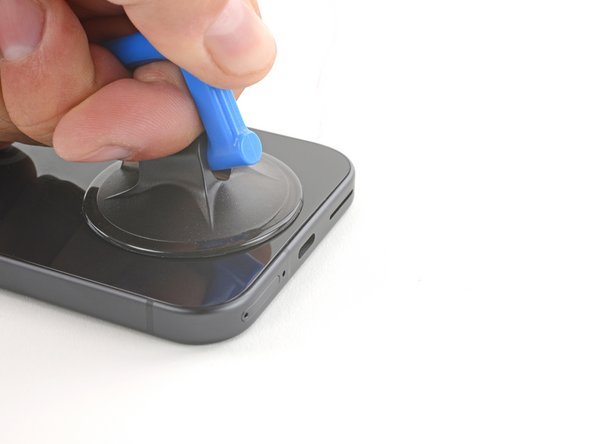
- Pull up on the suction handle with strong, steady force to create a small gap under the back glass.
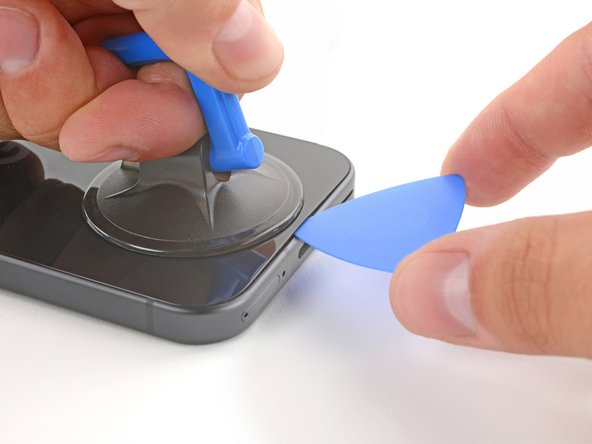
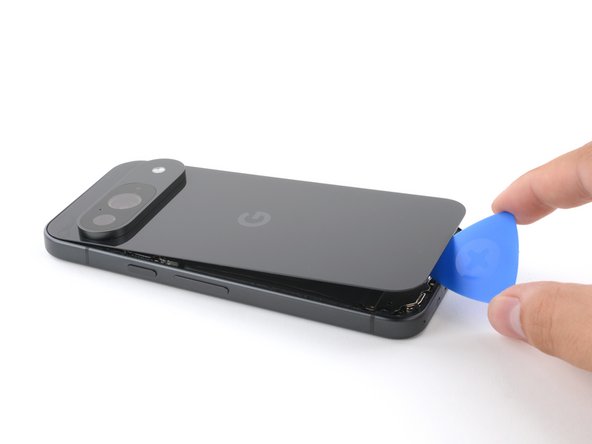
- Insert the tip of an opening pick into the gap.
- Slide the opening pick back and forth along the bottom edge to separate the adhesive securing it.
- Remember: don't insert the opening pick deeper than 3 mm.
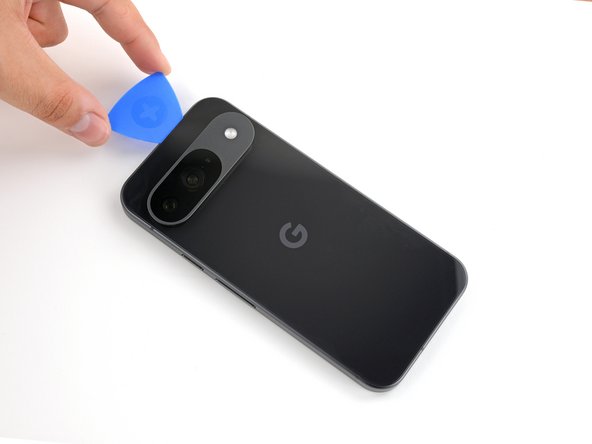
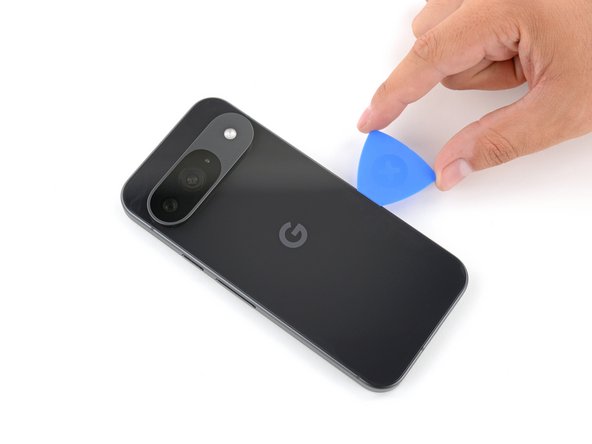
- Slide the opening pick around the perimeter of the phone, slicing the rest of the adhesive.
- With most of the adhesive separated, lightly twist the opening pick at the bottom edge to lift the back glass up until you can grip it with your fingers.
- Use the opening pick to separate any remaining sections of adhesive securing the back glass.
- Remove the back glass.
- During reassembly:
- Now is a good time to test your phone before sealing it up. Power it on and check that it works. Power it back down before you continue reassembly.
- Follow this guide to apply new adhesive and install your back glass.
- Throughout this repair, keep track of each screw and make sure it goes back exactly where it came from.
- While the Pixel 9 uses Torx Plus screws, standard Torx bits also work. Make sure to apply constant, downward force to prevent stripping.
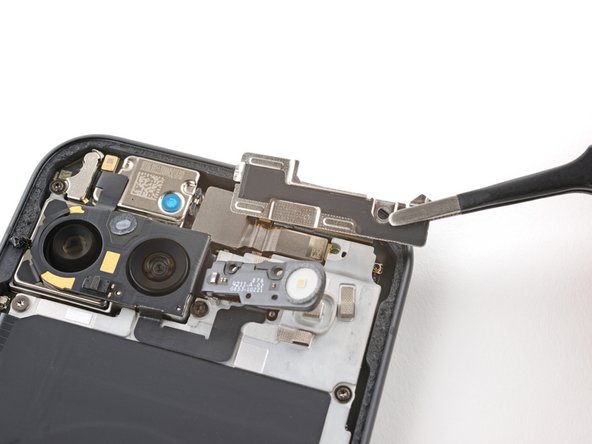
- Use a 3IP Torx Plus driver to remove the single 5.4 mm‑long screw securing the upper board cover.
- Use a pair of tweezers to remove the upper board cover.
- Use a 3IP Torx driver to remove the five screws securing the midframe and wireless charging coil:
- Four 5.4 mm-long screws
- One 2.2 mm-long screw
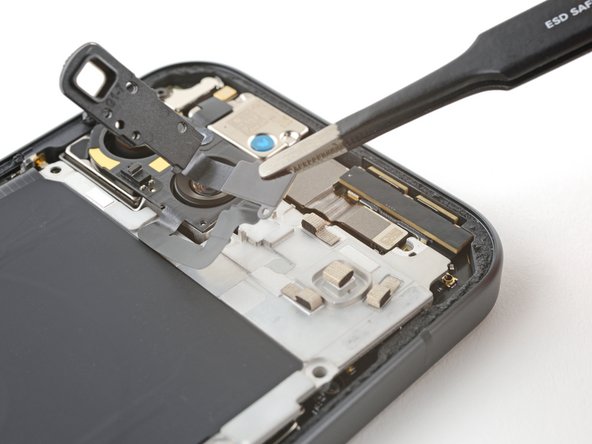
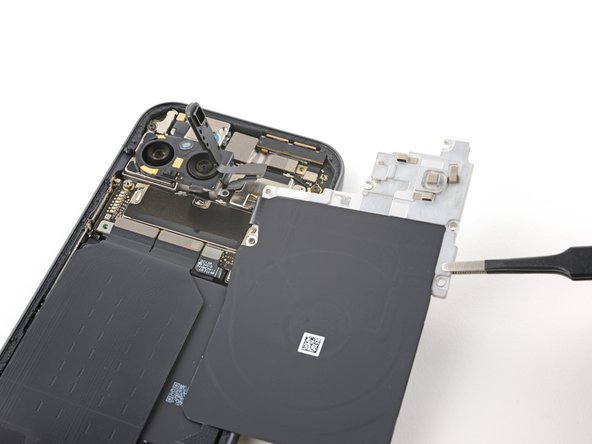
- Use a pair of tweezers to peel the flash cable off of the metal midframe.
- Remove the midframe, wireless charging coil, and NFC assembly.
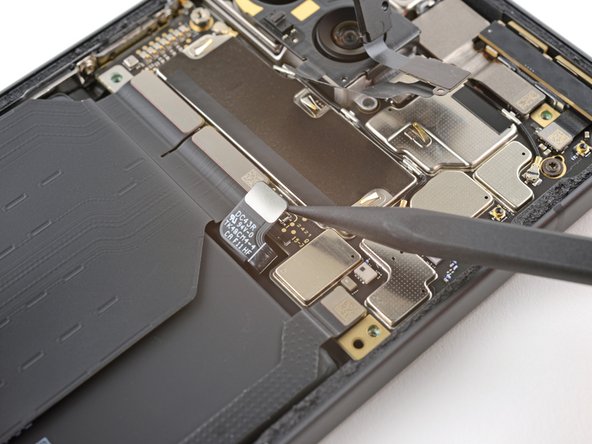
- Use the tip of a spudger to pry up and disconnect the battery connector.
- Use a 3IP Torx Plus driver to remove the two screws securing the charging board cover:
- One 5.4 mm-long screw
- One 2.9 mm-long screw
- A small plastic tab keeps the cover secured under the left edge of the frame.
- Use a pair of tweezers to slide the cover out from under the lip on the edge of the frame.
- Flip the cover over, off of the charging board.
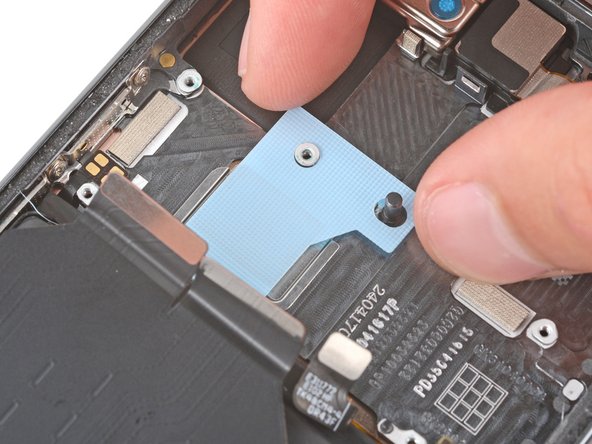
- Use a pair of tweezers to peel the charging board cover tape off of the interconnect cable.
- Remove the charging board cover.
- Use the tip of a spudger to pry up and disconnect the top two interconnect cable press connectors from the bottom edge of the motherboard.
- Disconnect the bottom two interconnect cable press connectors from the charging board.
- Remove the interconnect cable.
- Use the tip of a spudger to pry up and disconnect the secondary interconnect cable's top press connector from the motherboard.
- Disconnect the secondary interconnect cable's bottom press connector from the charging board.
- Use a 3IP Torx Plus driver to remove the two 2.5 mm-long screws securing the secondary interconnect cable.
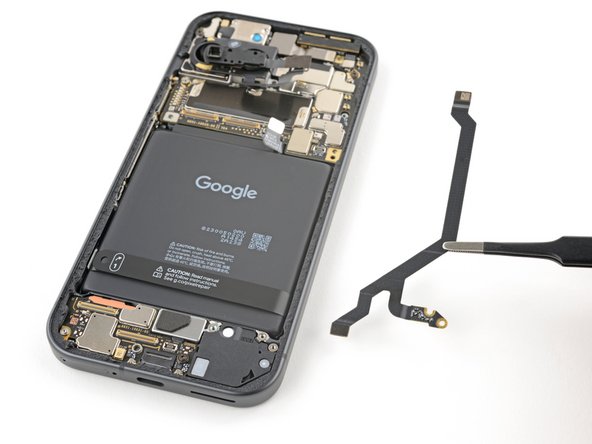
- Remove the secondary interconnect cable.
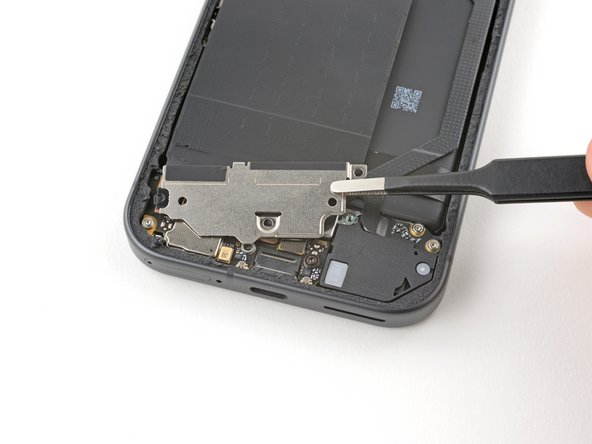
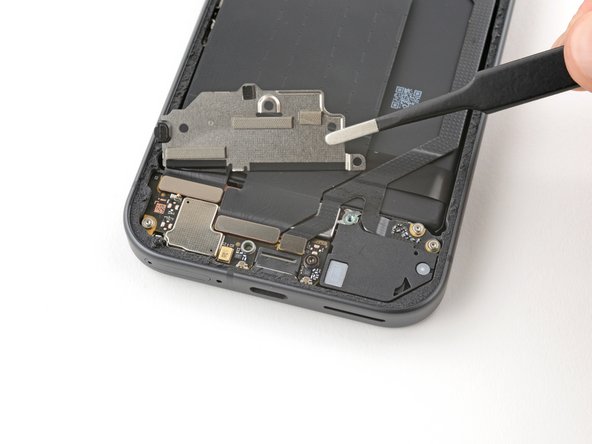
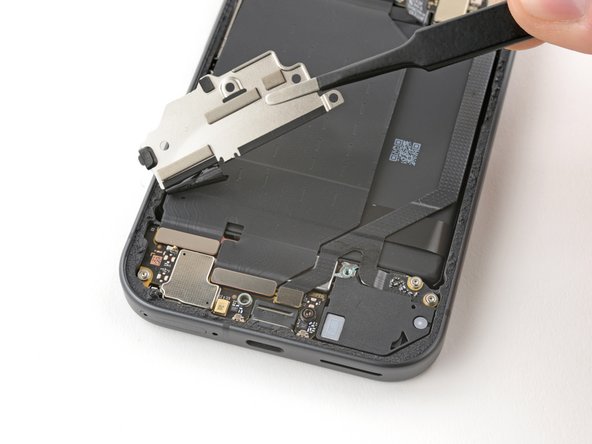
- Use a 3IP Torx Plus driver to remove the 5.4 mm-long screw securing the antenna board cover.
- Use a pair of tweezers to remove the antenna board cover.
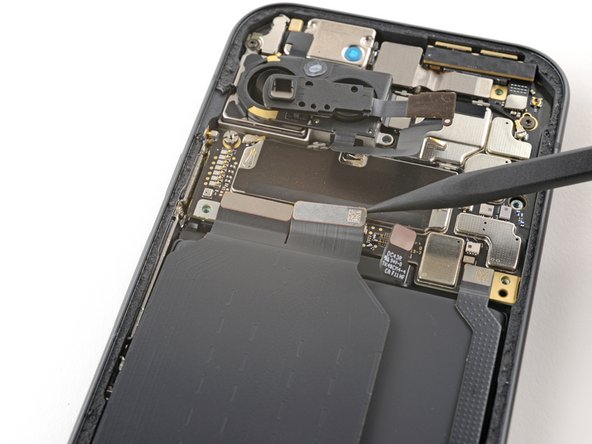
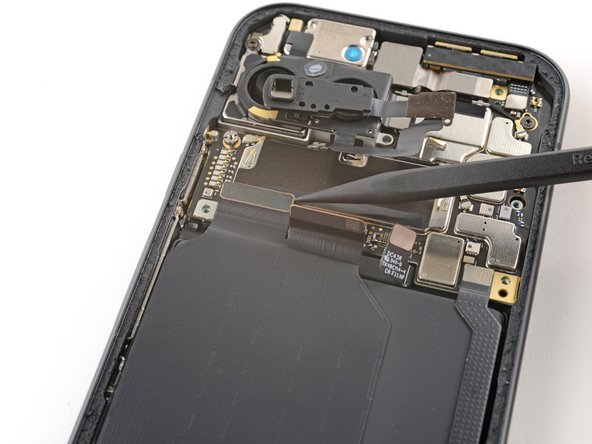
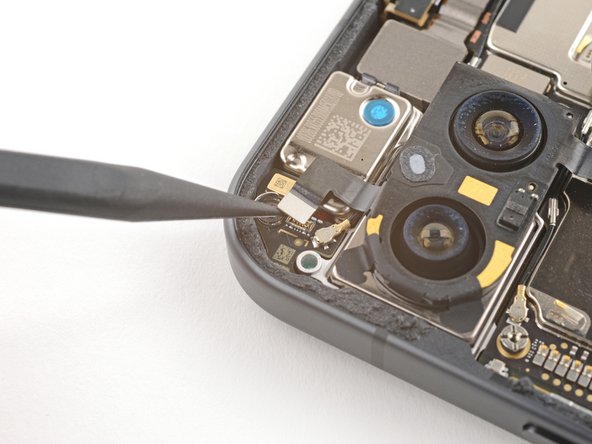
- Use the tip of a spudger to pry up and disconnect the autofocus connector from the motherboard.
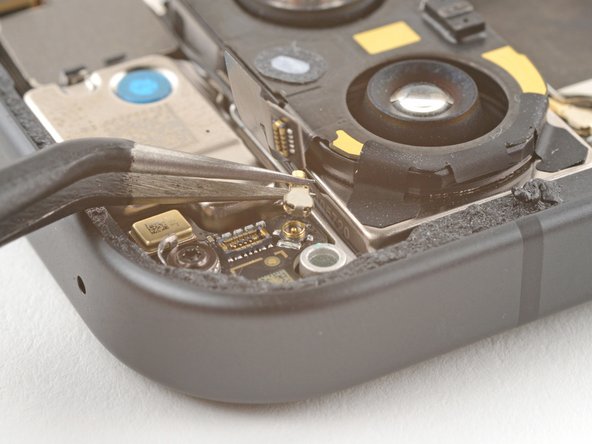
- Insert one arm of a pair of angled tweezers under the neck of the antenna board's coaxial antenna cable.
- Lift straight up to disconnect the antenna.
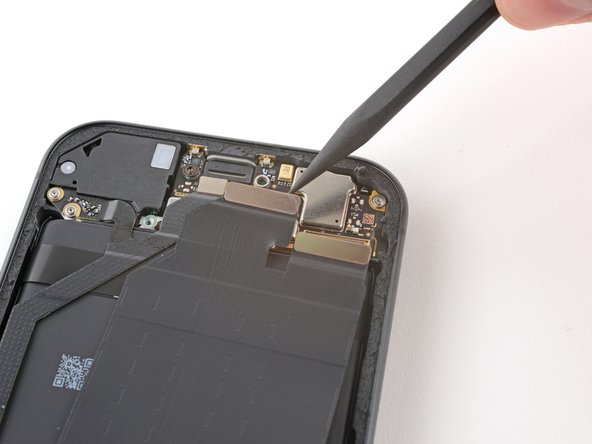
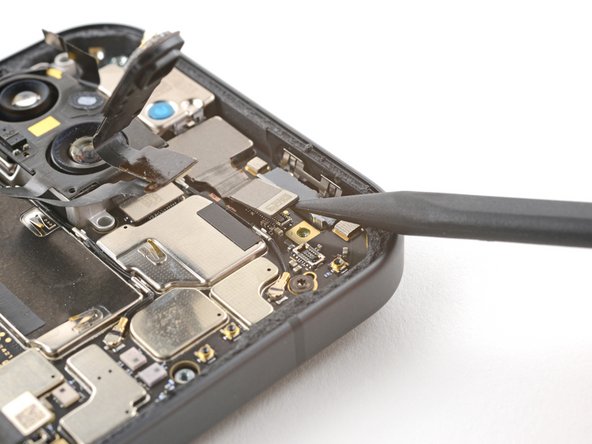
- Use the tip of a spudger to pry up and disconnect the front camera press connector.
- Remove the two screws securing the motherboard:
- One 2.9 mm-long 3IP Torx Plus screw
- One 5 mm-long standoff screw
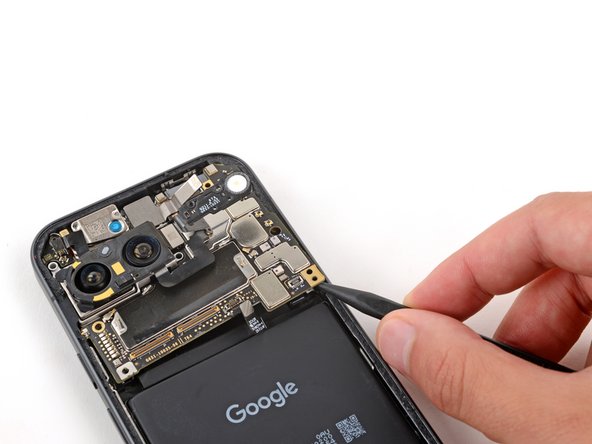
- Insert the tip of a spudger underneath the bottom right corner of the motherboard.
- Use your spudger to lift the motherboard until you can grip the right edge with your fingers.
- Grip the right edge of the motherboard and remove it.
- During reassembly:
- Check the condition of the logic board thermal pad—it will either be on the bottom of the logic board or on the frame.
- If the pad is undamaged, skip the rest of this step.
- If the pad is damaged, use the flat end of a spudger to scrape it up and remove it.
- Use isopropyl alcohol (greater than 90%) and a microfiber cloth to remove all thermal pad residue from the frame and bottom of the logic board.
- Apply a new thermal pad to its spot on the frame.
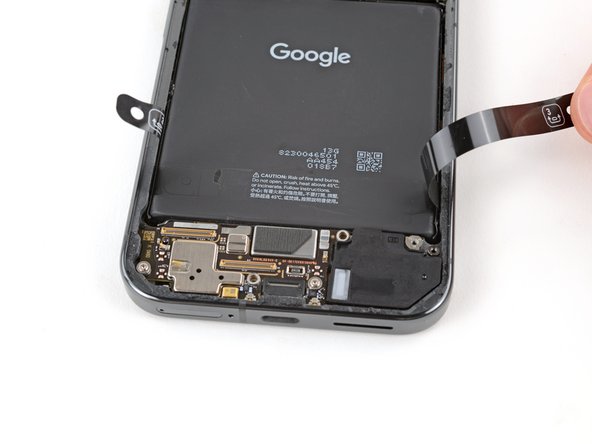
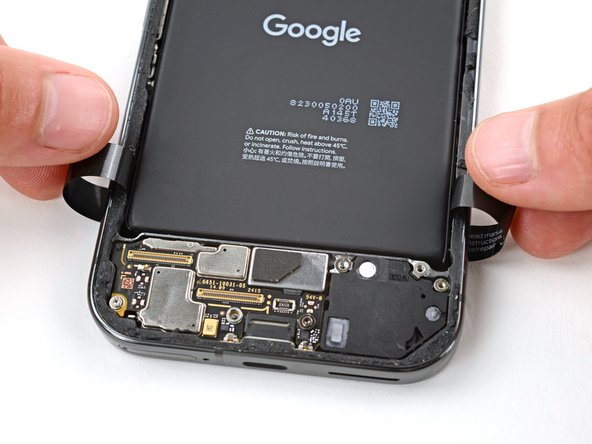
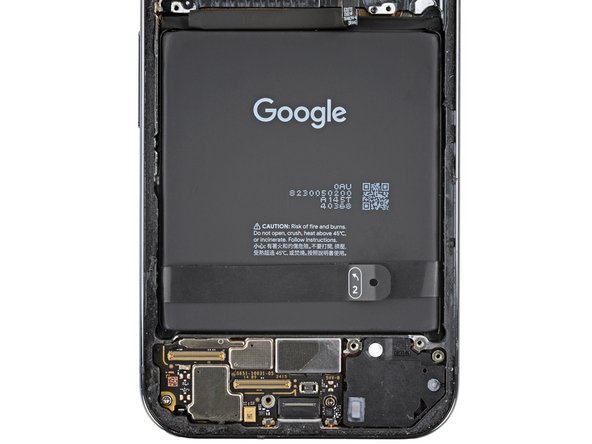
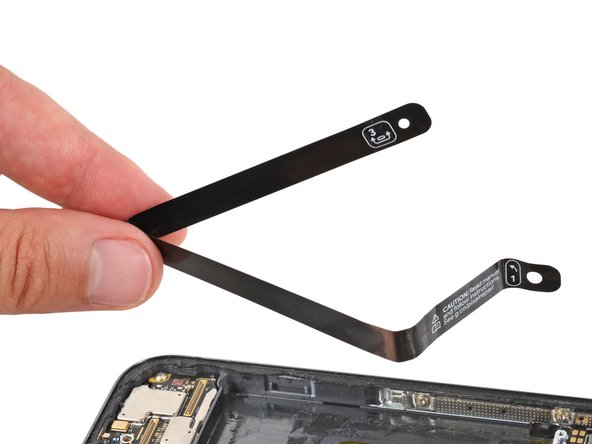
- Use your fingers to peel up the plastic tabs near the bottom edge of the battery.
- Fold the tabs under the phone or tape them out of the way so they don't warp when heating the battery in the next step.
- Wear finger stalls to help get a solid grip on the battery pull tabs in the next few steps.
- If you don't have finger stalls, you can use rubber gloves instead.
- Before starting the battery removal process, carefully read the next three steps. The pull tabs are most effective immediately after heating the battery, so you'll want to know exactly what to do before starting the process.
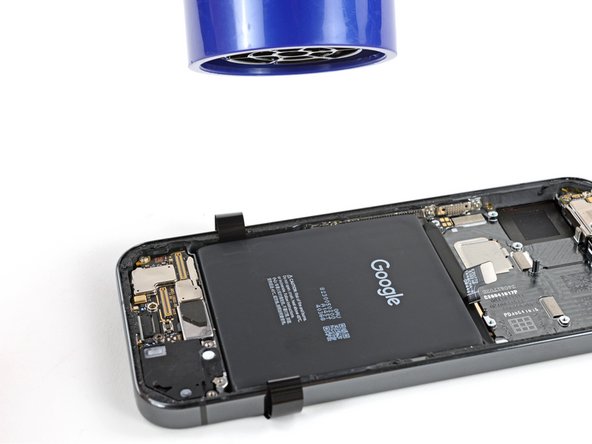
- Strong strips of adhesive secure the battery to the frame. Heating the battery will soften the adhesive, making it easier to separate.
- Use a hair dryer on High heat and Low speed settings to heat the battery for three minutes, while holding the hair dryer about three inches from the battery. Try to evenly spread the heat over the entire surface of the battery.
- Alternatively, you can use a heat mat at 70 °C (158 °F) with your phone placed screen side down for 10 minutes.
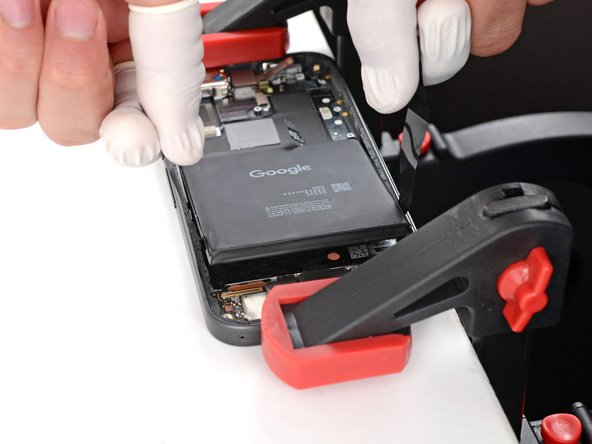
- Since the battery pull tabs require two hands, you'll need to firmly secure the phone to your work surface.
- Before securing your phone, make sure nothing is under it. Only secure the phone by the raised lip of the frame, and be very careful not to press down on any internal components.
- Move the pull tabs out from under your phone so they're accessible.
- Use F‑Clamps or C‑Clamps to secure the phone to your work surface. At minimum, you'll need two clamps—one for the top edge and one for the bottom edge.
- Use clamps with plastic or rubber pads, or be extra careful not to scuff your device.
- If you don't have any clamps, have a friend hold the phone firmly in place.
- Make sure to follow ESD precautions when securing the phone.
- Pull straight up on the battery pull tabs and apply constant, steady pressure until the battery separates from the frame.
- If the battery doesn't separate after one minute of steady pressure, apply more heat and try again.
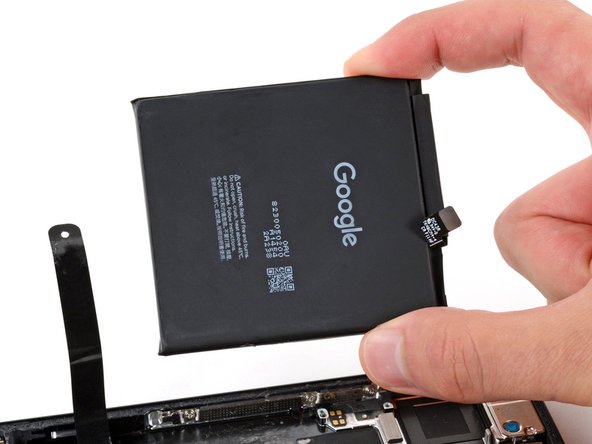
- Remove the battery.
- Never reuse a deformed or damaged battery—it's a fire hazard. Replace it with a new battery.
- If you successfully removed the battery, congratulations! Skip down seven steps for reassembly information.
- If the pull tab broke or accidentally slipped out from under the battery, don't worry! Go to the next step for an alternate battery removal method.
- During the next two steps, don't apply more isopropyl alcohol than instructed, or you may damage your screen.
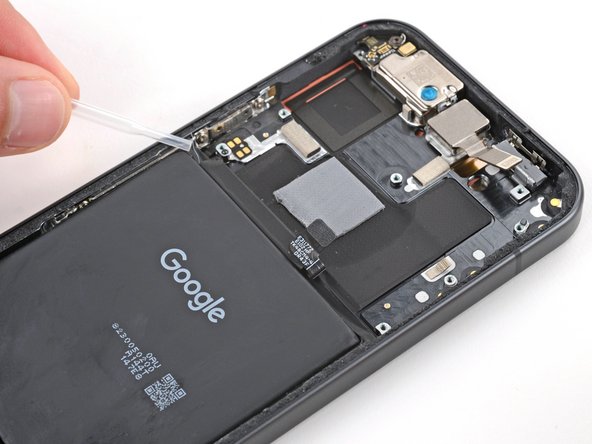
- Apply two or three drops of isopropyl alcohol (greater than 90%) to the top corners of the battery.
- Apply two or three drops of isopropyl alcohol (greater than 90%) to the bottom corners of the battery.
- Wait one minute to allow the alcohol to soften the battery adhesive.
- A heavy‑duty suction cup works very well for battery removal, but you can also use a smaller suction handle. If you're using the smaller suction handle, apply it to the top edge of the battery and skip down two steps.
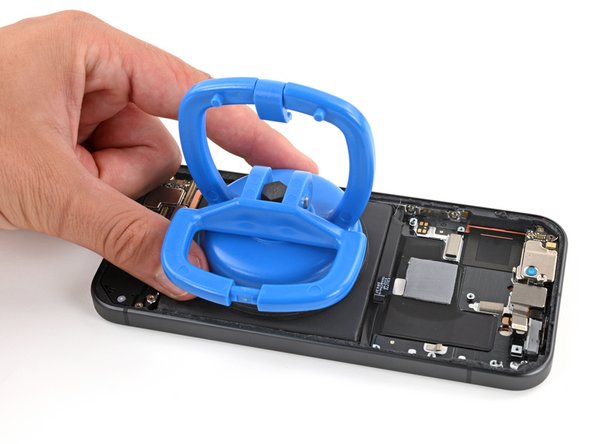
- Pull the handle on the large suction cup down to open it.
- Use your fingers to fold the plastic battery tabs fully out of the way of the battery.
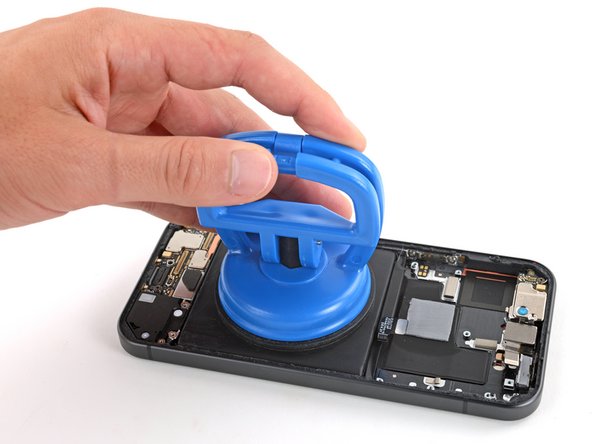
- Place the suction cup in the center of the battery.
- While gently pressing down on the suction cup, pull the handle up to lock it.
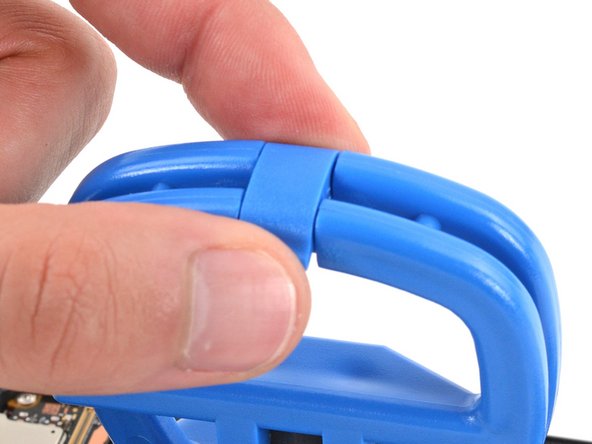
- Flip the plastic clip on top of the suction cup over the handle and clip it to latch the handles together.
- With one hand, firmly secure the phone to your work surface.
- With your free hand, pull the suction cup towards the bottom of your phone with strong, steady force to lift the top edge of the battery. Apply constant pressure with the suction cup to allow time for the adhesive to separate.
- If the battery doesn't budge after one minute, apply two to three drops of alcohol to the corners of the battery and try again. It may take multiple cycles of alcohol and steady pressure to detach the battery.
- Never reuse a deformed or damaged battery—it's a fire hazard. Replace it with a new battery.
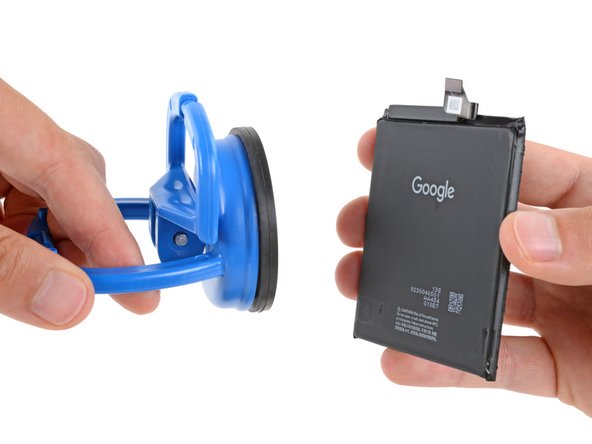
- Remove the battery from its recess.
- Take the suction cup off the battery.
- If the battery pull tab stayed in the recess, remove it.
- Use a spudger to scrape up and remove all the old battery adhesive from the frame.
- Once all the old adhesive has been removed, use isopropyl alcohol (greater than 90%) and a microfiber cloth to clean up any adhesive residue.
- Allow the frame to completely dry before installing a replacement battery.
- Remove any tape or liners from the battery cable.
- Remove the larger plastic liner from the bottom of the battery to expose the adhesive.
- If your battery doesn't have adhesive pre‑installed, apply strips of thin, double‑sided tape to the frame where the old adhesive was.
- Firmly press the battery into its recess to secure it with the adhesive.