Google Pixel 9 5G mmWave Antenna Replacement
ID: 175890
Description: This repair guide was authored by the iFixit...
Steps:
- Let your Pixel's battery drain below 25% before starting this repair. A charged lithium‑ion battery may catch fire if damaged.
- Unplug all cables from your phone.
- Completely power off your phone.
- Press the power and volume up buttons at the same time to bring up the shutdown menu.
- Adhesive secures the perimeter of the back glass to the frame.
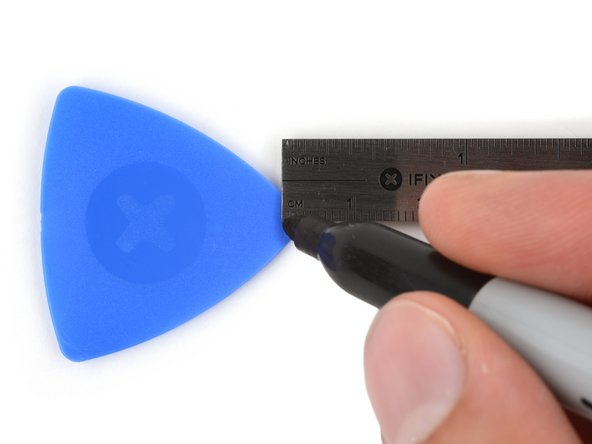
- When separating the adhesive, don't insert your tool more than 3 mm under the back glass to avoid damaging the internal components.
- To help, measure and mark 3 mm from the tip of an opening pick with a permanent marker.
- If your screen or back glass is badly cracked, a suction cup may not perfectly adhere.
- Lay overlapping strips of packing tape over the glass to protect yourself and make disassembly easier. Ensure there's a smooth area near the bottom edge that's large and smooth enough for a suction cup to stick to.
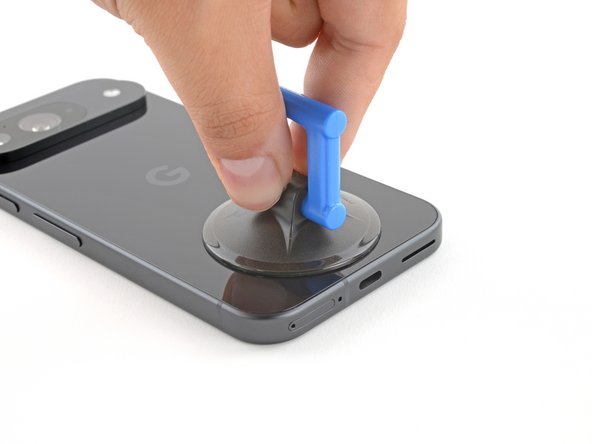
- Place a suction handle at the bottom edge of the back glass, as close to the edge as possible.
- Push down to attach the suction cup.
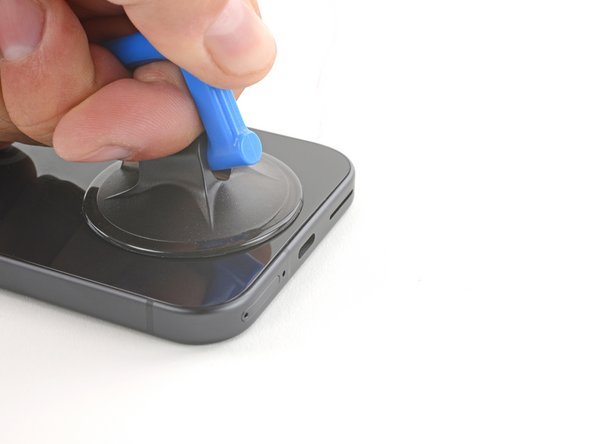
- Pull up on the suction handle with strong, steady force to create a small gap under the back glass.
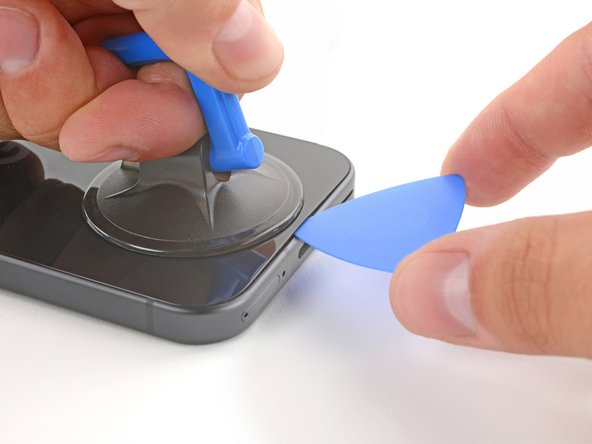
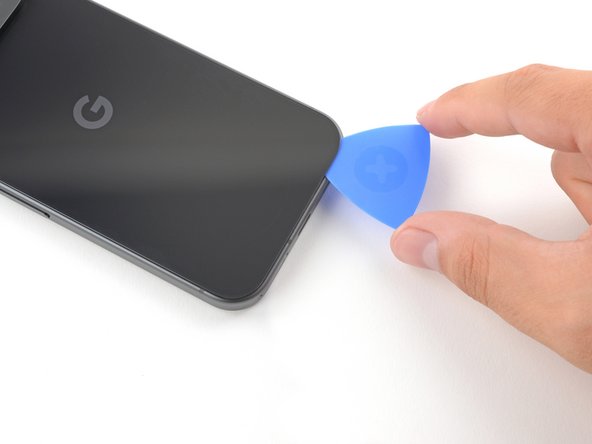
- Insert the tip of an opening pick into the gap.
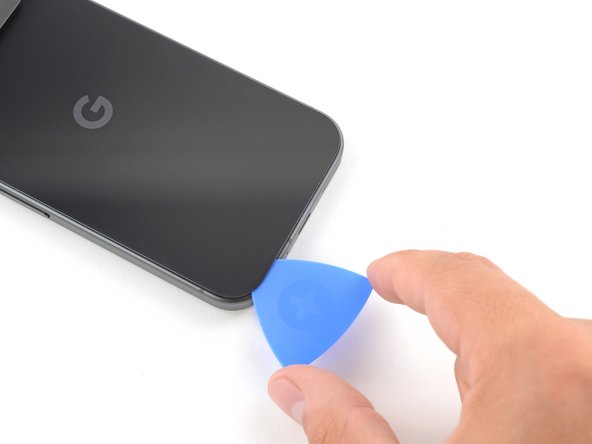
- Slide the opening pick back and forth along the bottom edge to separate the adhesive securing it.
- Remember: don't insert the opening pick deeper than 3 mm.
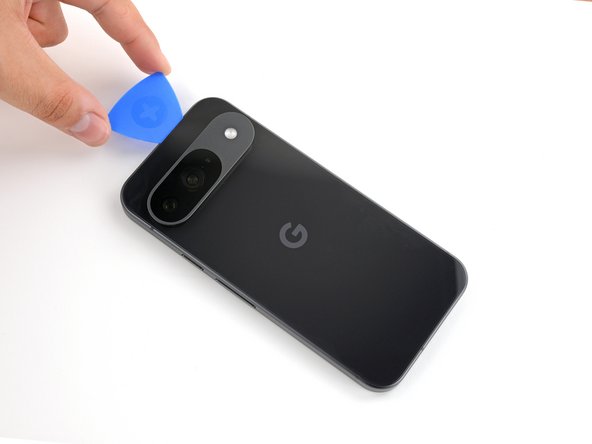
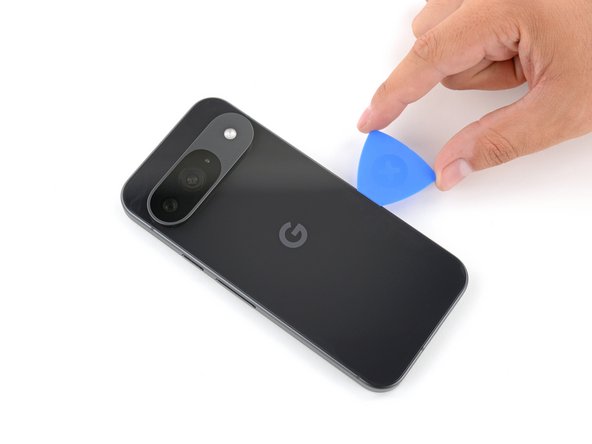
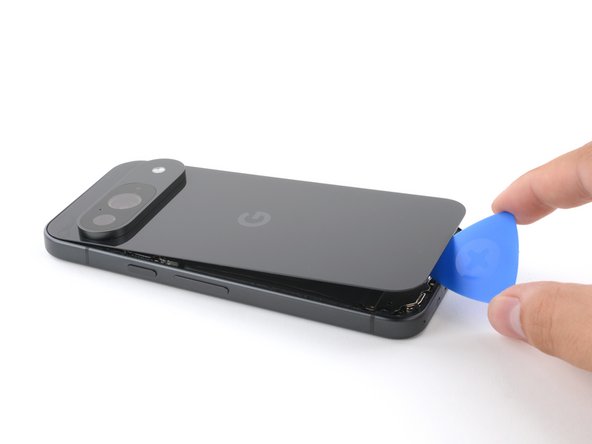
- Slide the opening pick around the perimeter of the phone, slicing the rest of the adhesive.
- With most of the adhesive separated, lightly twist the opening pick at the bottom edge to lift the back glass up until you can grip it with your fingers.
- Use the opening pick to separate any remaining sections of adhesive securing the back glass.
- Remove the back glass.
- During reassembly:
- Now is a good time to test your phone before sealing it up. Power it on and check that it works. Power it back down before you continue reassembly.
- Follow this guide to apply new adhesive and install your back glass.
- Throughout this repair, keep track of each screw and make sure it goes back exactly where it came from.
- While the Pixel 9 uses Torx Plus screws, standard Torx bits also work. Make sure to apply constant, downward force to prevent stripping.
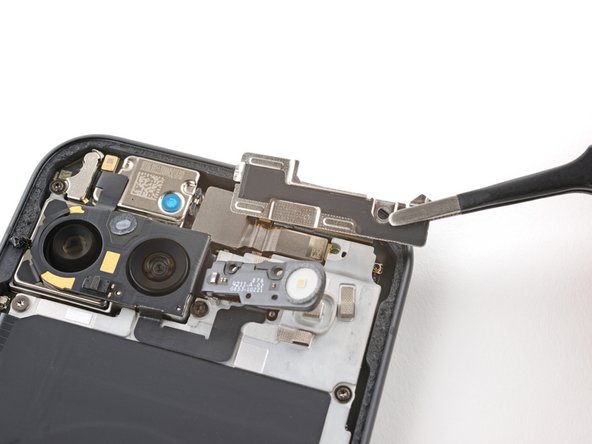
- Use a 3IP Torx Plus driver to remove the single 5.4 mm‑long screw securing the upper board cover.
- Use a pair of tweezers to remove the upper board cover.
- Use a 3IP Torx driver to remove the five screws securing the midframe and wireless charging coil:
- Four 5.4 mm-long screws
- One 2.2 mm-long screw
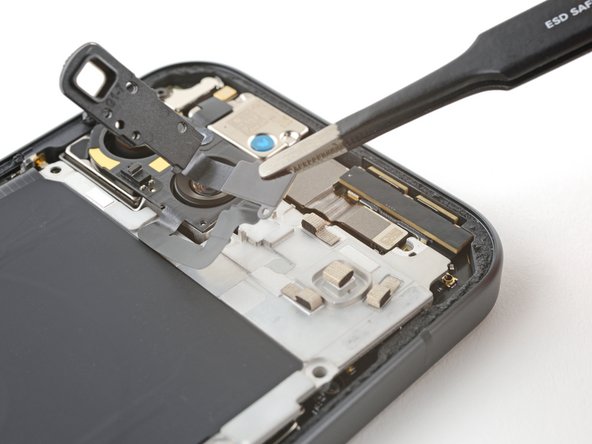
- Use a pair of tweezers to peel the flash cable off of the metal midframe.
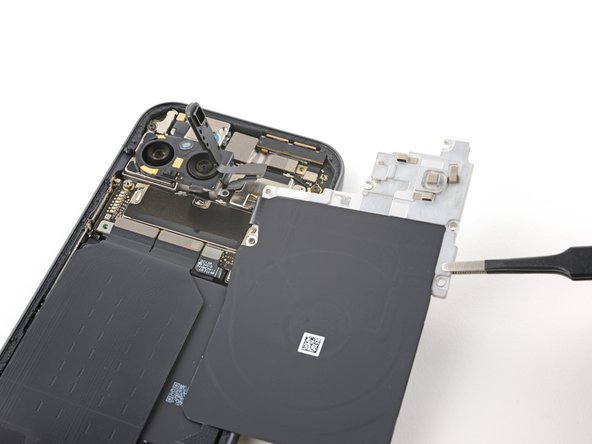
- Remove the midframe, wireless charging coil, and NFC assembly.
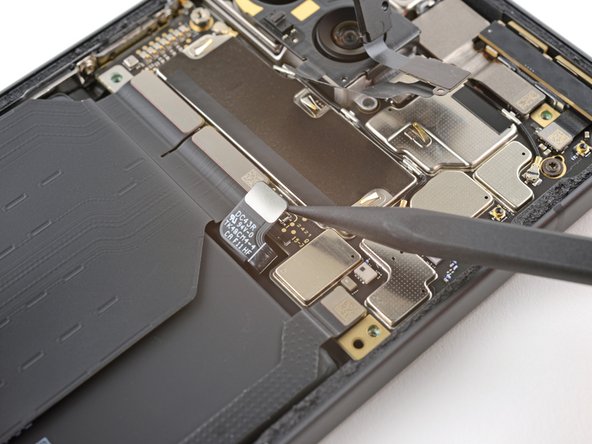
- Use the tip of a spudger to pry up and disconnect the battery connector.
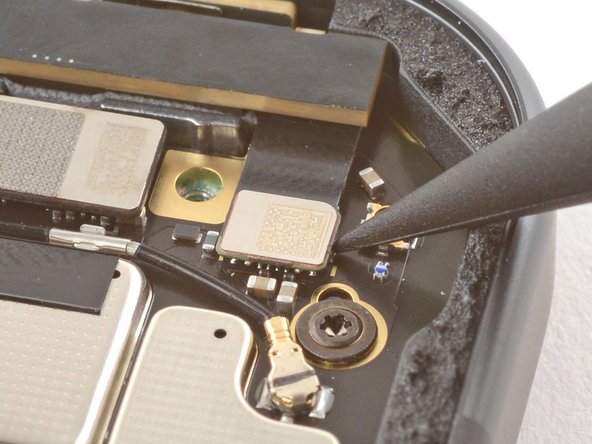
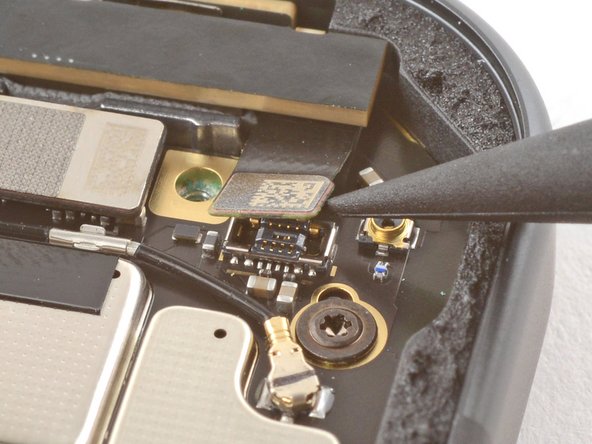
- Use the tip of a spudger to pry up and disconnect the 5G mmWave antenna's press connector.
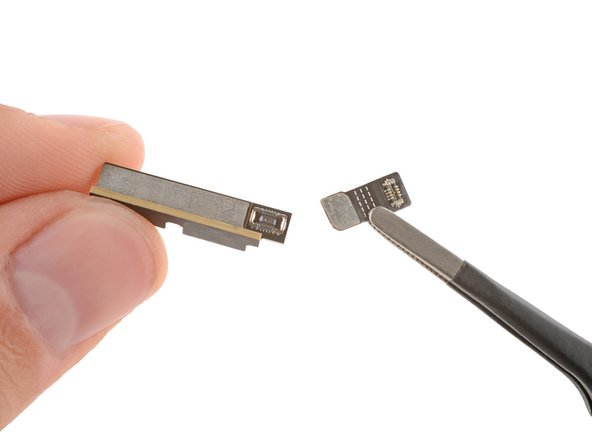
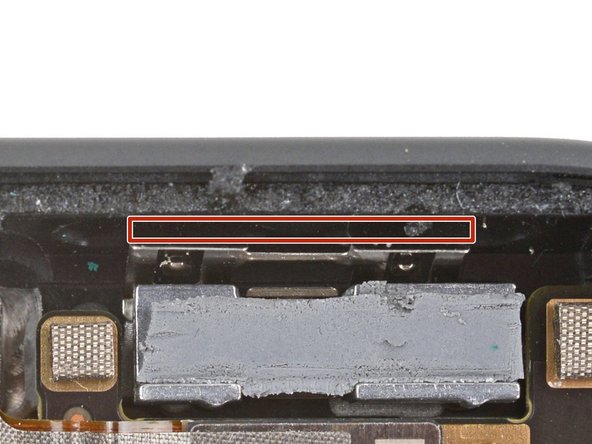
- Remove the 5G mmWave antenna.
- A small flex cable attaches to the back of the antenna with a press connector. You may need to reconnect it if it falls off.
- During reassembly, insert the antenna so it's between the frame and the small metal bracket near the top right corner.