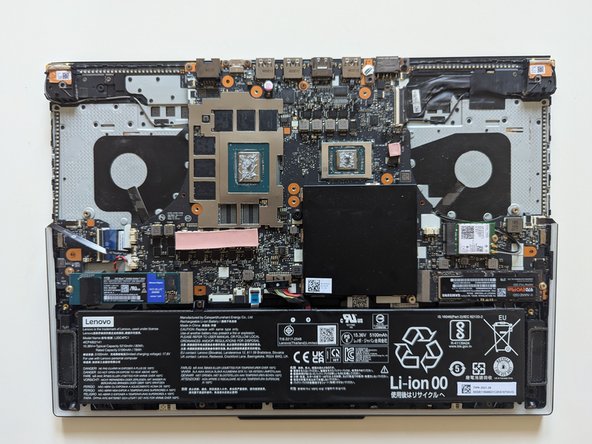
Lenovo Legion 7 16ACHg6 Thermal Paste Replacement
ID: 175974
Description: If your Legion laptop is overheating, it might ...
Steps:
- Turn off your laptop and unplug it from the power source.
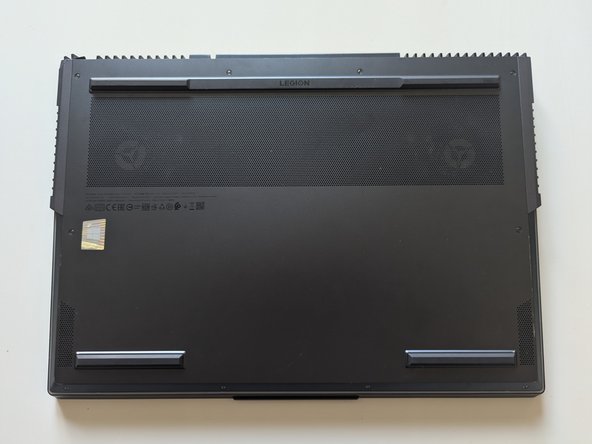
- Use a Philips screwdriver to remove the following ten screws that secures the back cover of the laptop.
- Use an opening pick to carefully remove the back cover from the frame of the laptop by placing the pick between the cover and the frame. Work around the frame, paying extra attention to the vent clips on the side of the laptop. Lift cover and remove it from the chassis.
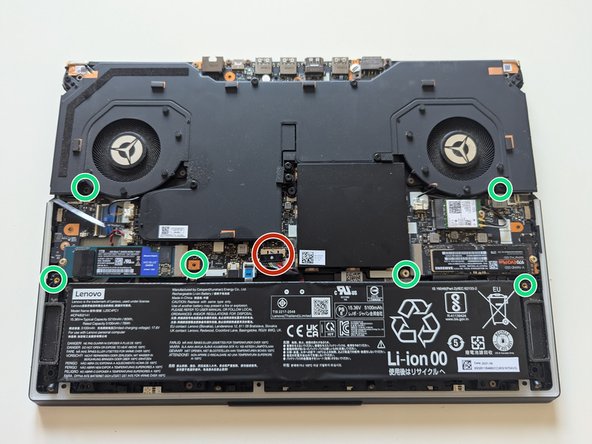
- Carefully detach the battery connecter from the motherboard.
- Remove the six screw securing the two SSD cover plates with a Philips screwdriver.
- Find the CPU and GPU on the motherboard, covered by a heatsink. Unscrew the ten screws with a Philips screw driver.
- Disconnect the two fan cables
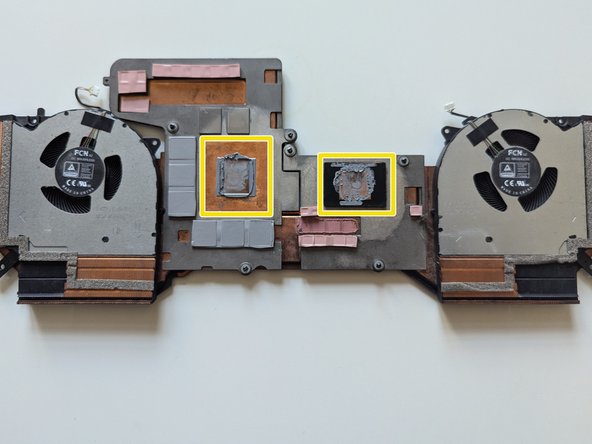
- Carefully remove the heatsink, ensuring not to damage the CPU and GPU.
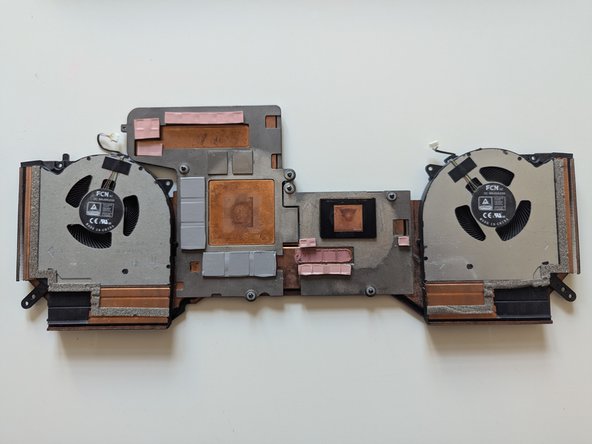
- Use a clean cloth or cotton swab with isopropyl alcohol to thoroughly clean off the old thermal paste from the CPU, GPU and heatsink.
- Apply a small amount of high-quality thermal paste to the centre of the GPU and CPU.
- Carefully place the heatsink back on the GPU and CPU, and then screw it back in place with the ten screws.
- Reconnect the two fan cables
- Carefully reattach the battery connecter from the motherboard.
- Screw in the six screws to attach the two SSD cover plates with a Philips screwdriver.
- Reattach the back cover and screw it back in place with the ten screws and the Philips screwdriver.
- Turn on the laptop and use monitoring software to check the processor’s temperature. You should see a decrease in temperature.