Disassembling Logitech MX Mechanical
ID: 176320
Description: How to disassemble the keyboard and get access...
Steps:
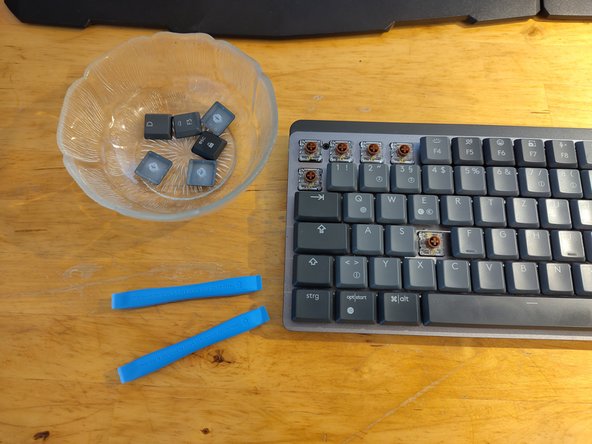
- Use a keycap remover tool / opening tool or your hands to remove all keycaps.
- Make a few photos of your keybord layout to have a reference for reassembly later on.
- If your keybord is dirty use a soft brush to clean it.
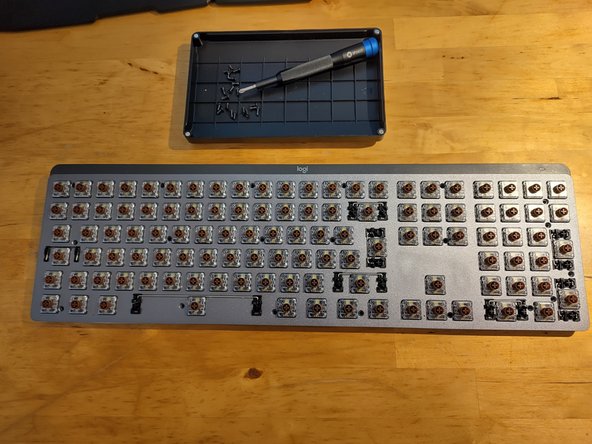
- Remove 20x black screws with a Philips size 0 screwdriver.
- Don't loose the screws, put them in a bin or similar.
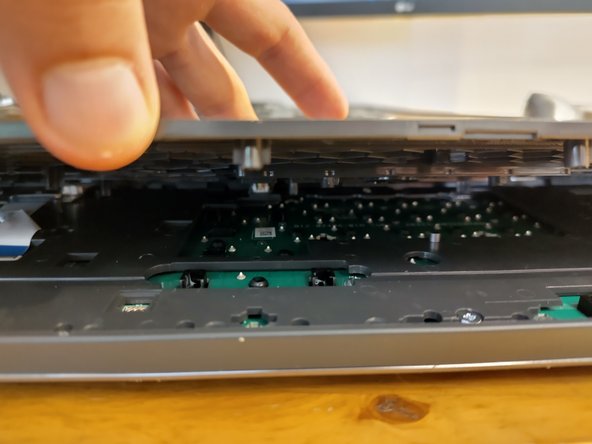
- The back cover is held in place by small plastic tabs.
- Flip the keyboard on its front.
- There is a small slid between the back cover and the body. Insert a thin plastic opening pick at the top of the keyboard.
- Use something sturdy, like a metal spudger to release the plastic tabs all around.
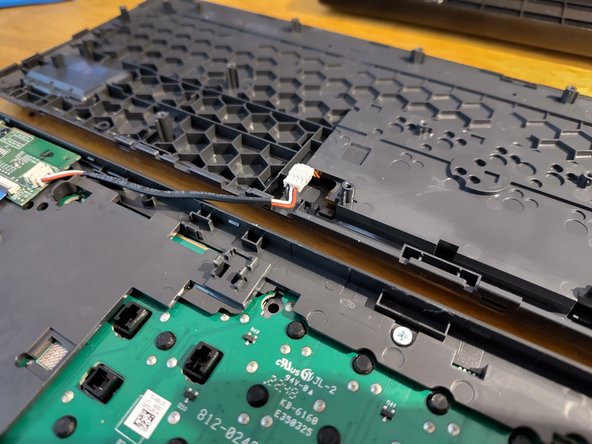
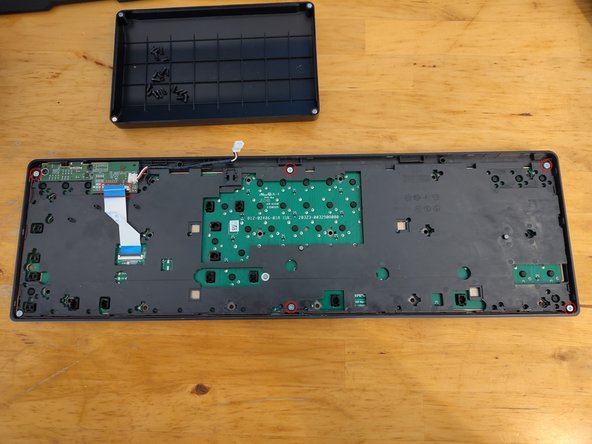
- There is a cable comming from the battery and connecting the plastic cover and the keyboard front. The connecter is clipped into the plastic frame above the PCV and can be unclipped using some tweezers or spudger.
- Disconnect controller from battery.
- Disconnect ribbon cable from controller.
- The plastic frame above the PCB is connected via screws. Unscrew 6x silver screws using a size 2 philips screwdriver.
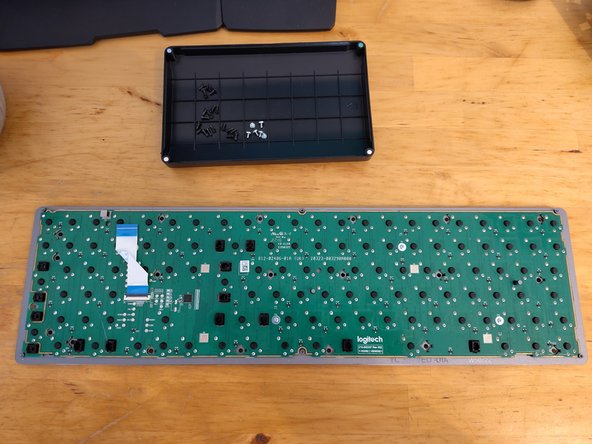
- Remove the black plastic frame covering the PCB.
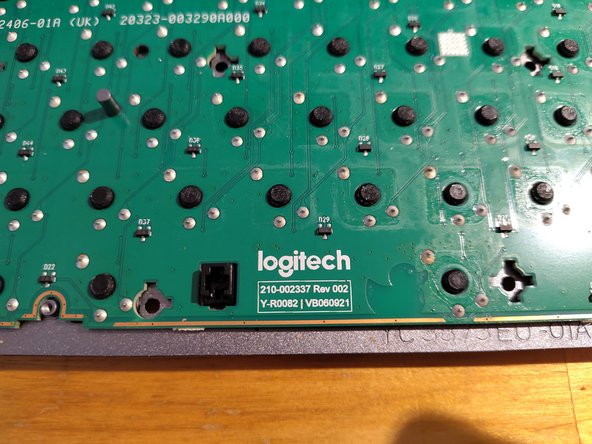
- There are 4 capped screws (silver) fixing the PCB to the metal part of the keyboard. One hides under the ribon cable.
- Removing the switches isn't covered by this guide.
- The switches for this model are Kailh Choc V2 Low Profile Switches.