How to Apply New Rear Cover Adhesive in Your Google Pixel 9 Pro XL
ID: 176568
Description: Use this guide to replace the rear cover...
Steps:
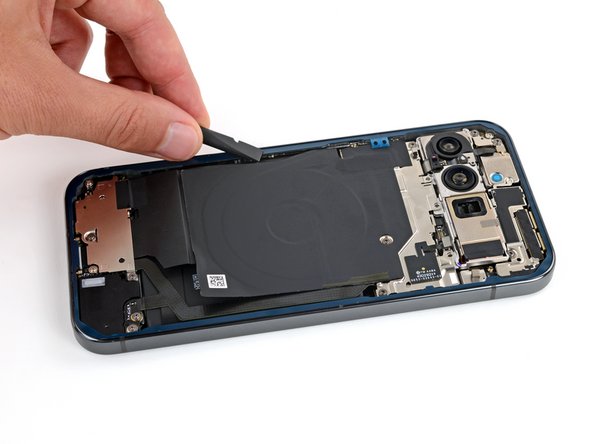
- When removing the rear cover adhesive during this step, be very careful not to damage the battery or any of the fragile components near the perimeter of the frame.
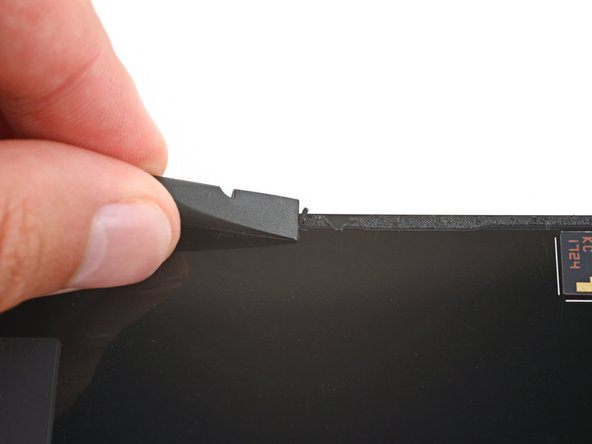
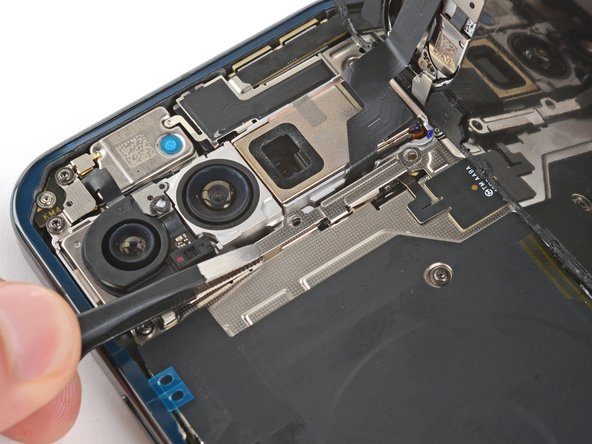
- Use a spudger to scrape up and remove all the old rear cover adhesive from the perimeter of the frame.
- This will take some time as the adhesive can be tricky to remove. Work slowly and try to roll the adhesive onto itself.
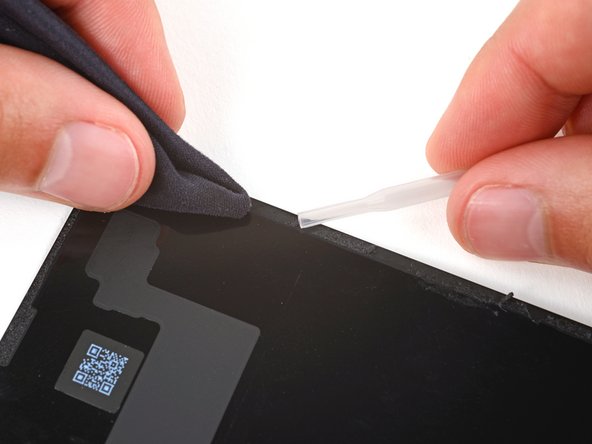
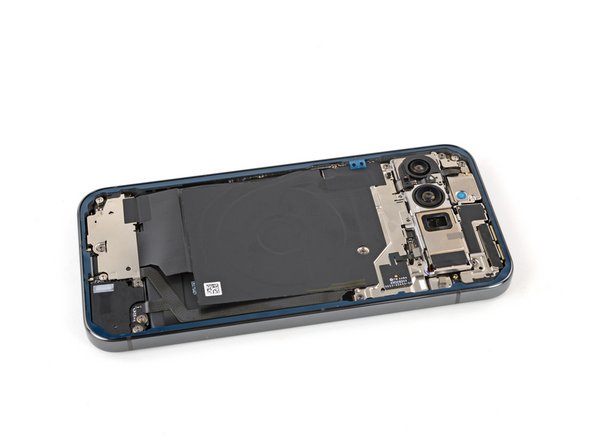
- Once you've removed all the old adhesive, use isopropyl alcohol and a microfiber cloth to clean up the adhesive residue from the perimeter of the frame.
- In order for the new adhesive to form a good bond, the frame needs to be completely clean of all adhesive and its residue.
- If you're installing a new rear cover, skip this step.
- Repeat the previous step to remove all the rear cover adhesive and its residue from the underside of the rear cover.
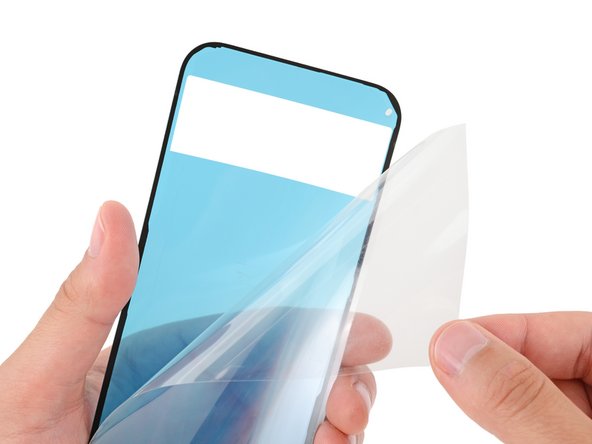
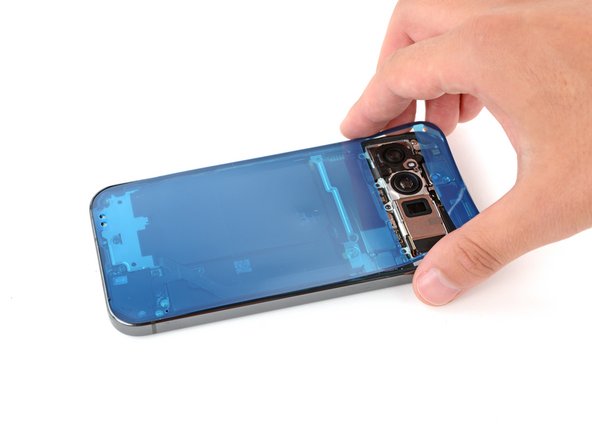
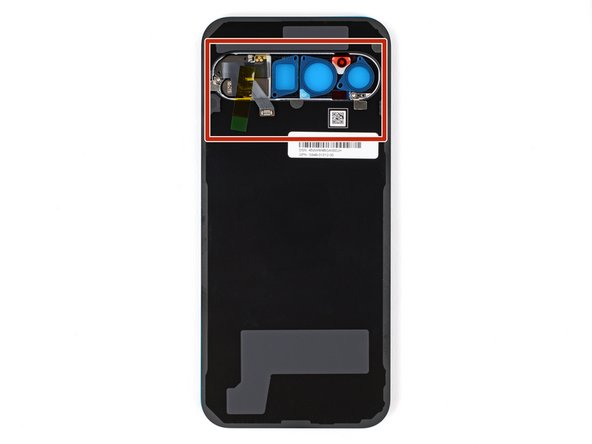
- Remove the larger clear liner from the rear cover adhesive.
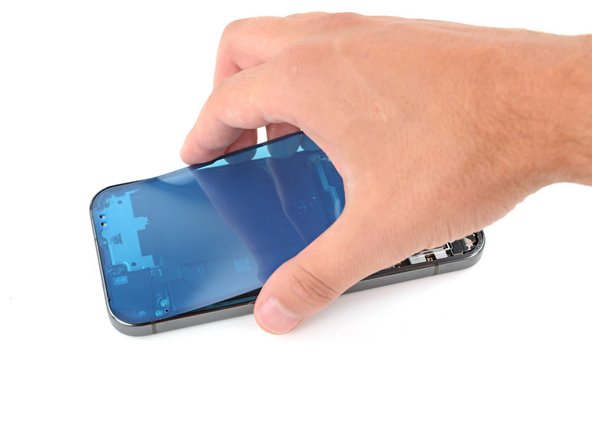
- Be very careful during this step! Once the adhesive sticks to the frame, you won't be able to reposition it. If the adhesive gets applied incorrectly, you'll have to start over with a new one.
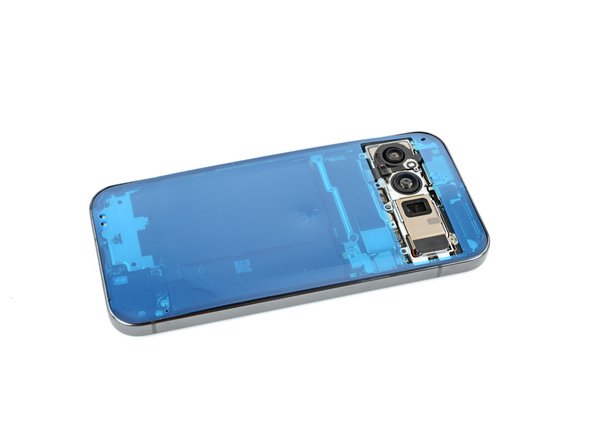
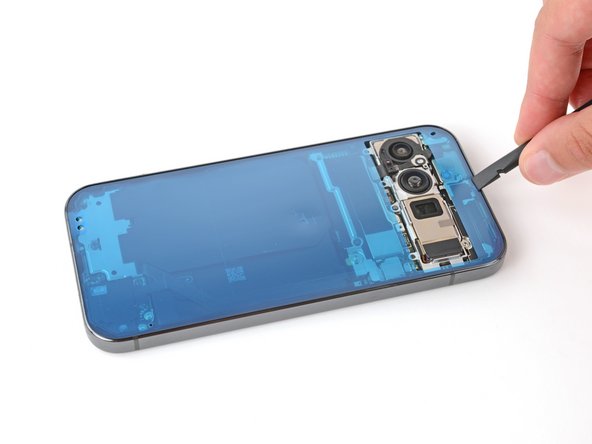
- Carefully place the adhesive onto the frame so the large cutout goes over the cameras. Use the frame's lip to help position the sheet.
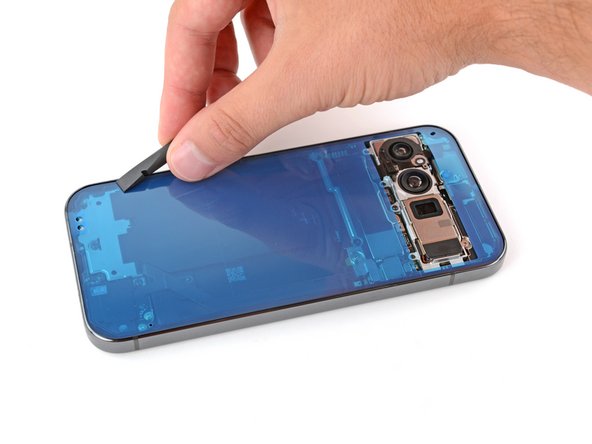
- Use the flat end of a spudger to firmly press around the perimeter of the adhesive to secure it to the frame.
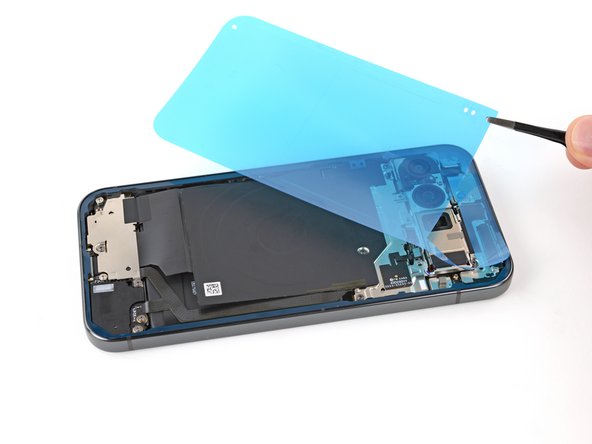
- Grip the top left corner of the large blue liner with tweezers or your fingers and remove the liner.
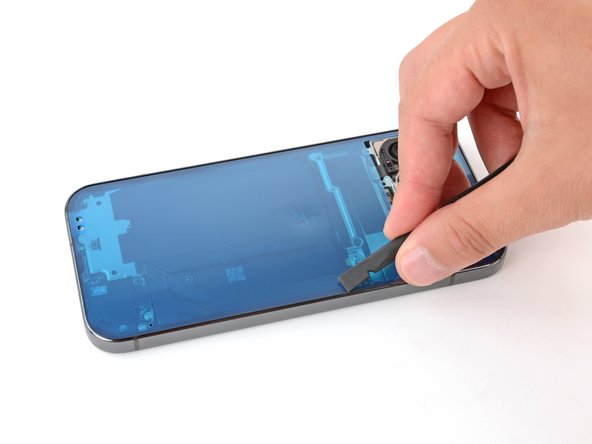
- If any of the adhesive starts to peel up with the liner, gently lay it back on the frame and use the flat end of a spudger to secure it.
- Use the flat end of a spudger to firmly press around the perimeter of the adhesive to secure it to the frame.
- Remove any liners from the underside of the rear cover, near the camera cutout area.
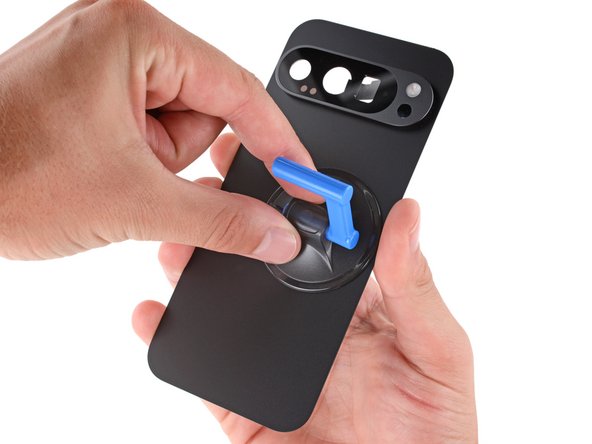
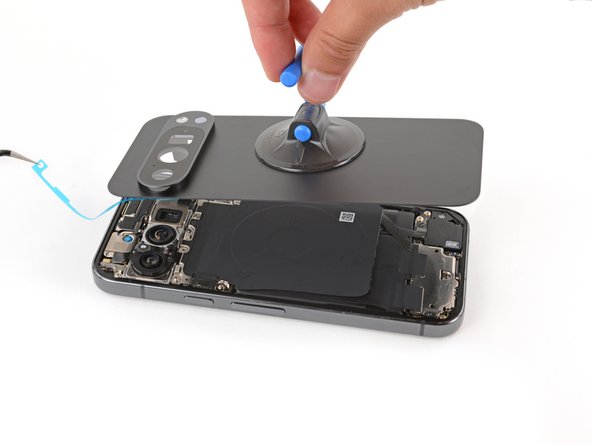
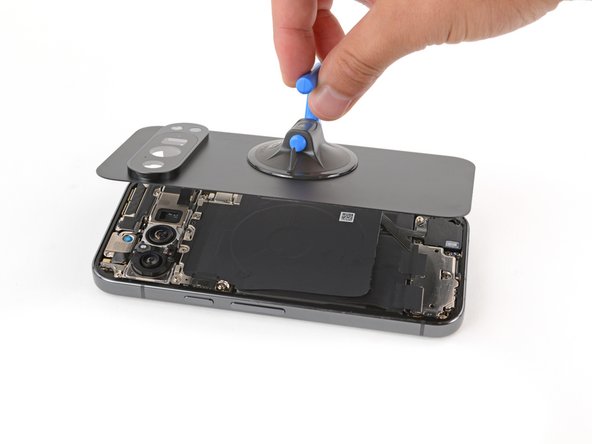
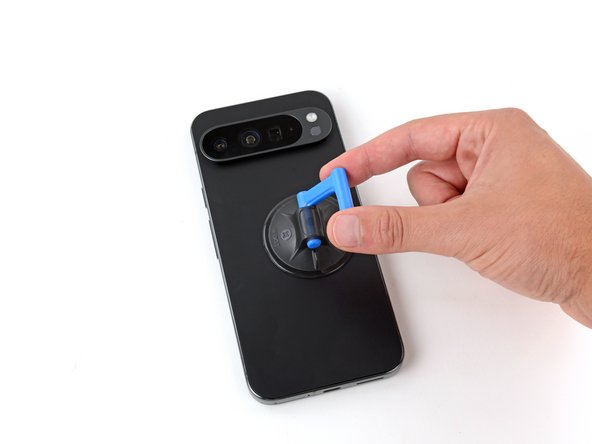
- Apply a suction handle to the back of the rear cover, as close to the center of the right edge as possible.
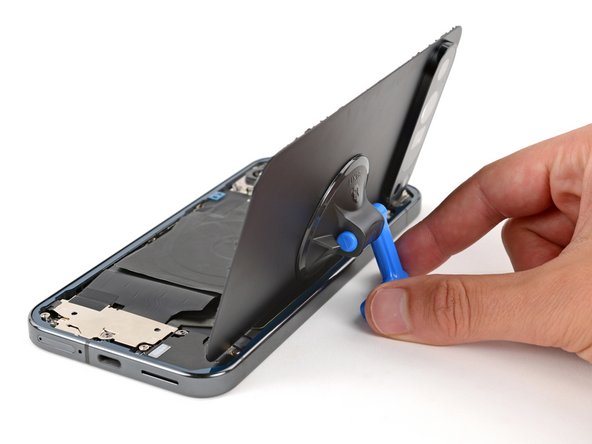
- Prop up the rear cover just to the right of your phone.
- Reconnect the rear cover press connector to the logic board.
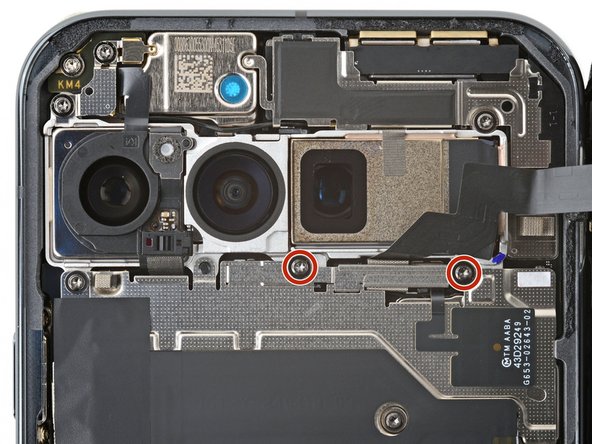
- Put the cable cover into place.
- Use a Torx Plus 3IP screwdriver to install the two 5.2 mm‑long screws securing the cable cover.
- Now is a good time to test your phone before sealing it up. Power it on and check that it works. Power it back down before you continue reassembly.
- Grip one of the pull tabs on the left side of the frame and remove it.
- If any of the adhesive starts to peel up with the liner, gently lay it back on the frame and use the flat end of a spudger to secure it.
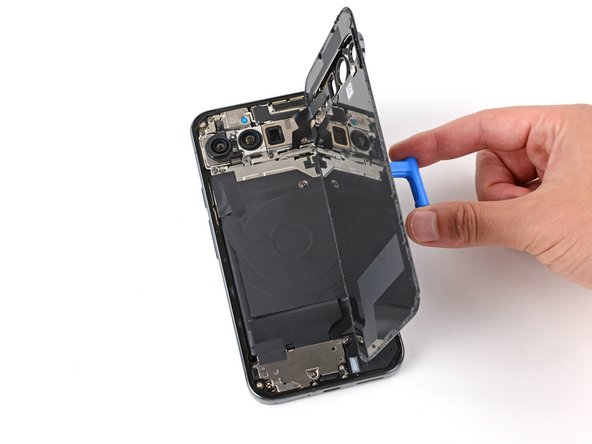
- With one hand, use the suction handle to hold the rear cover over your phone. Remember that the rear cover is attached to the phone with a delicate cable.
- With your free hand, use tweezers or your fingers to remove the remaining blue liner and expose the rear cover adhesive.
- Lay the rear cover onto the frame and firmly press it into place.
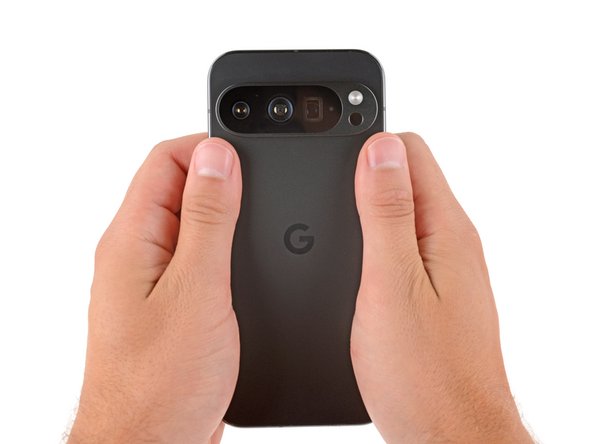
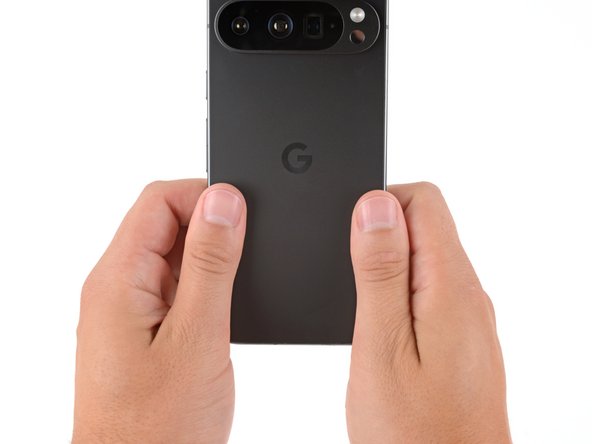
- Firmly squeeze around the entire perimeter of the rear cover to secure it with the adhesive.
- When powering on your Pixel for the first time after your repair, make sure the phone is laying flat and nothing is touching the screen (fingers, plastic liners, screen protectors, cases).