Pimax 5K Plus Disassembly
ID: 176586
Description: The Pimax 5K Plus is a VR headset developed by...
Steps:
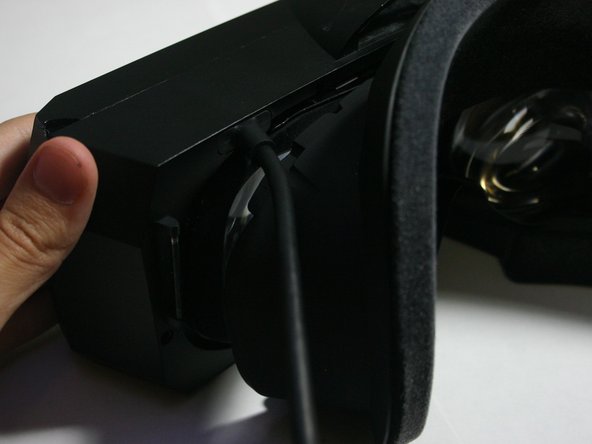
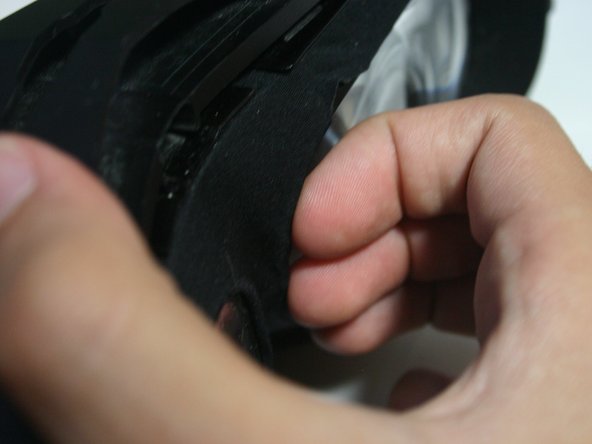
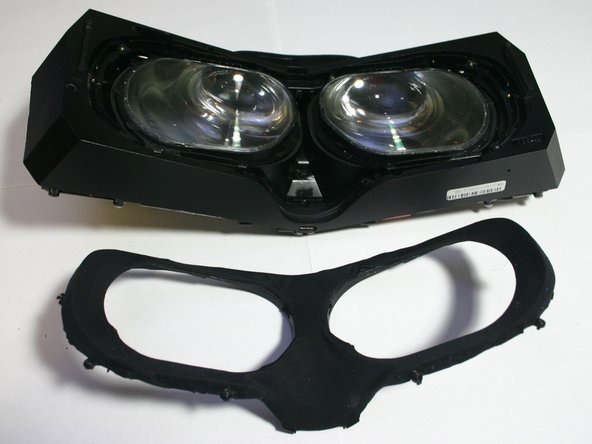
- Carefully pull on the rubber surround.
- Try not to put too much pressure anywhere on the plastic as it cracks easily, especially the large flat surface on the front.
- Gently but firmly pull on the cable. Rotate around as you pull and it should come out easily.
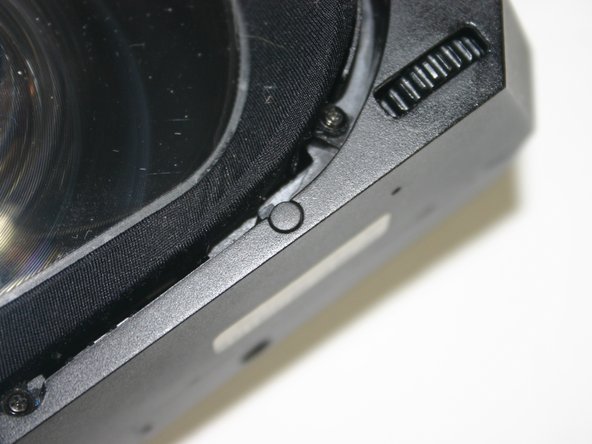
- Pull out the four rubber pieces on the inside edge of the case screws.
- Use a Phillips screwdriver to remove the four 5mm‑long machine screws holding together the case.
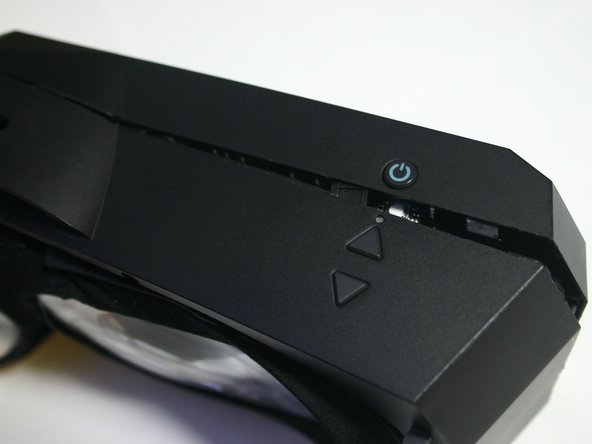
- Use a pry tool to carefully pry open and unclip the edges of the headset.
- Work your way around the headset. Be mindful that the plastic cracks fairly easily so try not to put too much pressure in a way that would cause it to crack or for existing cracks to grow
- Be careful when reaching the end as there is a ribbon cable that connects to the front plastic and pulling too hard on it could damage it leading to less lighthouse sensors at best and a headset that won't initialize at worst.
- If you're using a metal pry tool, be careful how you apply pressure. It can be easy to cosmetically ruin the edges of the plastic when prying. If this happens and leaves the plastic sharp you may wish to sand it down a bit so as to avoid future cuts.
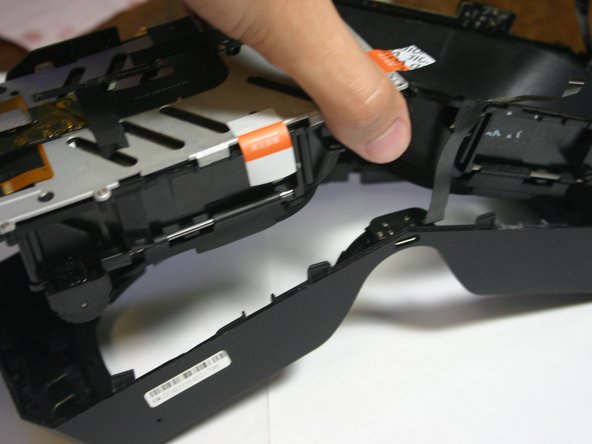
- Carefully separate the two plastic halves without pulling on the ribbon cable.
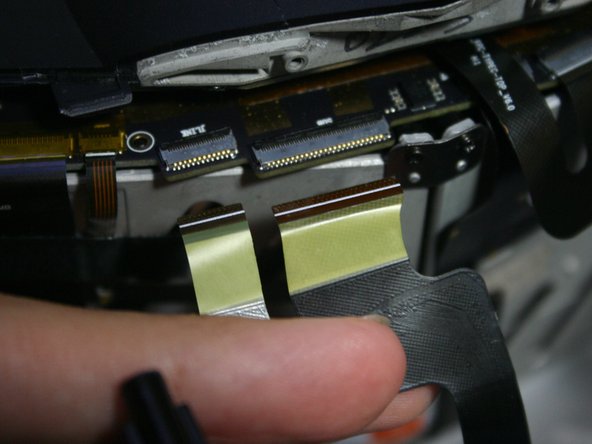
- Use an angled tool to unlatch the ZIF connectors.
- Gently pull out the ribbon cable. Due to the connectors being staggered you can't really have the cable out straight away from the headset.
- Reassembly note: It's easier to start with the smaller ribbon cable here.
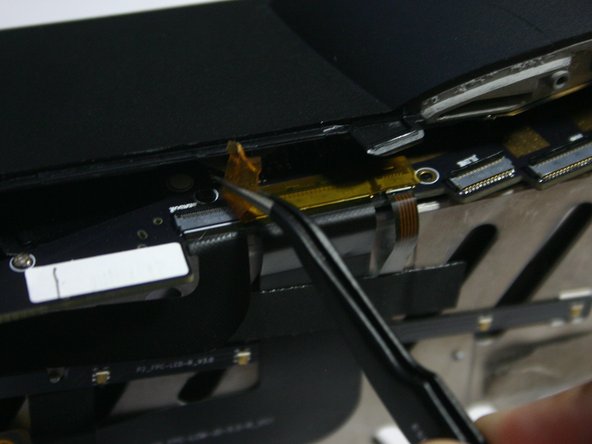
- Remove the kapton tape from the ribbon cable connectors.
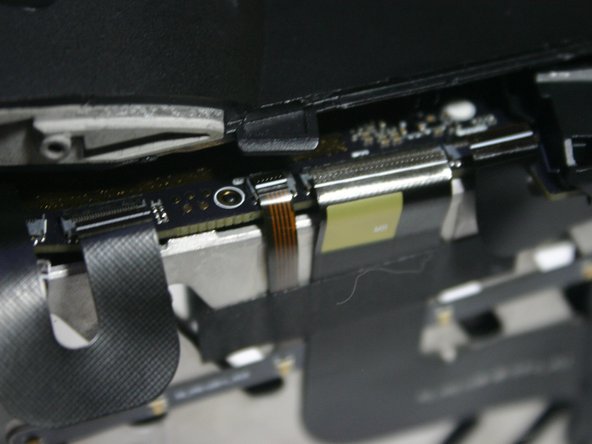
- Disconnect the lightbar, display, and lighthouse ribbon connectors which the tape covered, and disconnect the top and bottom USB-C port ribbon cables.
- If you don't want to open the eye tube, you dont need to disconnect the lightbar or display ribbon cables.
- Carefully peel up the top and bottom USB-C ribbon cable ribbons from the metal display support, as they are glued on.
- On reassembly, carefully make sure the ribbon cables are fully seated. These cables are double-row. If the white line isn't up against the edge of the connector, the contacts could make connection with the wrong pins.
- We will now be opening the left eye tube. This is the quickest way to get inside an eye tube. If you don't want to open the eye tubes, skip to Step 13.
- The right eye tube requires taking it apart significantly further as you have to remove the motherboard.
- Use a Phillips screwdriver to remove the eight screws securing the metal display support.
- Four 3mm-long silver plastic screws
- Four 4mm-long black plastic screws (and metal bracket)
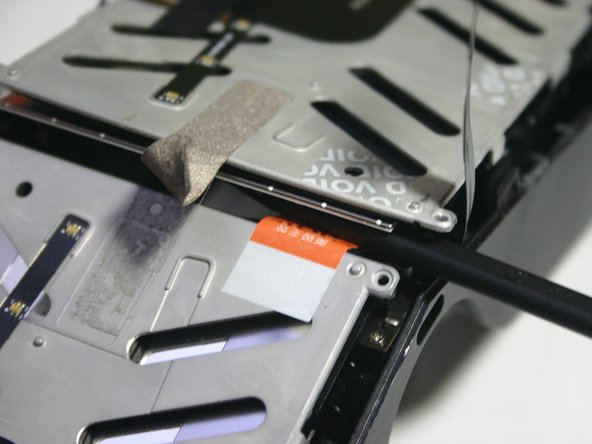
- Remove the strong support tape.
- Remove the warranty void tape.
- Lift up the metal display support bracket being mindful of the ribbon cable connecting to the display on the outer edge
- Use a plastic spudger to lift up the on the display using the small hole near the corner
- Lift out the display.
- Be sure to keep the display in a safe place. Ideally prevent dust from falling/collecting on it's surface, as that will be where it is the most visible in VR.
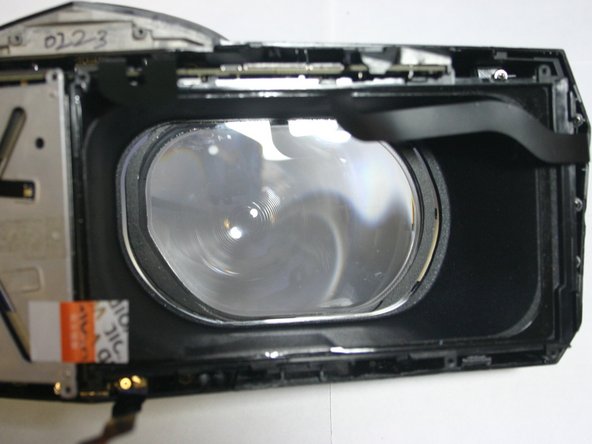
- You now have access to the left eye tube!
- Use your fingernails or a tool to pull inward and outward on the top inner corner of the fabric-lined plastic around the lens to pull it off it's plastic clips.
- Do the same on the bottom inner edge.
- Now the whole inner side should be loose and have a bit of play in it.
- If you're too rough with it, the fabric can become dislodged from the plastic ring it's attached to. If this happens, you should be able to glue it back into place once it's out.
- Keep the inner edge lifted, and use a fingernail or tool to pull outward on the outter edge of the fabric-lined plastic around the lens to free it from the longer outer plastic clips.
- Use a Phillips screwdriver to remove the ten 4mm-long machine screws holding on the outer fabric support ring.
- Remove the surround fabric.
- Use a Phillips screwdriver to remove the 14 screws securing the inner housing:
- Eight recessed 4mm-long machine screws
- Six 4mm-long plastic screws
- Carefully pull out the inner assembly.
- Congratulations! You've pretty much disassembled a Pimax 5K Plus. This is as far as I'm going to take this guide, but the rest of the component removal is fairly straightforward and I'm confident you can figure it out.
- Contributions are welcome if someone wants to finish this off.