Dell Latitude 5411 Webcam Replacement
ID: 177959
Description: This is a guide on how to replace a Dell...
Steps:
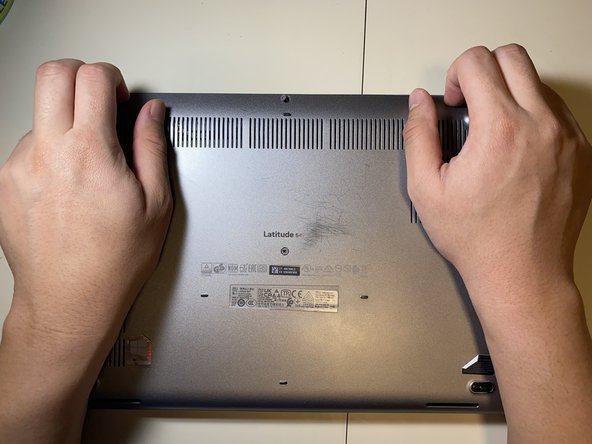
- Loosen all eight 2.5 mm captive Phillips #1 screws that secure the lower case.
- As the screws are captive, they will remain in the case after being loosened.
- Lift the base cover starting from the left hinge.
- If it is hard to pull off, make sure that all the screws are loose.
- Pull the battery connector pull tab straight up to disconnect the battery.
- Remove the one 2 mm Phillips #1 screw that secures the battery.
- Lift the battery straight up and out of the chassis.
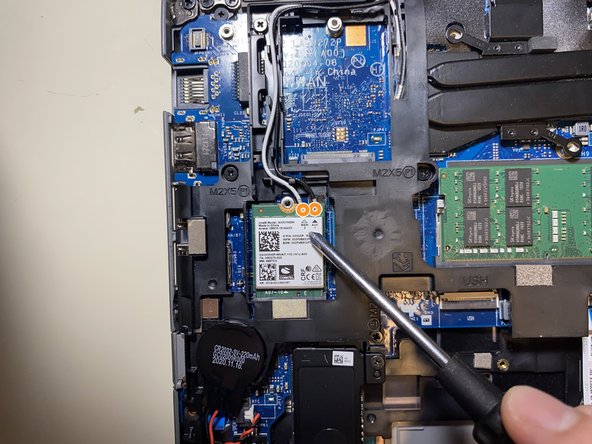
- Remove the one 1 mm Phillips #1 screw that secures the Wi-Fi card.
- Take note of which color wire went into each spot, then disconnect the antenna cable connectors by lifting them straight up.
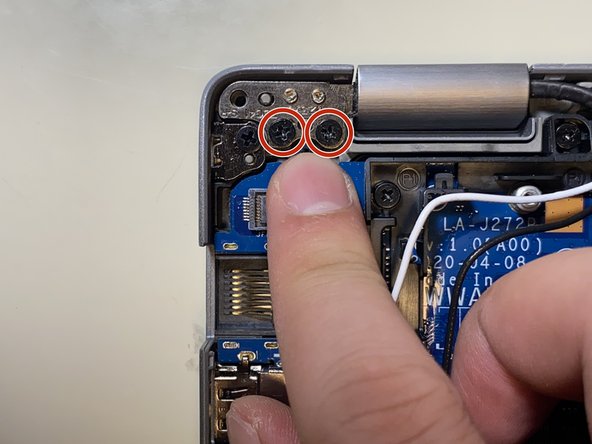
- Remove the two 2 mm Phillips #1 screws that secure the display cable bracket.
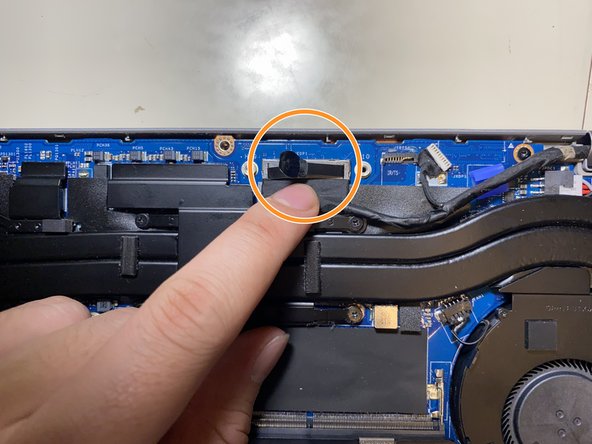
- Pull straight up on the display connector pull tab to disconnect the cable.
- Disconnect the touchpad connector by pulling it straight out of its socket.
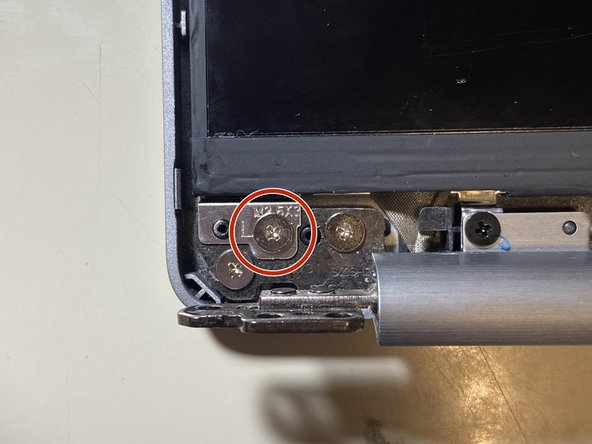
- Remove the four 2.5x5 Phillips #1 screws securing the hinges to the chassis.
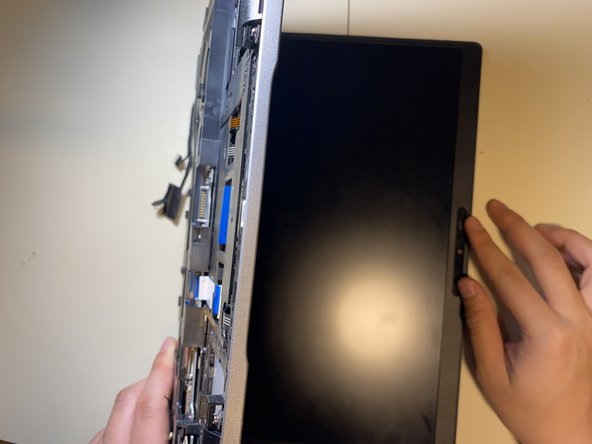
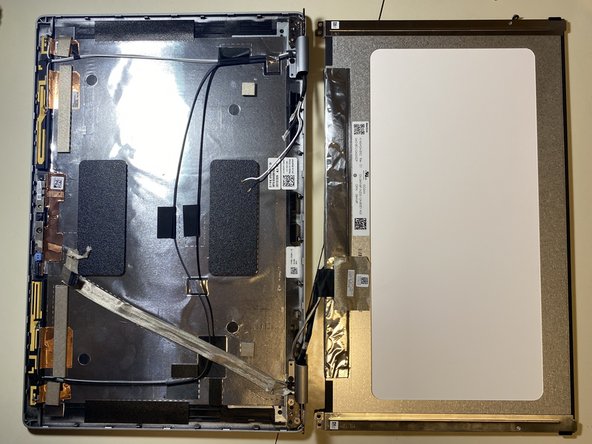
- Open up the laptop to 90 degrees.
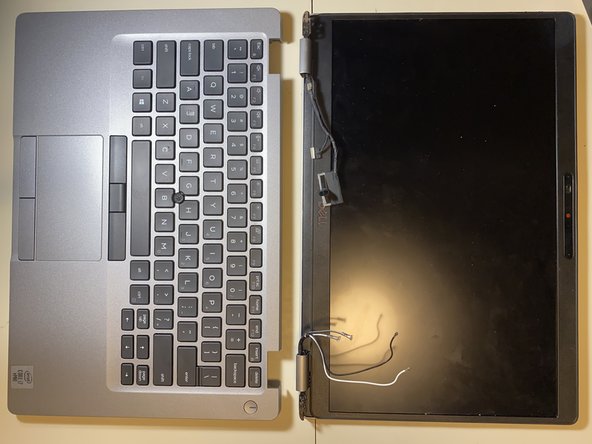
- Pull the laptop chassis from the laptop screen and separate them.
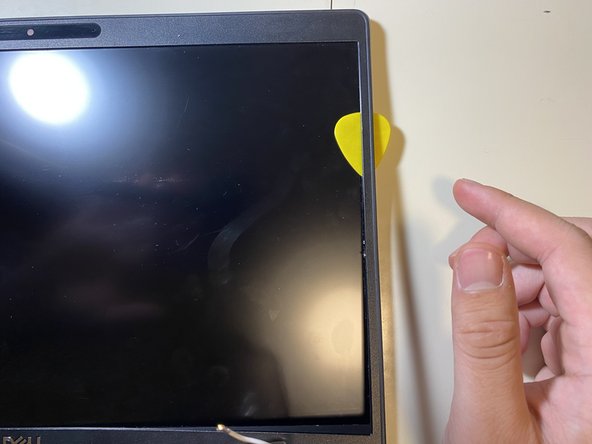
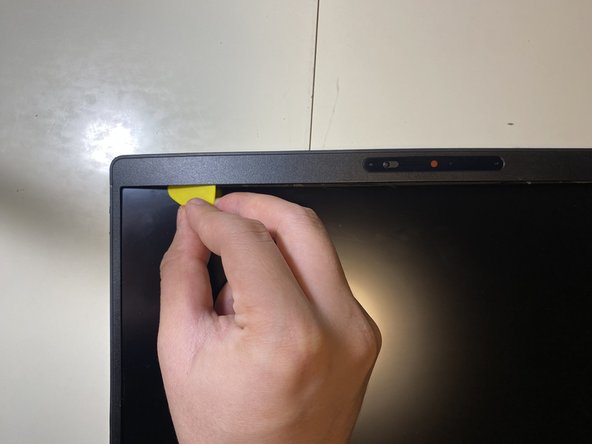
- Insert an opening pick into seam between the bezel and the back display cover. Slide and pry around the entire perimeter to separate the entire bezel from the back cover.
- Remove the two 2.5x3 Phillips #1 screws.
- Lift the display up and out.
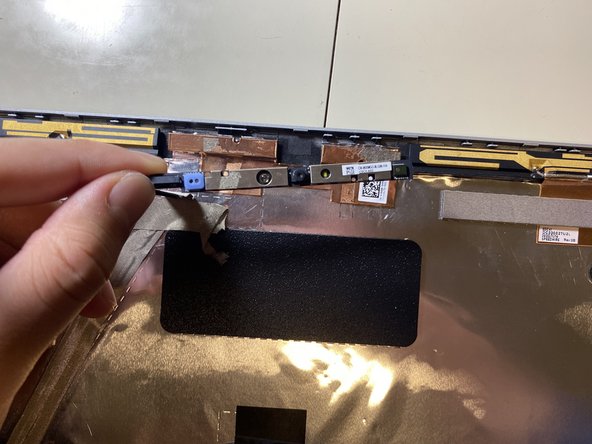
- Disconnect the camera cable.
- Lift the laptop webcam up and out.