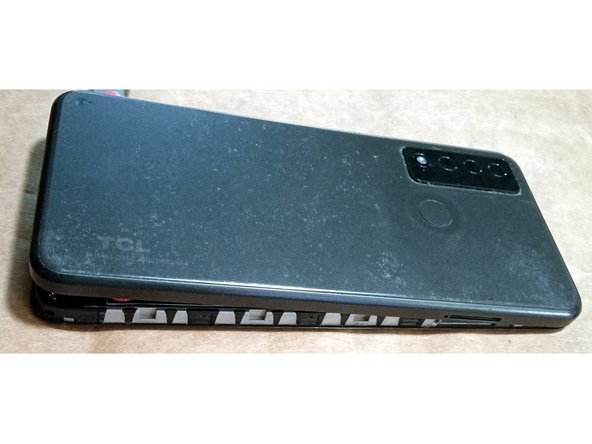
TCL 20 XE - screen replacement (and TCL 20 SE, TCL 30 SE, TCL 30 XE)
ID: 178294
Description: This disassembly and replacing the touchscreen...
Steps:
- Match the replacement screen you have to your current screen before you begin disassembly! Visually, physically, and by component number. If it's the wrong one, it still might look similar.
- The disassembly can mostly be reversed, but removing the screen itself is destructive, and it cannot be put back on. This means the phone will not be usable until a new screen is installed.
- "Silver" screws are a coarser thread.
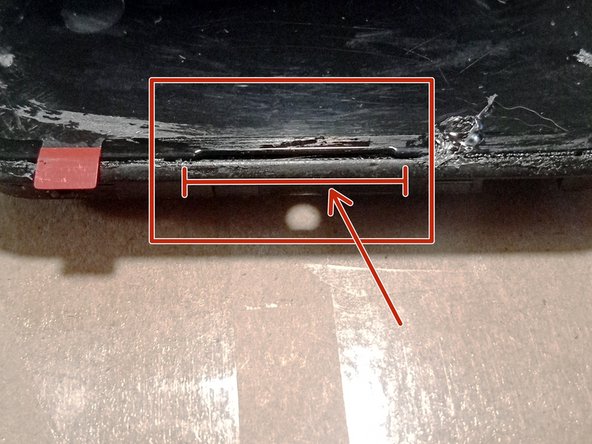
- NOTE: You can always tell where a "silver" screw is supposed to be from the notch extending from the hole (where the red arrow is pointing).
- "Blue" screws are a finer thread, and usually have blue threadlock on them. (But some don't, and sometimes the threadlock wears off.)
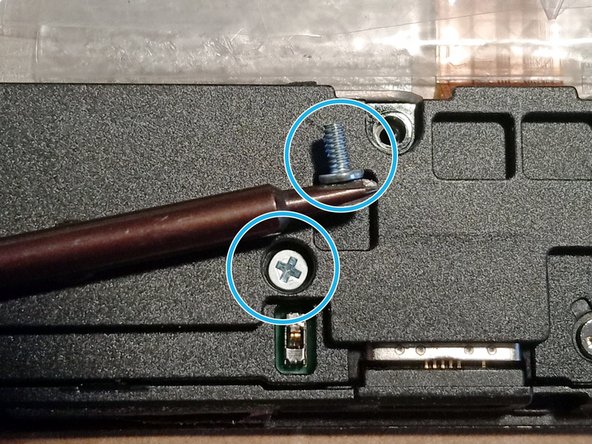
- The smallest screw is holding the top board in place (under the top component cover).
- Tools: a small Phillips (plus-sign) screwdriver, various thin, non-metallic pry tools and picks, a container for holding the screws and parts, screen glue.
- A good screen glue to use is B-7000. Other thin, strong, flexible, waterproof glues can be used, but this one is readily available, and usually comes in replacement screen kits.
- Loosen the cover from the front.
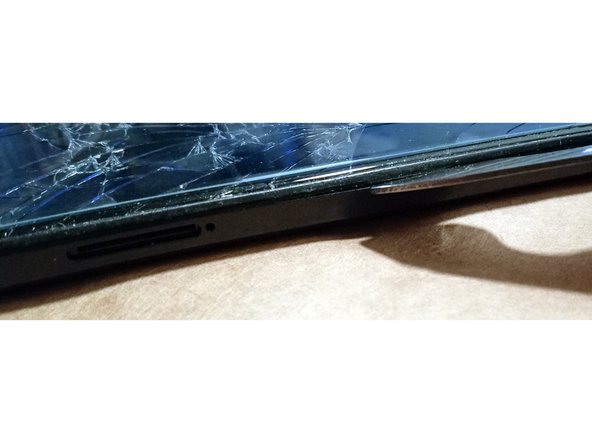
- There is a slim curved plastic rim around the glass. You can see the separating line on the side of the phone.
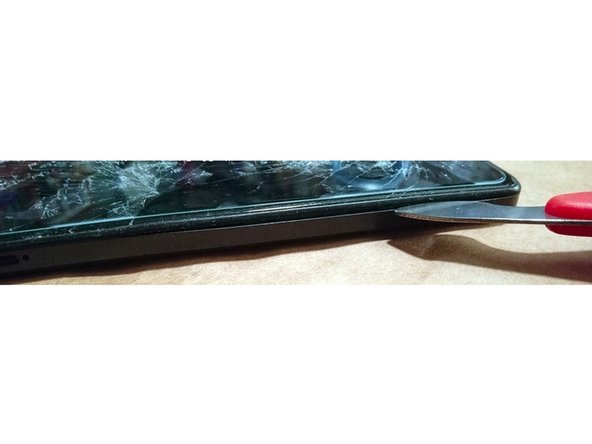
- Start on the side with the SIM card slot. Insert a slim tool in about the center.
- Slide the tool toward the bottom of the phone.
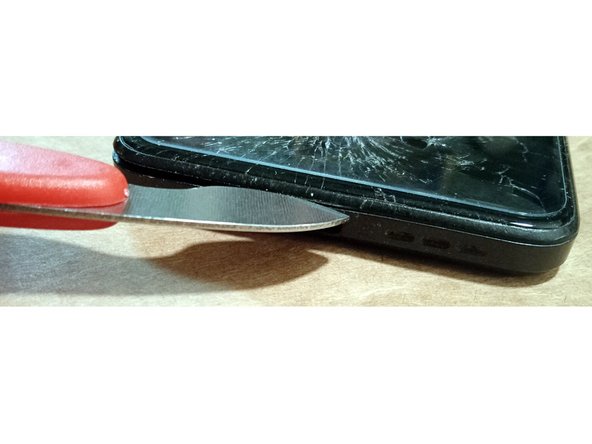
- Use a pick slipped in the crack to carefully turn the corner to the bottom of the phone.
- Keep going across the bottom and up the other side, using a combination of pick and tool.
- Prying open the bottom and the sides should leave the case mostly open.
- The 1/8" audio port gets in the way, so when it gets to this point, wriggle the case away from the top of the phone.
- The back cover is connected to the phone with a flat cable.
- Once the cover is removed, peel off the black tape.
- Flip up the small latch
- Detach the cable.
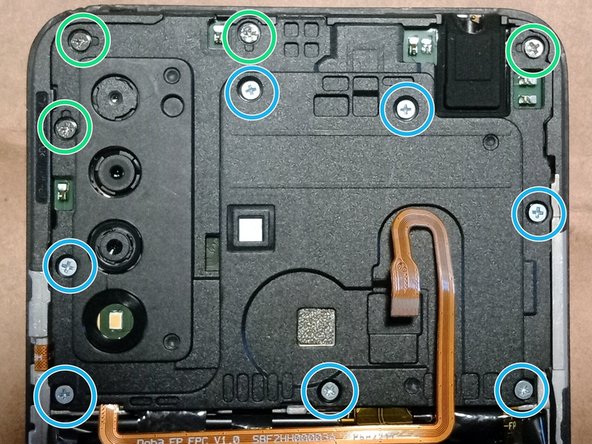
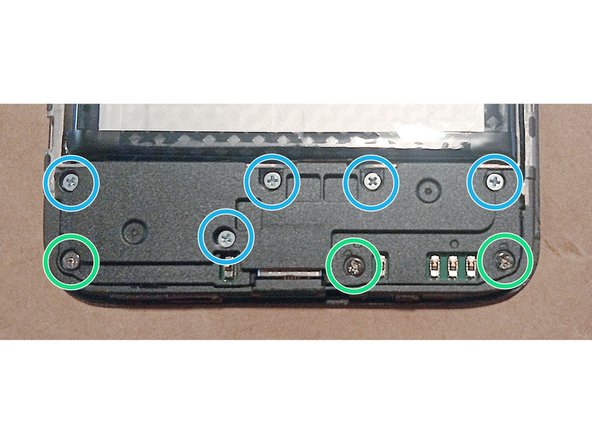
- There are 7 blue screws and 4 silver screws. Remove them.
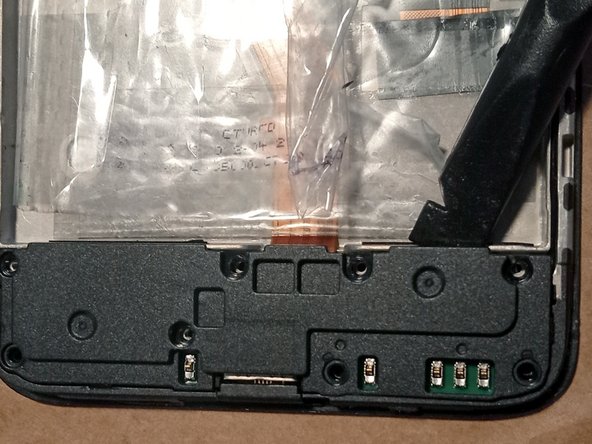
- Pry off the top component cover. The cover has tiny tabs wedged under the lower edge and left side, so pry from the top or right side to get it started.
- (optional) Detach case cable.
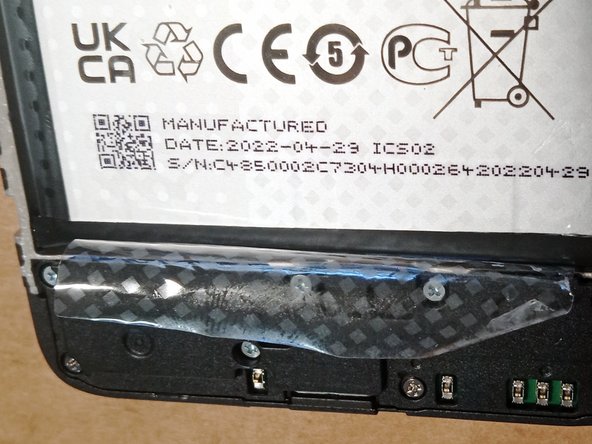
- Remove yellow cover sticker.
- Detach battery cable and screen cable.
- Detach antenna cable.
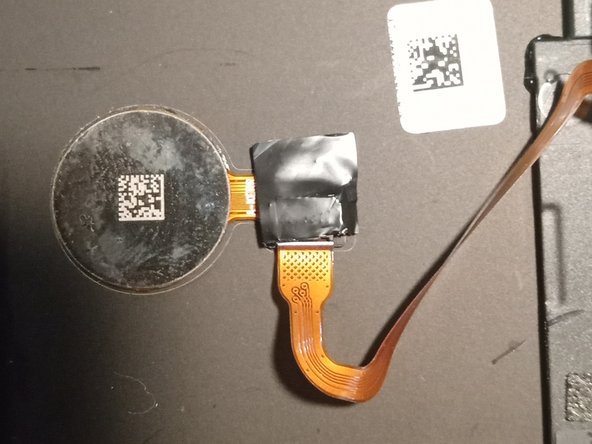
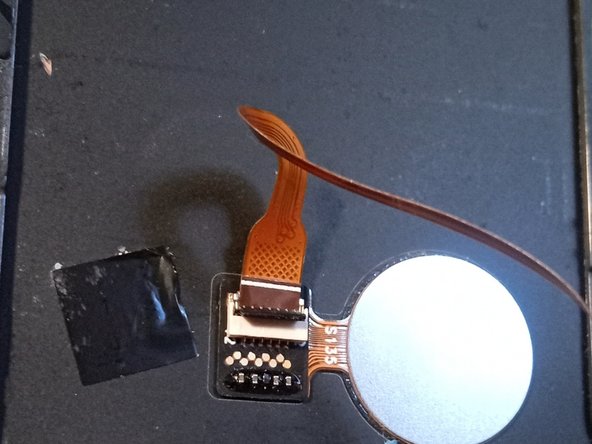
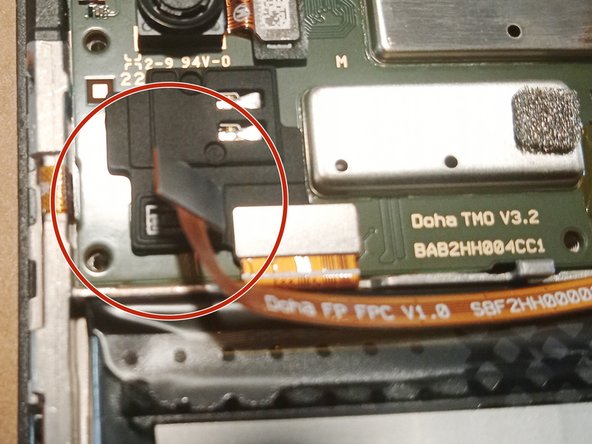
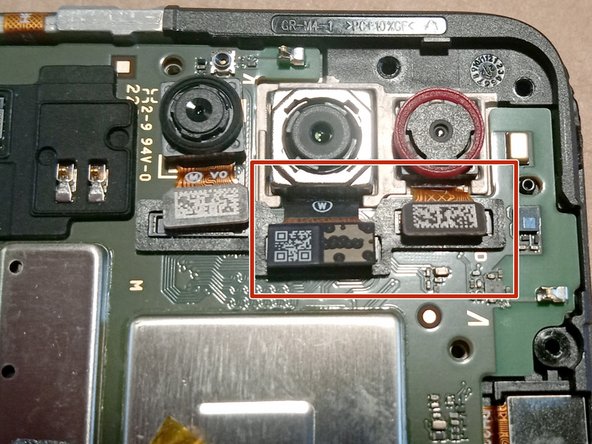
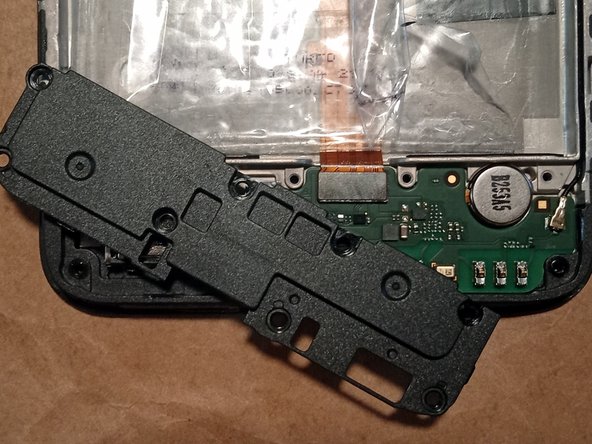
- Detach the top two camera cables. (The third camera is on top of the board and does not need to be removed. The picture does show the cable detached, but that's unnecessary.)
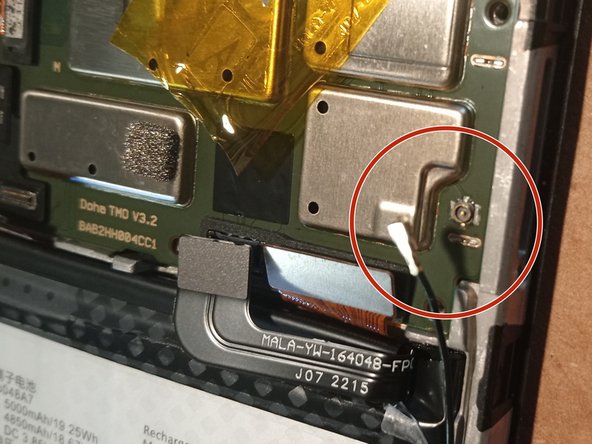
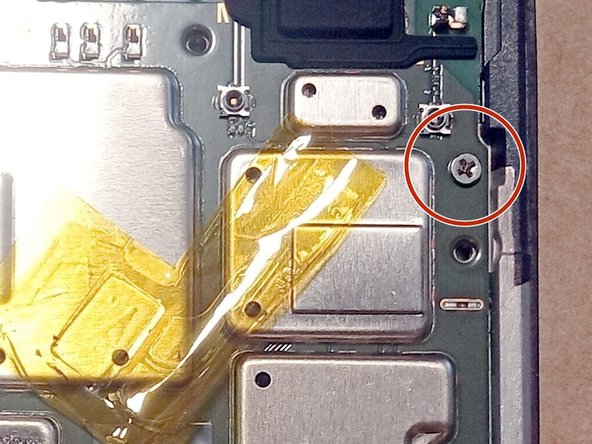
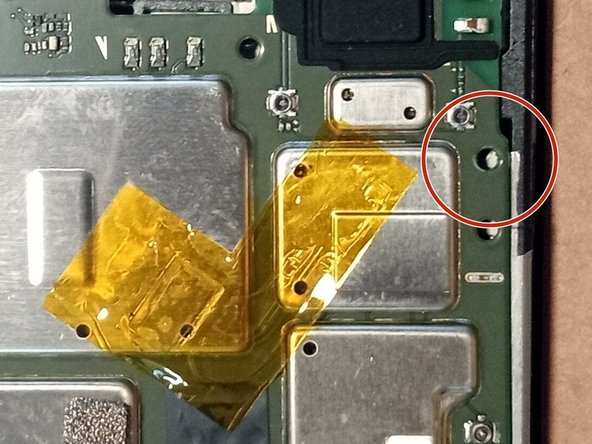
- Remove the small screw that holds the top board to the frame. It's on the left side near the top.
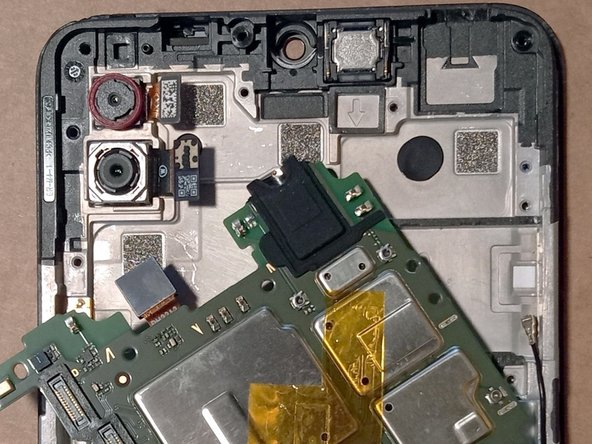
- Pry up on the board using the 1/8" headphone jack to remove the top board.
- There are 5 blue screws and 3 silver screws. Remove them.
- There are two tiny tab slots. Pry up at those two points to remove the component cover.
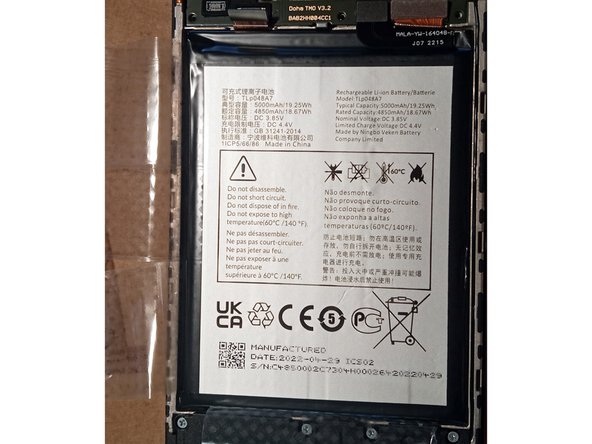
- Ignore this step! You do not need to remove the tape on the battery!
- There are four pieces of tape surrounding the battery. You don't need to remove them. I did the first time through, but the glue holding the battery to the case is underneath the battery. The tape helps keep the battery from tearing apart when it is removed (I think).
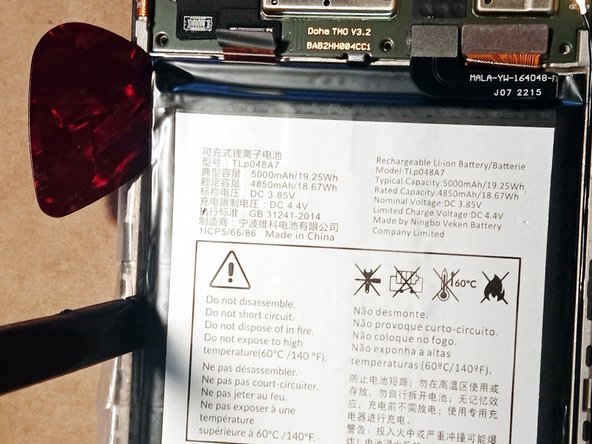
- Go slowly when you pry up the batttery! The battery will release only a little at a time, and it make take a few minutes for it to finally let go.
- Wedge the first tool under the battery, but do not try to pry it up any more than that.
- Wedge a second pick or pry tool a little farther down the battery. Pry only slightly and let it sit for a while.
- Use a third pick or pry tool to add more lift force.
- The battery will slowly release from the double-sided tape. At some point, it should pop most of the way free, and can be pulled up the rest of the way.
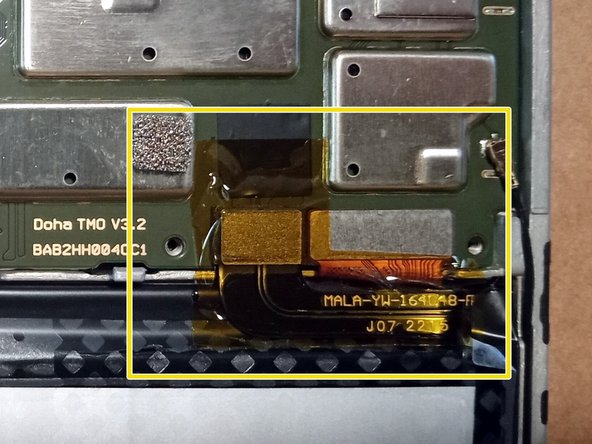
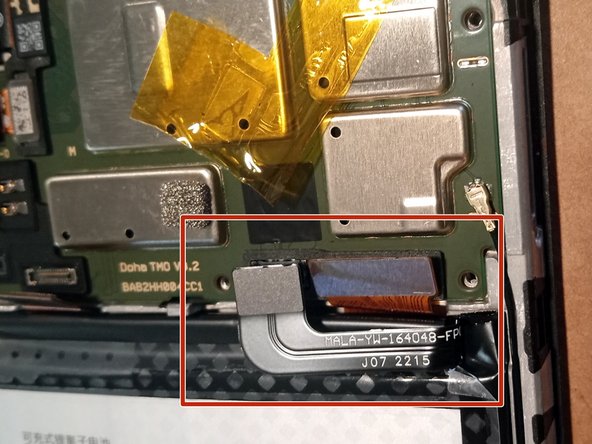
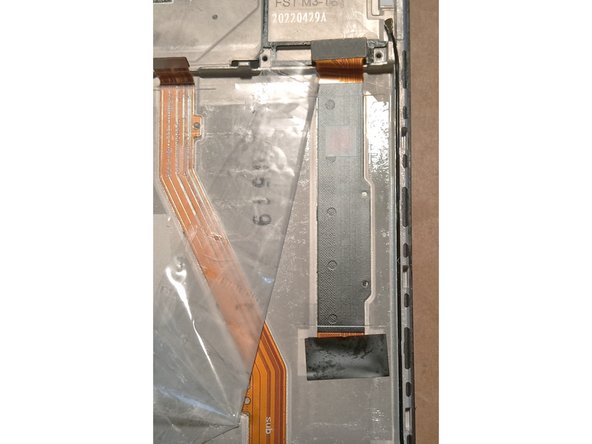
- Once the battery is removed, the screen cable is accessible.
- Remove any double-sided tape covering the cable.
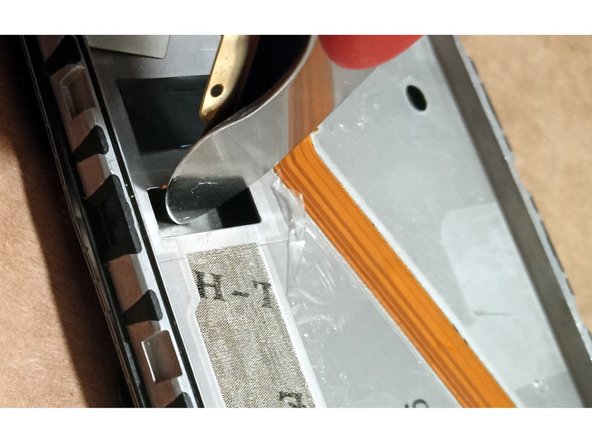
- Remove the black tape covering the cable feed hole.
- The cable is stuck to the case with a thin glue, but it is easy to peel up the cable.
- Now the screen is ready to be removed.
- Heat guns are really cheap (~$15) so it is worth adding to your tool set if you don't have one. All other methods are really expensive or take so much time and struggle that it's not worth the difficulty.
- Heat the edges of the screen. Try not to heat the sides of the phone.
- Do not try to pry up on the screen at this point. (There is a trick to removing the screen, see the next steps).
- After the screen is heated, flip the phone over so the screen is down.
- Push the screen from the hole where the cable goes through. It should some free fairly easily; if not, heat the screen edges and try to push it again.
- The screen is extremely hot at this point. Use a spare oven mitt to hold the phone while pushing from the back.
- Remove excess glue from edges after removing the screen.
- As long as the glue is flat and doesn't have peaks, that should be fine. The new glue will fill in the spaces and pressing the phone will even things out.
- Using B-7000 glue, put a thin line around the rim of the case.
- There is a mic on the bottom of the phone. Do not put glue on the mic area. There is a ridge that surrounds the mic that should be glued, though.
- It may look messy, but let the glue dry completely before cleaning up.
- Press for at least 15 minutes.
- Put a piece of cardboard on top and bottom of the phone case, and put a fairly heavy object on it. I used a toolbox that weighed 15lbs, and that seemed to work.
- Tip: Use a pink eraser to help remove the excess glue.
- Feed the screen cable through the hole.
- Gently press the screen into place.
- It may look messy, but let the glue dry completely before cleaning up.
- Press for at least 15 minutes.
- Put a piece of cardboard on top and bottom of the phone case, and put a fairly heavy object on it. I used a toolbox that weighed 15lbs, and that seemed to work.
- Remove any leaked glue. Tip: Use a pink eraser to help remove the excess glue.
- Reverse the steps to reassemble the phone.
- Top component cover fits into the lower edge first, then the upper edge.
- The battery will generally not stick completely to the double-sided tape; but that should be ok.
- There is small black rubber gasket that goes on the third lens from the top. This gasket may pop off. The lens has a groove that holds the ring in place. It only fits one way, but it might be hard to figure out which way is up (it was for me, at least).
- Before putting on the top and bottom component covers, attach the cable to the back cover, insert the sim card, and test the phone.
- If it works, attach the component covers and close it up.
- If it doesn't work, check carefully to see if all the cables are attached correctly.