Lenovo Legion Slim 7 2021 (15ach6) SSD Replacement
ID: 178423
Description: If your Solid State Drive (SSD) on your Lenovo...
Steps:
- Power off the laptop and ensure it is unplugged.
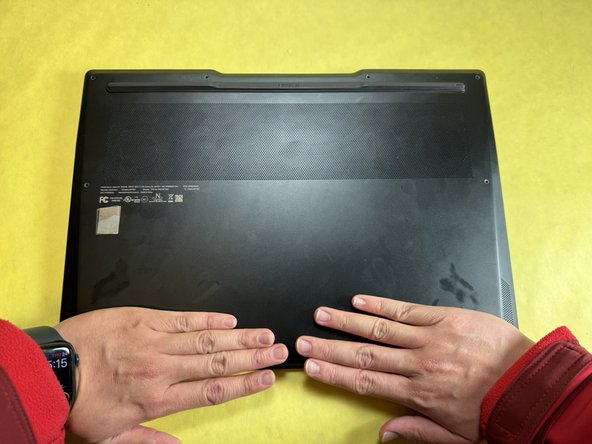
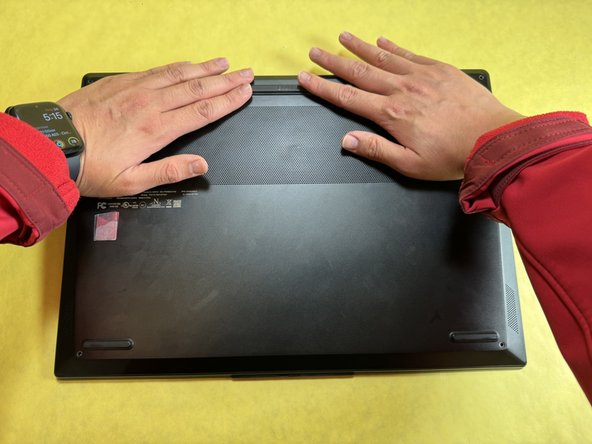
- Lay the laptop upside down on a flat surface and clean environment.
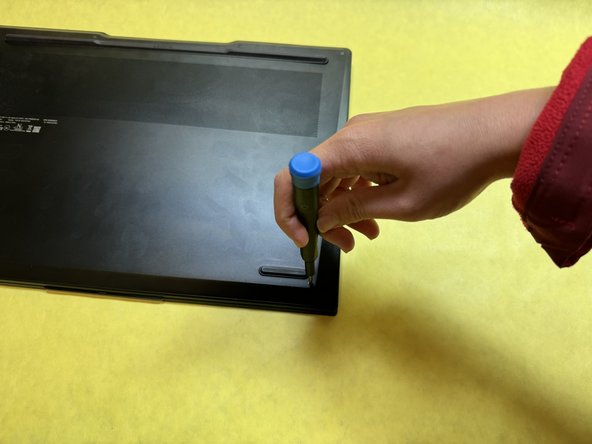
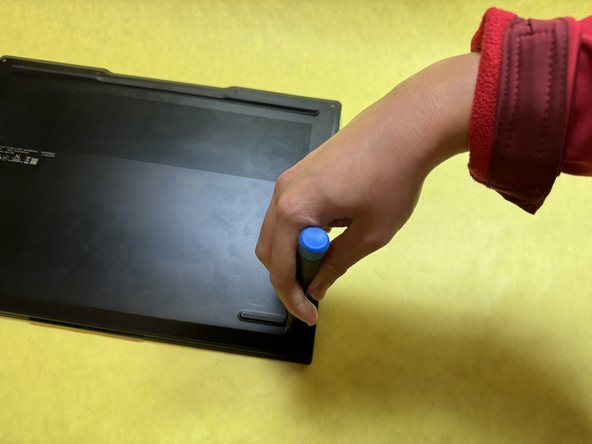
- Remove all 8 M2 x L6 screws that secure the lower case with a Phillips #0 screwdriver.
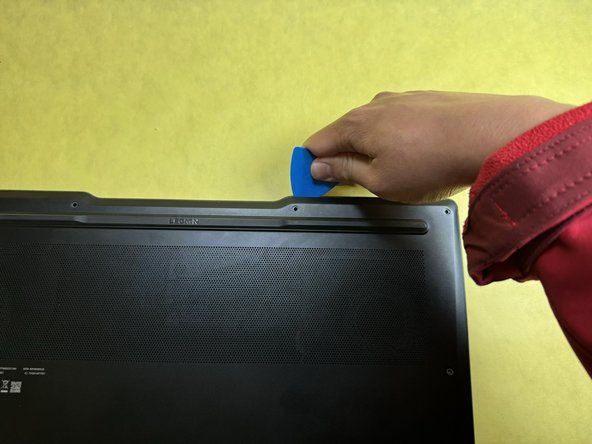
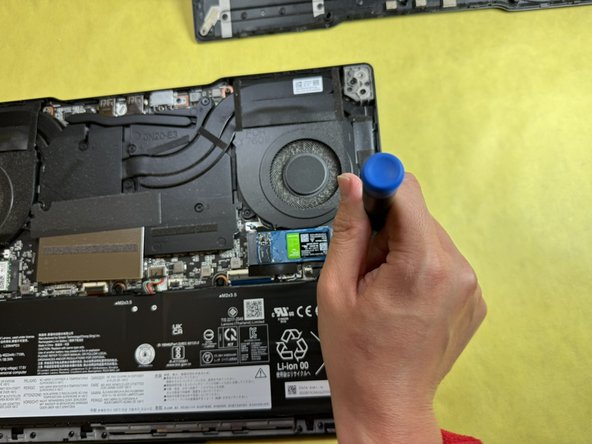
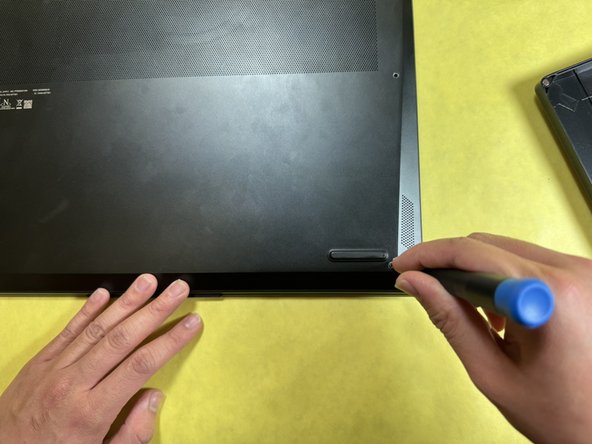
- Insert a pick between the lower case and the laptop chassis.
- Slide the pick along the edge to pry open the bottom cover.
- You will hear "pops" as the retaining clips release.
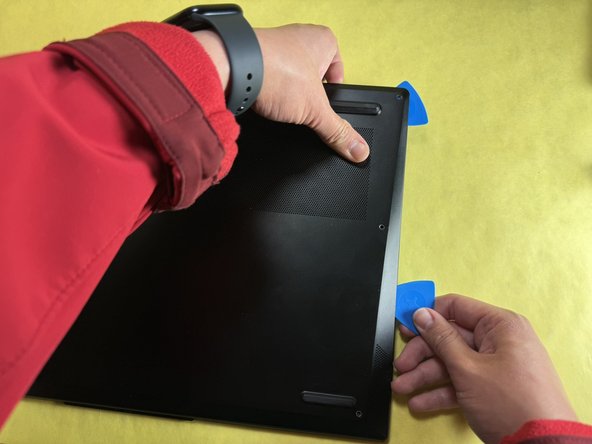
- Insert as many picks as needed to ensure that the cover does not pop back in.
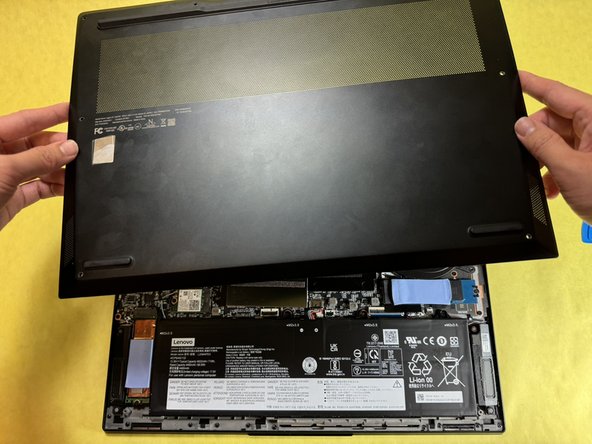
- Once the lower case is fully released, lift it up and off.
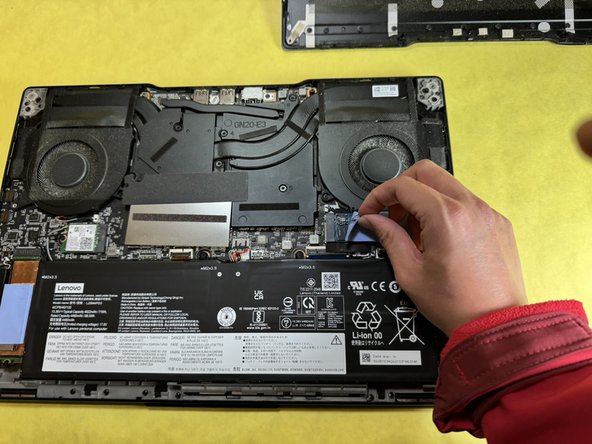
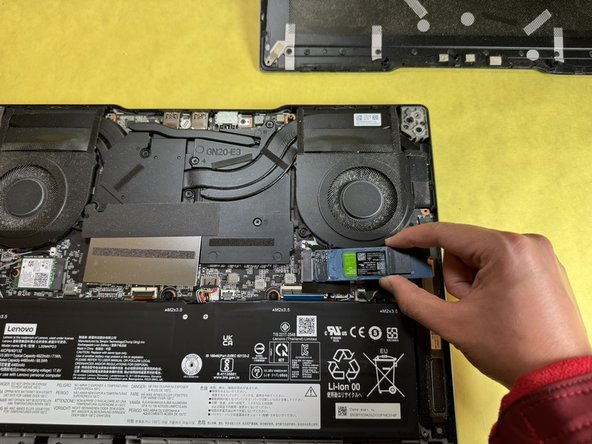
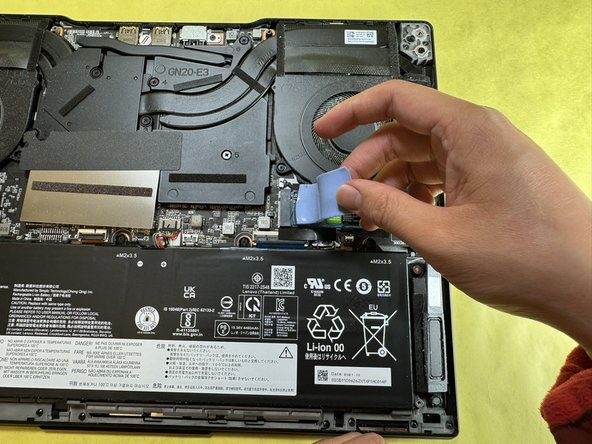
- Peel off the thermal pad that lays on top of the SSD on the right side of the laptop and set it aside.
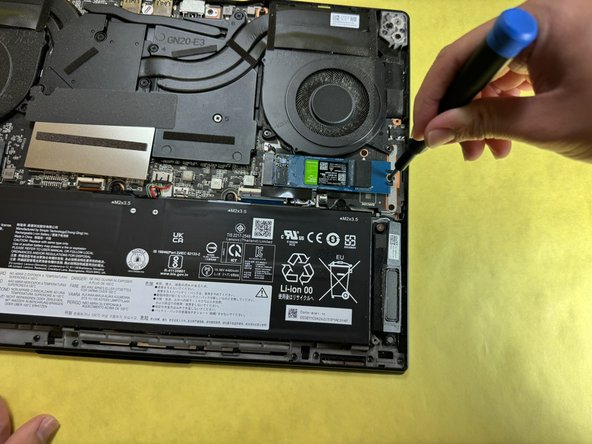
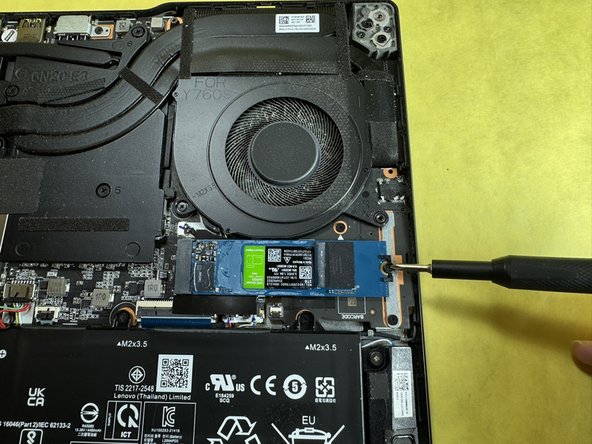
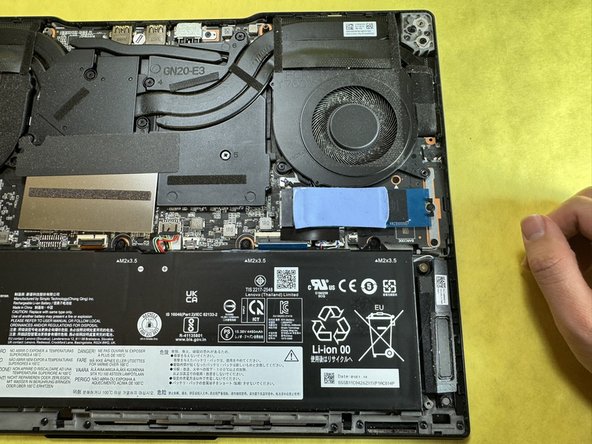
- Unscrew the M2 x L3.5 screw that secures the SSD with a Phillips #0 screwdriver.
- Make sure to keep this screw separate from the others to avoid confusion.
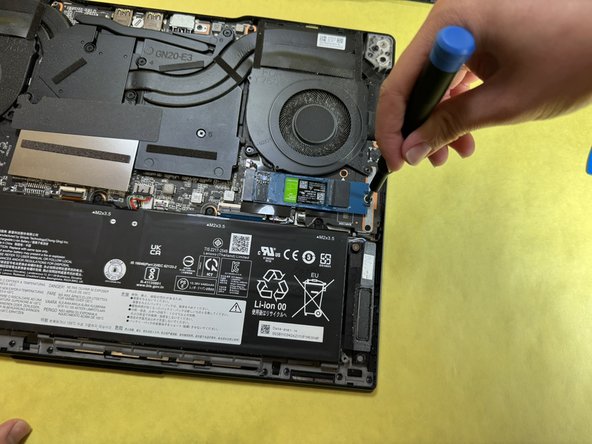
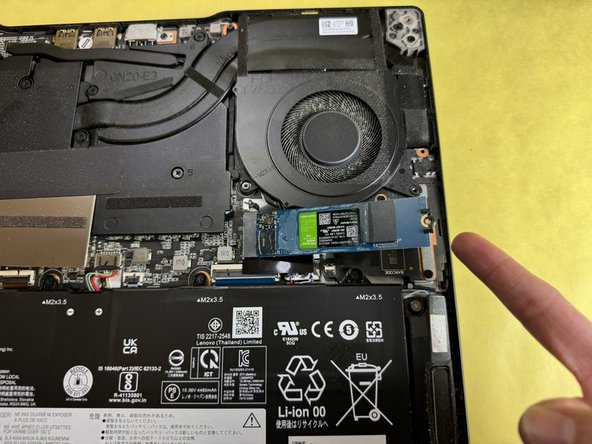
- Remove the SSD holder from the SSD screw hole, setting it aside for later.
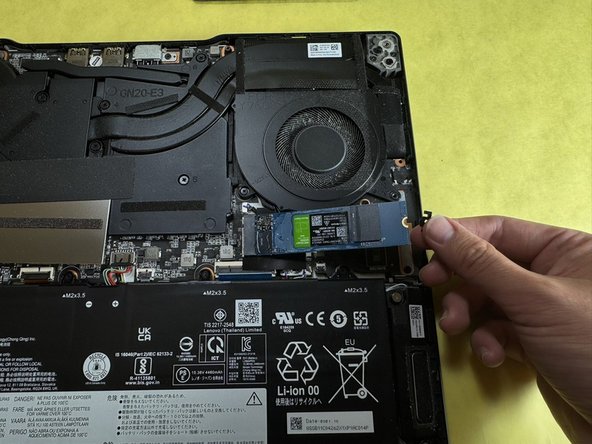
- With the SSD screw removed, the SSD will pop up at a shallow angle.
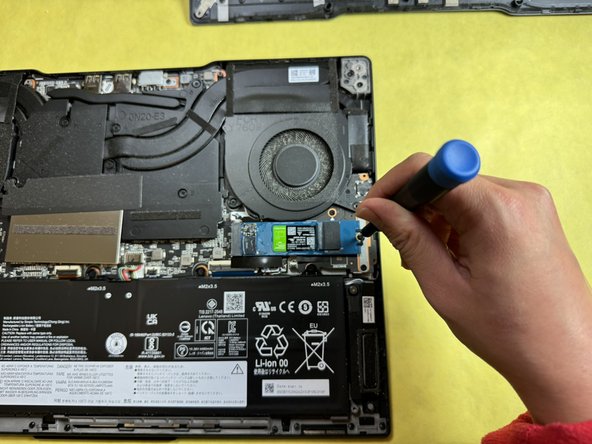
- Grip the end of the SSD and pull it away from its M.2 board connector to remove it.
- The remainder of the guide details reassembly.
- Grab the new SSD and slide it into the SSD slot, aligning the holes for the screw.
- Attach the plastic SSD holder on the screw hole for the new SSD.
- Replace the M2 x L3.5 screw that secures the SSD with a Phillips #0 screwdriver.
- Grab the thermal pad and lay it flat on the new SSD, ensuring it is sticking to the SSD.
- Grab the bottom cover and align it with the laptop chassis.
- Apply firm pressure along the edges to ensure the clips snap back into place.
- Replace all 8 Phillips #0 screws that secure the lower case.
- Power on the laptop and open File Explorer.
- Under the section "This PC", ensure that you can see the new SSD.