How to Fix a Running Loop on a Knitted Garment
ID: 178449
Description: Knitted garments are cherished for their...
Steps:
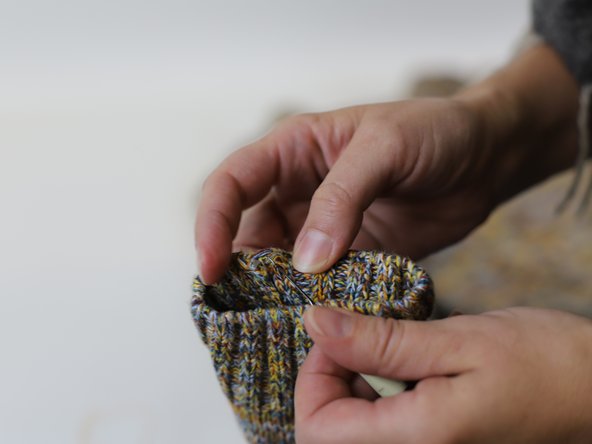
- Locate the running loop.
- Note: In this repair, the running loop is located at the edge of the sleeve. This is typically a vertical strand of yarn that has pulled away from the surrounding stitches.
- Insert the mending needle through the base of the loop from the inside of the sleeve. Pull it through gently to secure the loop in place.
- Carefully weave the mending needle through the vertical stitches and push the loop outwards.
- Note: This helps to align the loop with the surrounding fabric.
- Once the loop has been pulled using the mending needle, change the tool for a normal needle and start hand stitching.
- Note: In this repair we have chosen a colour thread similar to the pattern on the garment, but we encourage you to be creative and choose a completely different colour or add more contrast, just remember to add your personal touch to your repair!
- Following the steps shown in the pictures, continue to stitch replicating the garment's pattern.
- In between stitches, check that it is following the right pattern. Test it by gently stretching the sleeve.
- Following the steps shown in the pictures, add the last stitches to finish the fix.
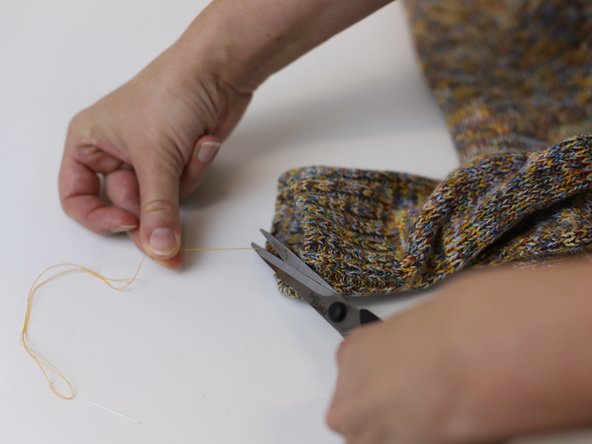
- Once you have finished with the last stitches, add a knot at the end and gently pull the thread.
- Use a pair of scissors to clean the area and cut any loose threads.
- 🛠️🏆👏 Congratulations! The repair is complete, and you're ready to go!