JBL Flip 4 battery replacement - push out - usefull tipps for stucked battery
ID: 178485
Description: for blocked (swollen) battery. A precise study...
Steps:
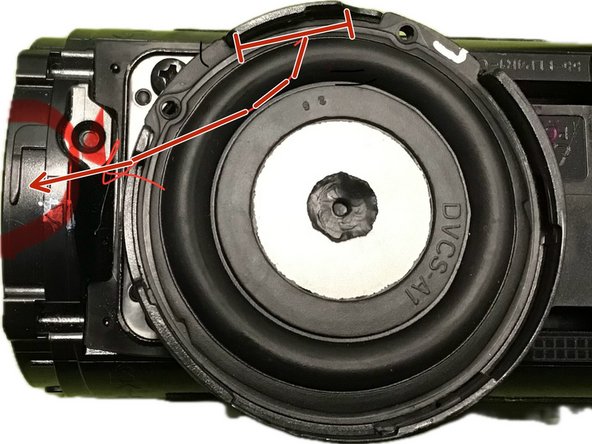
- We want to press out the battery
- twist or remove screws (depends on your model-version) from the cap.
- Unscrew the USB-Modul.
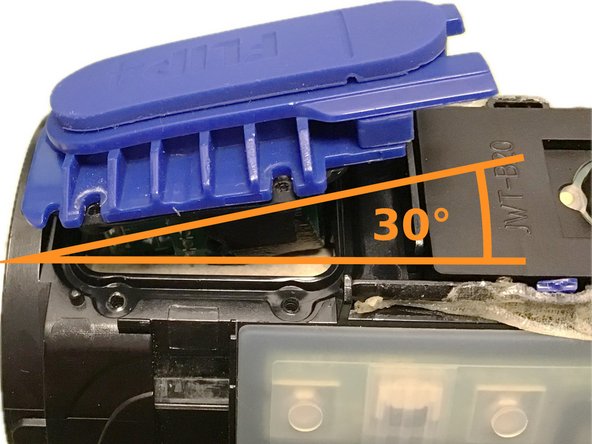
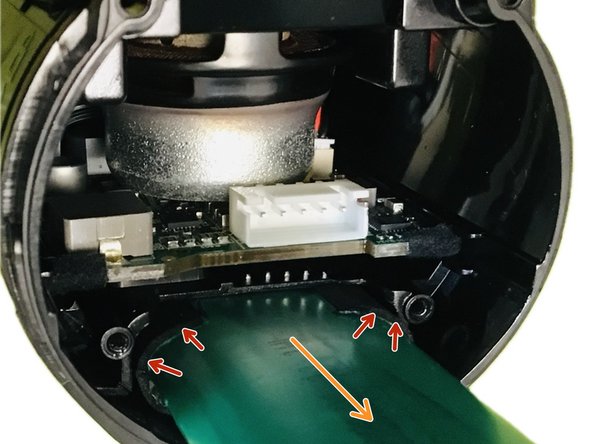
- Tilting the USB-Modul a bit (example: around 30 degrees)
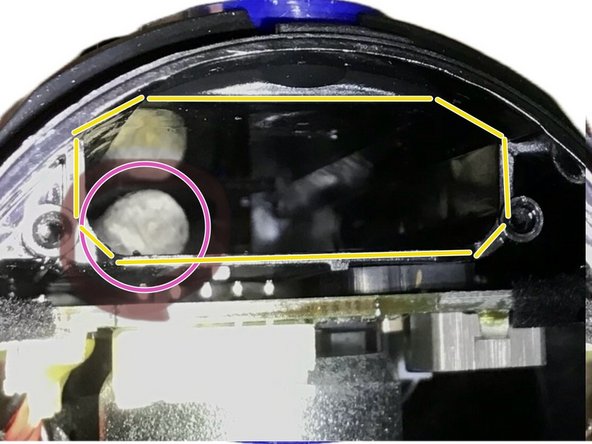
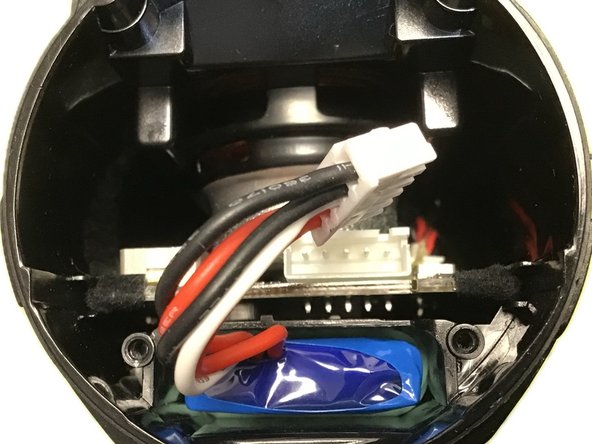
- The battery should be more visible now (image without battery).
- or alternative remove the whole USB-Modul.
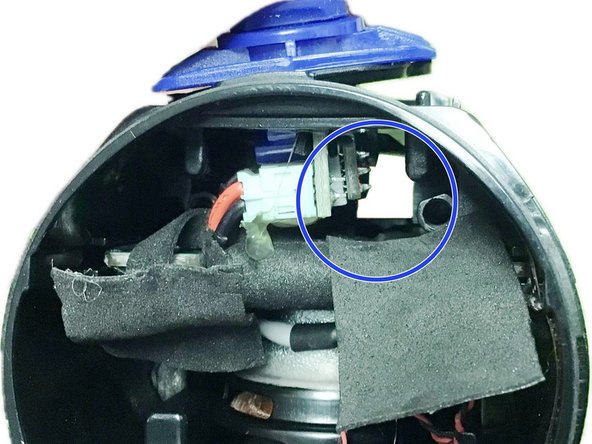
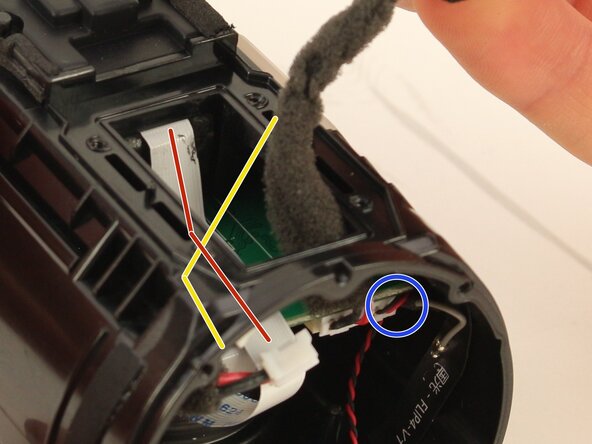
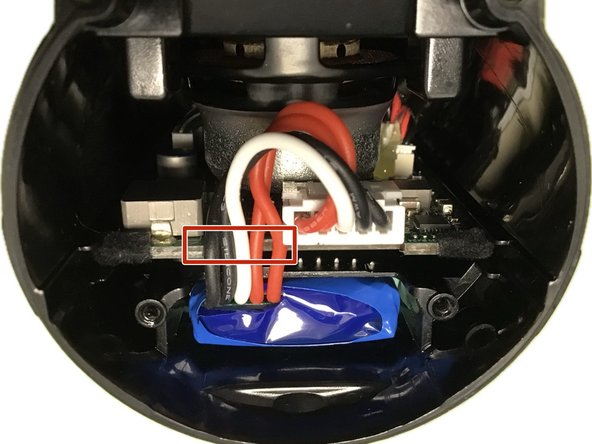
- There are sensitive cables around, which are often hidden by black adhesive tape:
- black flat flex / ribbon cable (here in image white) directly behind the USB-Modul,
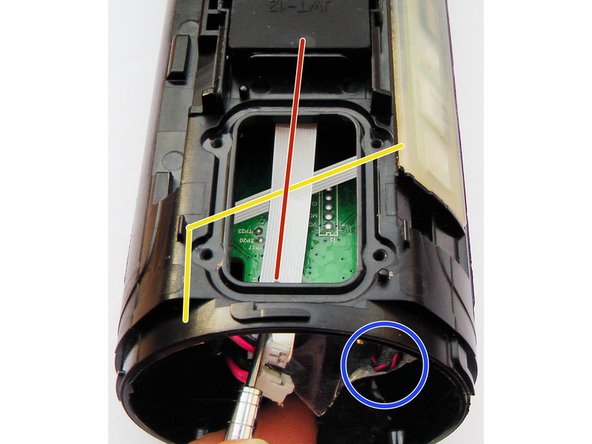
- black flat flex / ribbon cable (here in image white) across the flat,
- thin microfon-cable, which rip off easily. Pull adhesive tape careful down.
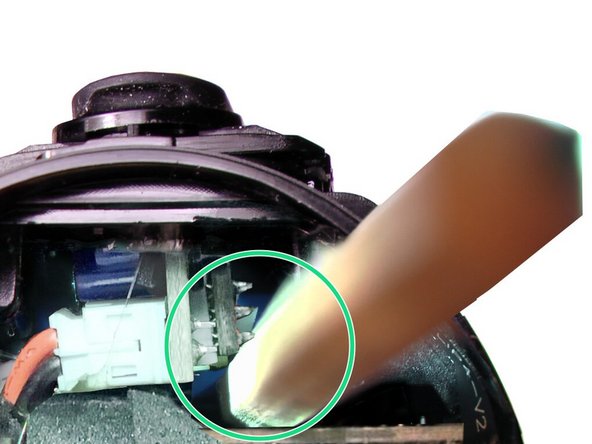
- The tool can be pencil or wood cooking spoon. Use the flat side end, to prevent damaging to the battery.
- Too tight or tool is too thick?: Bedder remove the entire USB-Modul, if it does not fit well. A damaged cables would results in more work, then just unplugging this modul.
- Put the tool carefully on right side of the USB-Modul in. It's not allowed to be blocked by something. Nor on the side or down side.
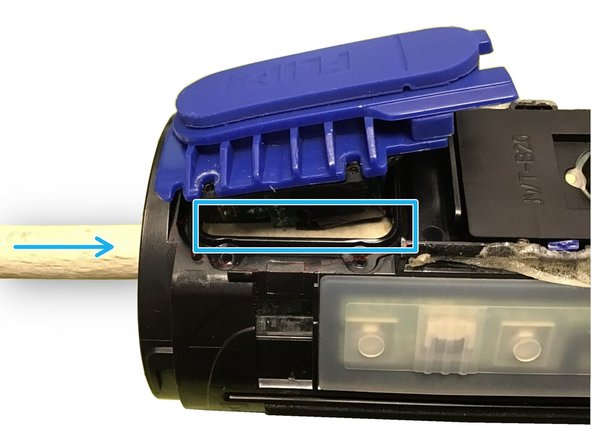
- The image shows the tool, after the battery was pressed out.
- Maybe you can use a alcohol liquid to improve gliding properties. It will evaporation residue-free (in opposite of oil). If there are some glue remains from before, that can be also removed more easier.
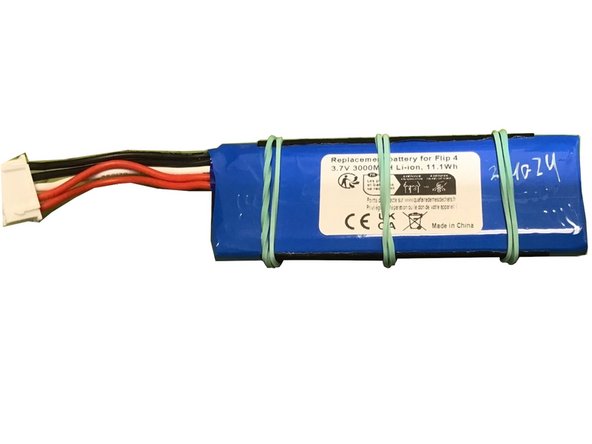
- The old battery are mounted by sponge rubber. By the bloat / expansion of the battery it's to big to push / pull out the old battery.
- To improve mount, you may can add some rubber band to the battery. That will results the same like sponge rubber. It may also prevent too much heat at the battery.
- The new battery is perfect centered in position.
- Sort the battery cables: None of the cables inside should be upon the other.
- Put the cap back.
- If you have bad luck: The cable to the button may be damaged, while working. Follow this guide to replace that cables.