Casio G-shock GA-201 Battery Replacement
ID: 178525
Description: I am amateur watchmaker and after seeing lots...
Steps:
- Here are all tools that you might need for a successful battery replacement. Not all of them are necessary, but some of them are must. Must have tools are:
- Small phillips head screwdriver (mine is from the older iFixit kit, Tweezers 2 pairs (metal for screws and plastic for battery handling), Silicon grease for the gasket (I have one with easy applicator, available at your favorite online store)
- Optional tools are nice to have, but if you don’t have them there is no need to buy them:
- Watch strap removal tool (mine is Bergeon 6767), Watchmaker’s loupe, Watch wise, Finger cots
- Of course, new battery is also required. Type used by this movement is CR1220
- I started by removing the strap with the strap removal tool and shroud by unscrewing 6 phillips head screws on the side of the watch. The watch was full of gunk from the wearing it so I washed it with dishwasher soap and warm water first.
- The next step is to unscrew 4 phillips head screws on the back of the watch.
- Remove the lid and carefully remove the rubber gasket with a metal tweezers
- Be careful not to break it
- If it is already broken there is no need to panic, replacement can be bought for cheap price, you just need to measure the correct diameter and search for “XX mm watch gasket)
- (Optional) I used a regular toothpick and rubbing alcohol to clean the remaining gunk under the lid. You can use blower to remove debris from the watch movement. Plastic spudgers can also be used for the coarse cleaning
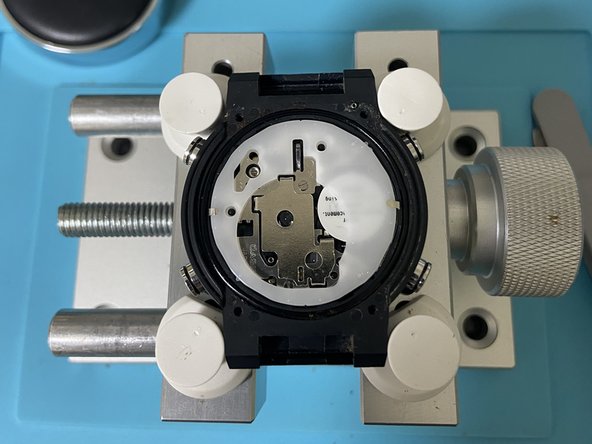
- Next, bend two small clips upwards. They are fragile so be careful
- Finally, remove the white plastic movement holder.
- When removing it the whole movement might want to get out. One of the tricks to avoid that is gently keeping it pressed down through the hole in the middle while pulling the plastic upwards with tweezers.
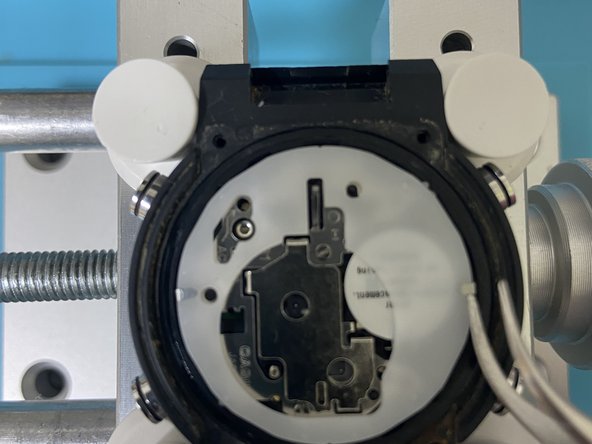
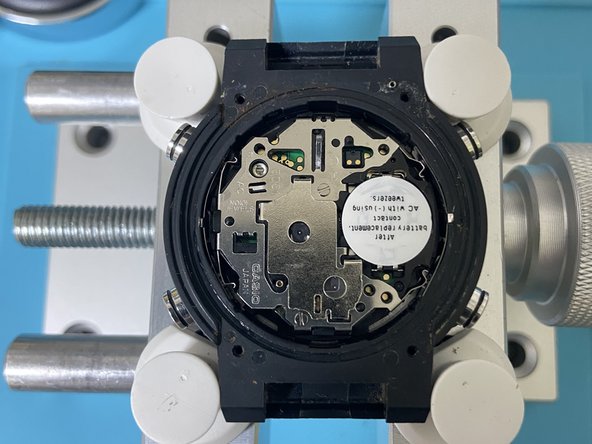
- It is time to remove the old battery
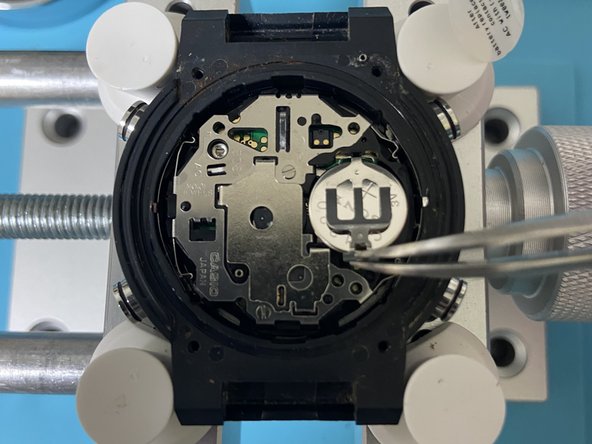
- Remove the sticker
- Unclip the battery holder. Clip is under the tweezers on the photo
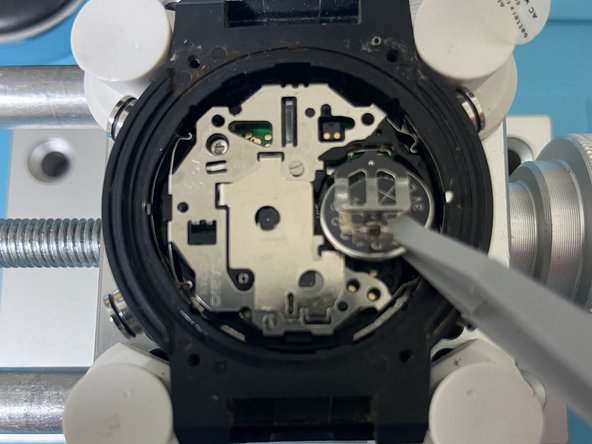
- Remove the old battery. For this step you can use metal tweezers since there is little to no charge in the battery. I used plastic tweezers as the best practice.
- Use plastic tweezers or your fingers to insert a new battery
- One of the reasons why I made this post is because in some guides people used metal tweezers to insert a new battery. This will short it and potentially damage it which can result in watch damage as well.
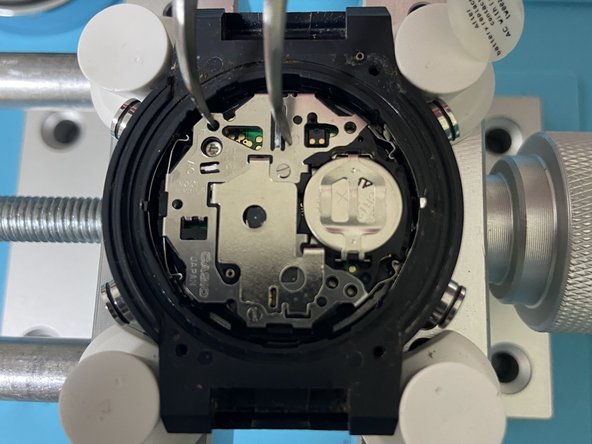
- Close the metal battery retainer and clip it back to the plastic clip
- Next, we will read what is written on the battery sticker and do so
- On the second photo you can see how to use metal tweezers to connect (-) to AC. AC is marked with the arrow on the metal shroud of the watch movement
- It is not bad idea to flip the watch afterwards to make sure that it is working. Be careful that the movement doesn’t fall out of the case
- For some reason on lots of tutorials people are just ignoring the note on the battery sticker. It is there for a reason so that is why this step is documented here
- Returning sticker back to its place so that the next person who will be doing the replacement know what to do
- Apply silicone grease to the gasket. I used grease applicator package with two sponges saturated with the lubricant as it is the simplest and cleanest way to do so
- This will make sure that the watch is water tight after the assembly and that the gasket will not dry out and disintegrate. Cleaning gasket remains is messy and not fun. Also, you can get similar products like mine for few bucks.
- For some reason lots of tutorials are omitting this step so that is also one of the reasons why I made this tutorial.
- Put the white plastic movement holder back to the case and bend the two small metal retainers down
- Put the lubricated gasket in its groove on the watch body
- Put the lid back on and screw down the 4 phillips head screws
- Don’t overnight them because you can risk stripping the screw heads and threads in the case which is plastic
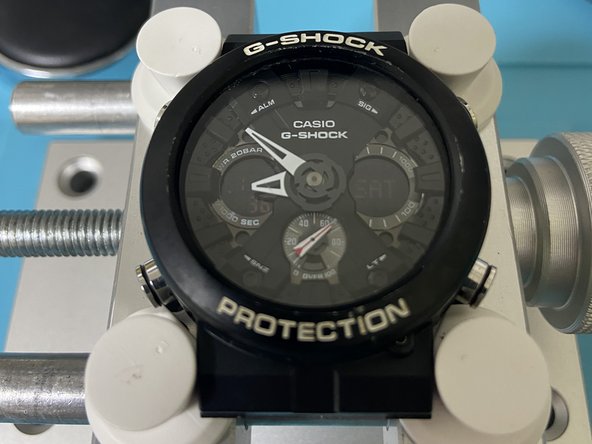
- All done. Just have to install the strap and shroud back and it is ready to serve its owner for years to come. There is also a step of setting time and date, but it is well documented in the product manual so no need to write the steps here as well.