How to Tune a Deflated Front Suspension on a Mountain Bike
ID: 178564
Description: Maintaining and tuning your mountain bike's...
Steps:
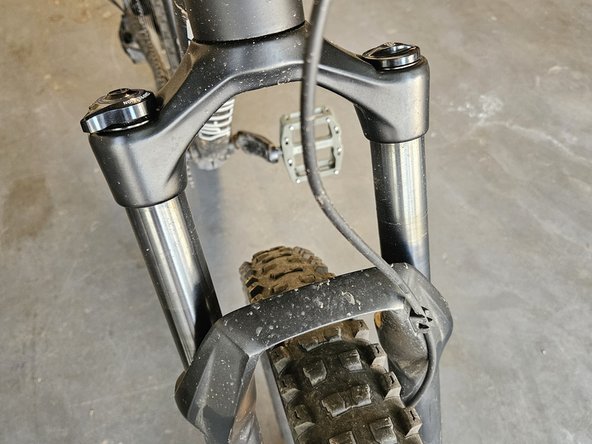
- Inspect the front fork for any visible damage, such as scratches on the stanchions or oil leakage around the seals.
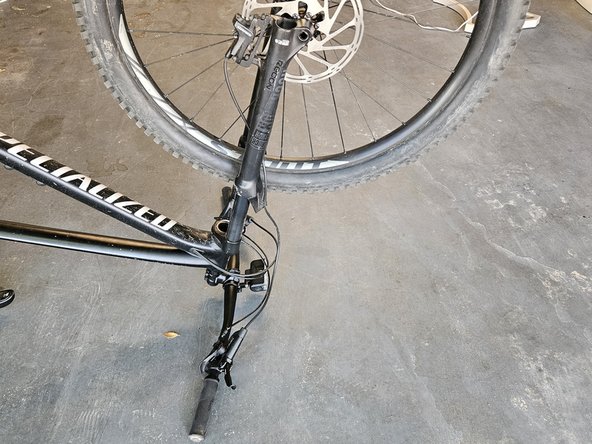
- It may be helpful to flip the bike upside down to get a clear view of the fork.
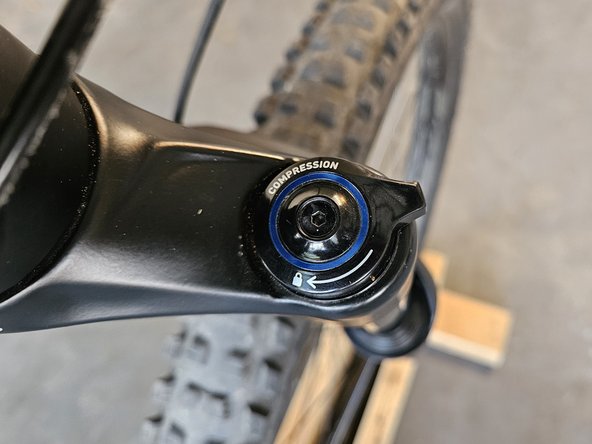
- Ensure the compression is set to "On".
- This is typically done by rotating the compression knob on the fork away from the lock symbol.
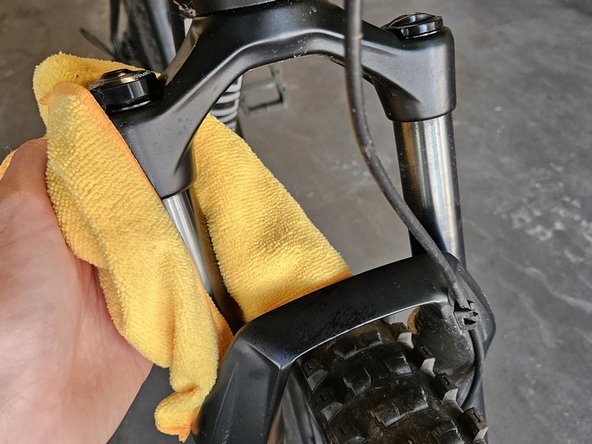
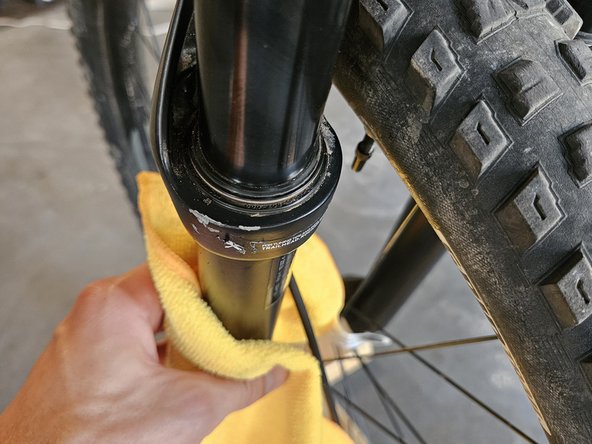
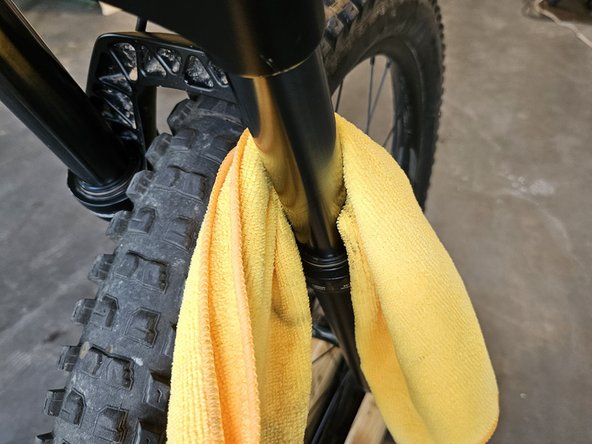
- Wet a microfiber cloth with a spray bottle and wipe down the stanchions. Making sure to remove any dirt or grime buildup.
- Clean fork stanchions prevent seal wear and maintain smooth movement.
- Avoid using high-pressure water near any seals to prevent dirt from being shoved inside.
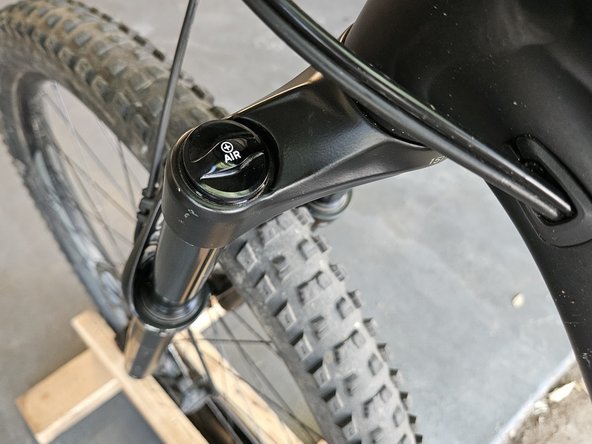
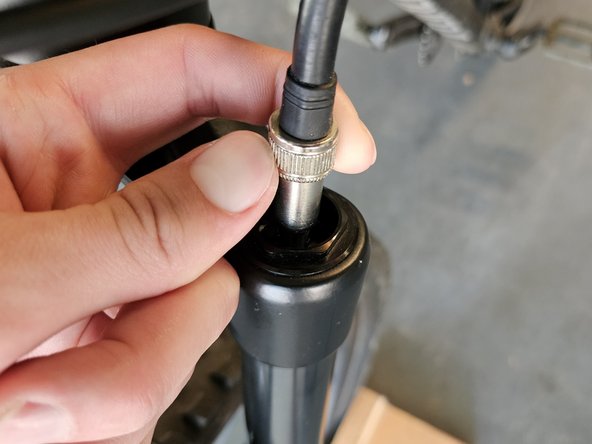
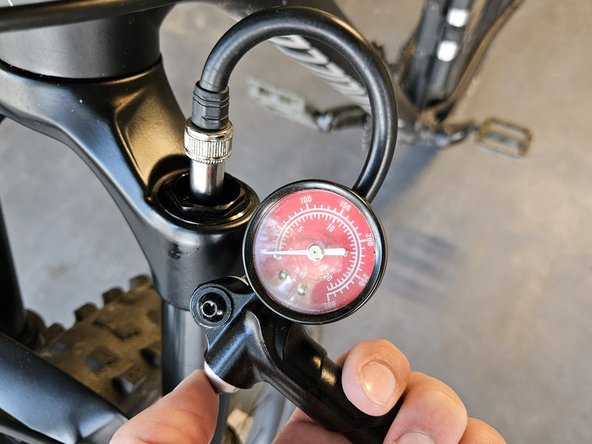
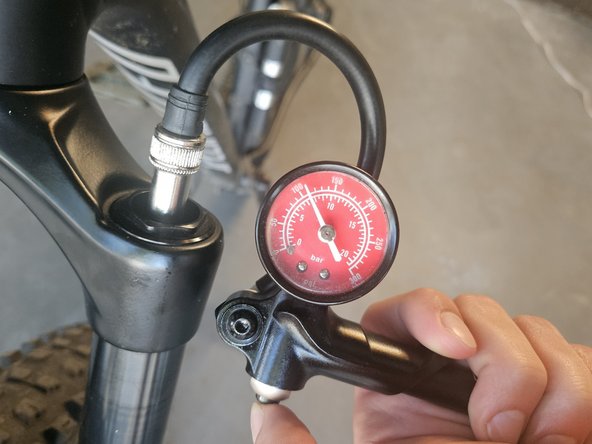
- Remove the cap of the air inflate valve.
- Attach the shock pump to the air inlet valve by twisting clockwise.
- Ensure the pump is securely tightened to the valve before moving on.
- Use the pump to add air to the fork to set sag.
- Sag is the amount a bike's suspension compresses when you sit on the bike. Typically, starting with 100 psi is a good starting point for most riders.
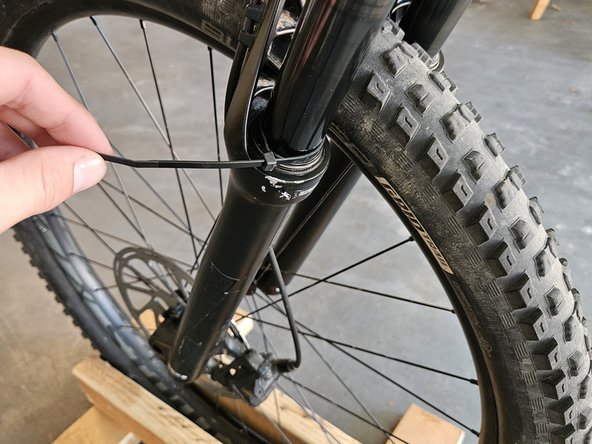
- If a rubber O-ring is not present on the stanchions, carefully attach a zip tie around one of the fork's stanchions. This will be used to measure sag.
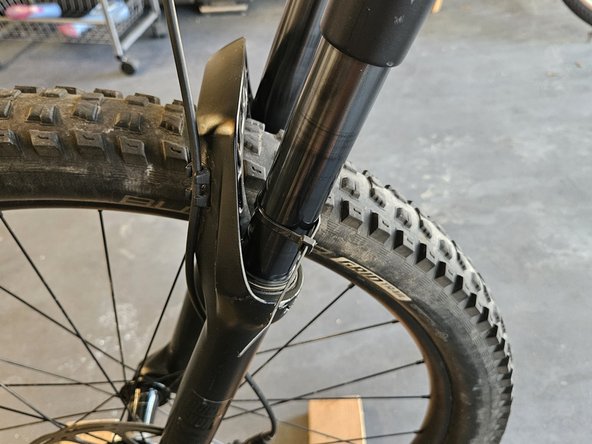
- Sit on the bicycle with your entire weight. Get off, and check the zip tie. Adjust the air pressure until you reach your target sag (20-30% of the fork’s total travel).
- Unscrew the shock pump each time you set sag.
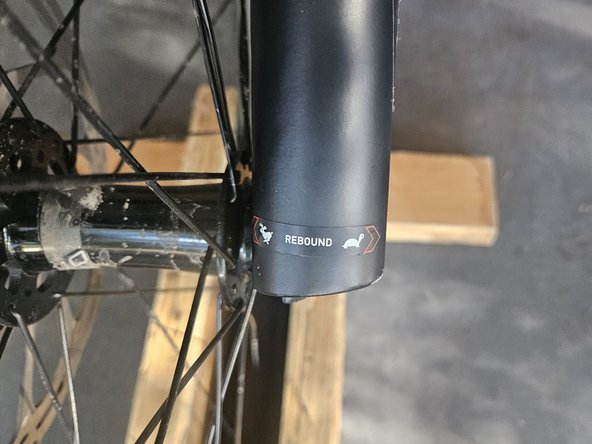
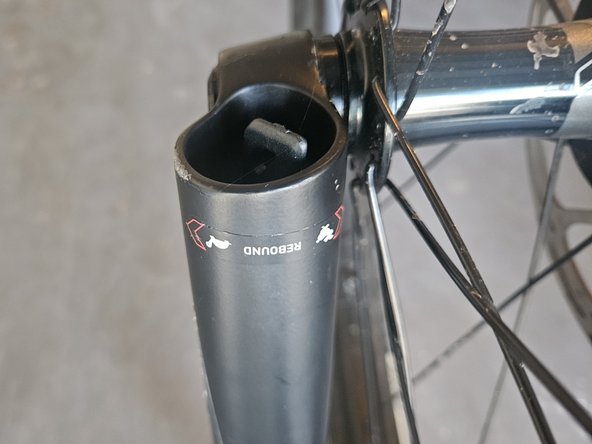
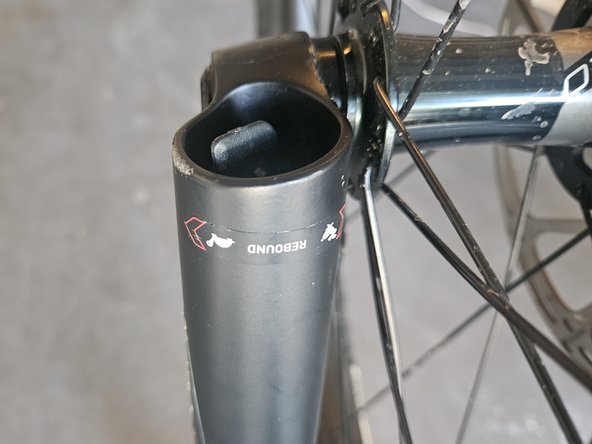
- Adjust the rebound with the rebound adjustment knob. Turn it to adjust the rebound speed to your preference.
- Rockshox has a handy graphic displaying a turtle and a hair for slow and fast rebound.
- Turn it to the slow position for rough trails or the fast position for smoother paths.
- A good rule of thumb is that the fork should return to its original position without bouncing.
- Once done, test-ride the new suspension and adjust if needed.