Hitachi CP-X2011N Lens Replacement
ID: 178939
Description: Scratches and dust accumulation can...
Steps:
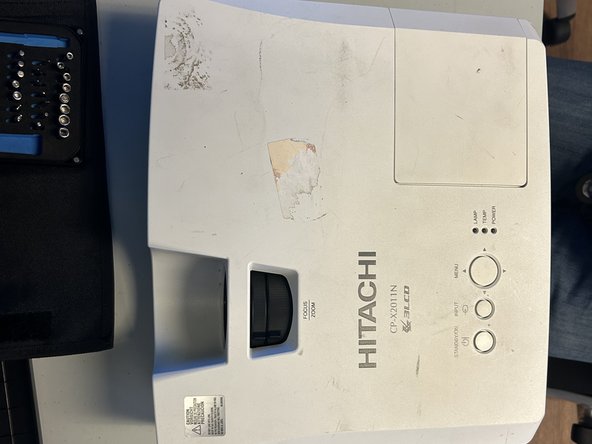
- Orient the projector with the underside facing up and remove all nine 11.5 mm screws with a Phillips #00 screwdriver.
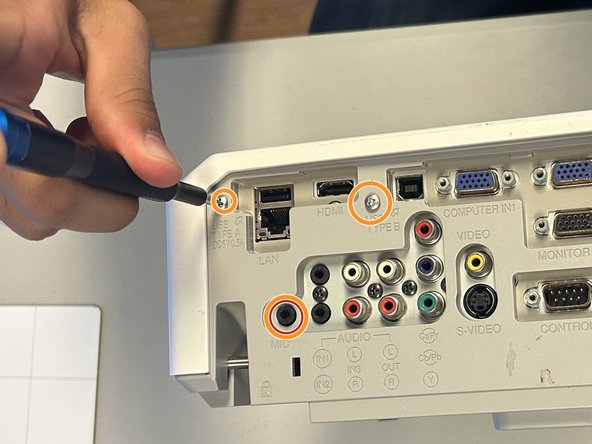
- On the outlet area on the rear of the device, remove all three 11.5 mm screws with a Phillips #00 screwdriver.
- Carefully remove the cover using your hands.
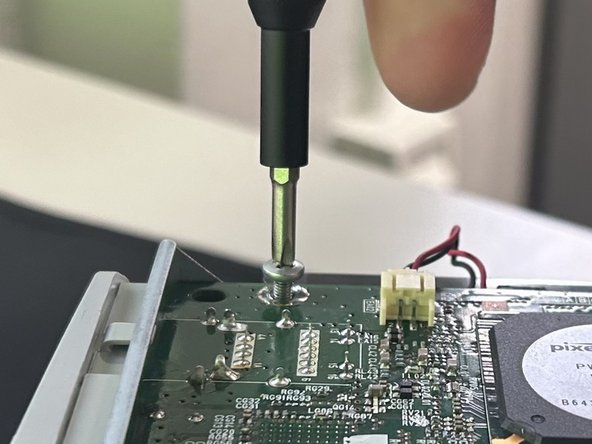
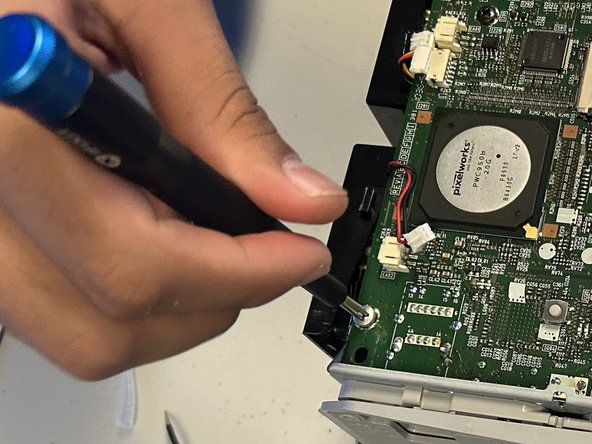
- Remove all four 10.47 mm screws holding the motherboard in place with a Phillips #00 screwdriver.
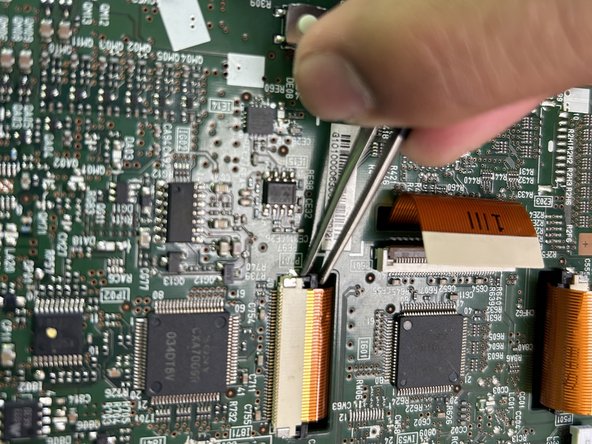
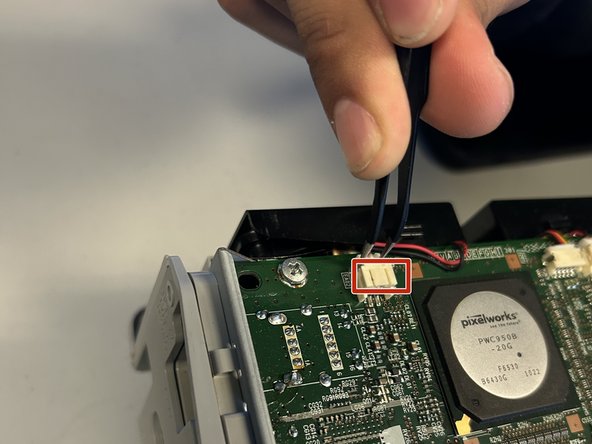
- Carefully disconnect all seven ribbon cables and wire connections from the motherboard using tweezers.
- Carefully remove the motherboard from the projector.
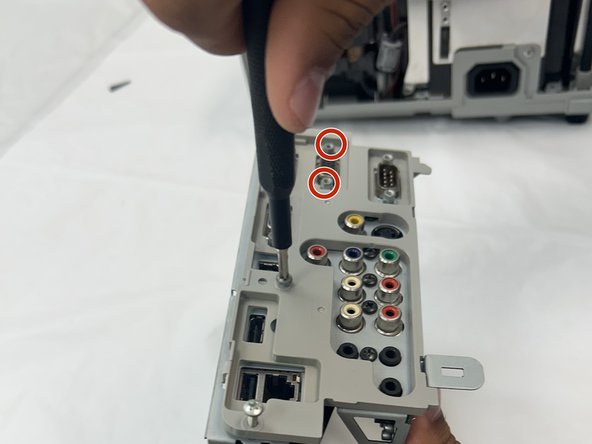
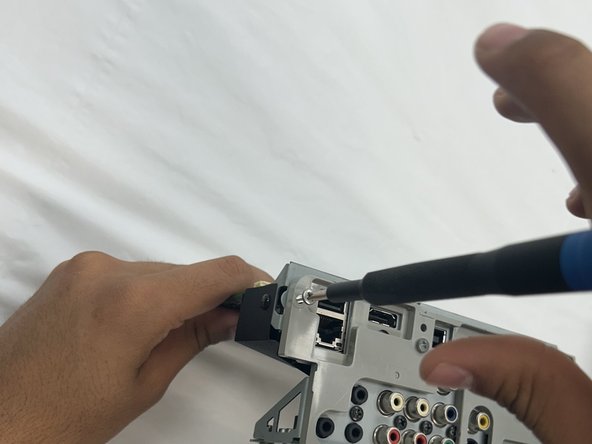
- Remove all jack standoff screws to detach the ports from the cover using a Phillips #00 screwdriver.
- Remove the motherboard.
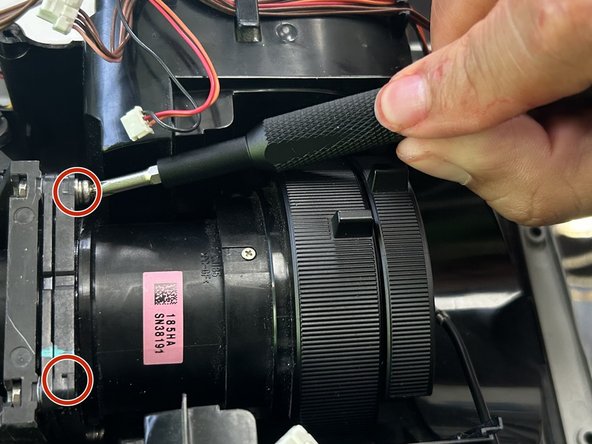
- Unscrew the two 6 mm screws securing the lens with a a Phillips #00 screwdriver.
- Unscrew the bottom two 6 mm screws securing the projector with a Phillips #00 screwdriver.