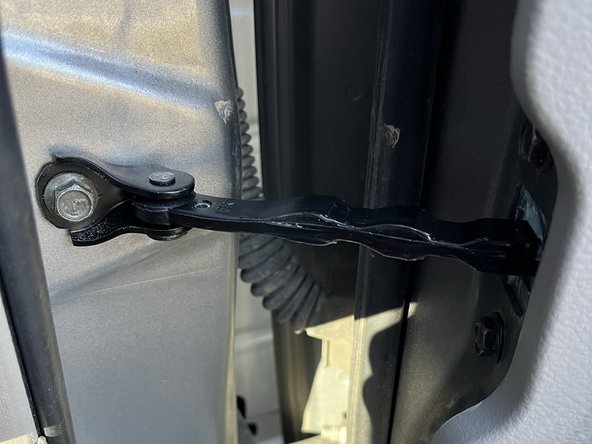
2006 Infiniti G35 Coupe Passenger Side Door Checker Replacement
ID: 179004
Description: Replacing the door checker on the passenger...
Steps:
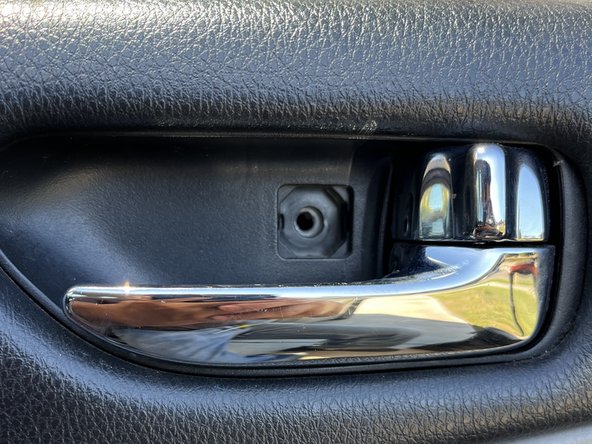
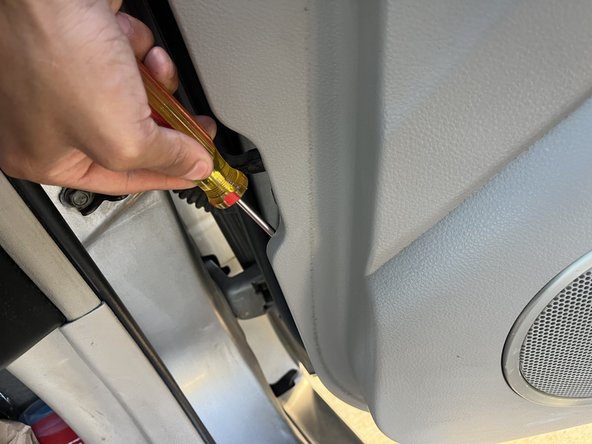
- Use a Phillips screwdriver to remove the screw from the interior door handle.
- Caution: Avoid applying excessive force to prevent stripping the screw head.
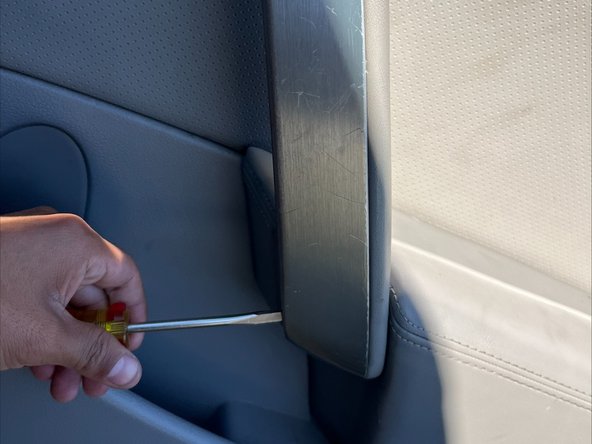
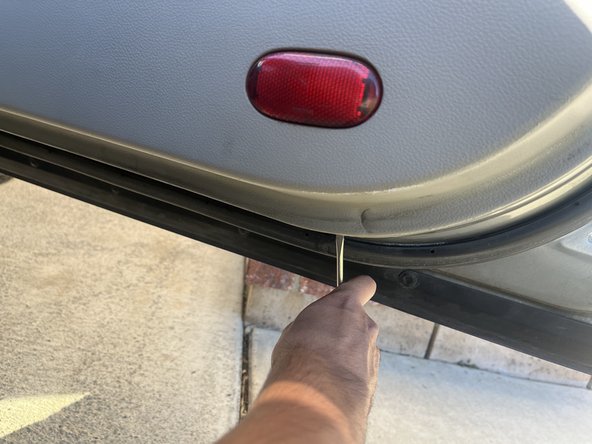
- Use a trim removal tool to pry off the trim piece on the armrest.
- Caution: Insert the tool carefully to avoid damaging anything
- Work slowly along the edges to release each clip evenly.
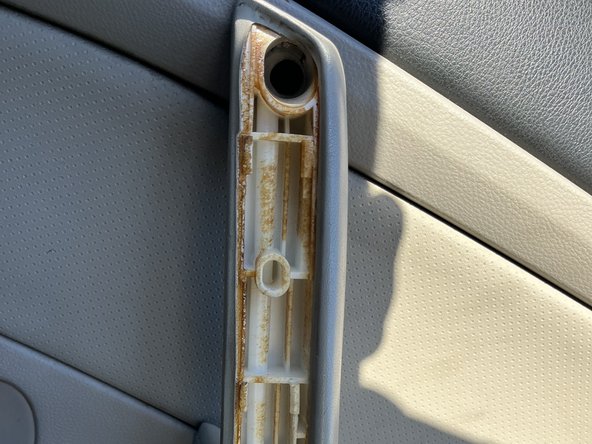
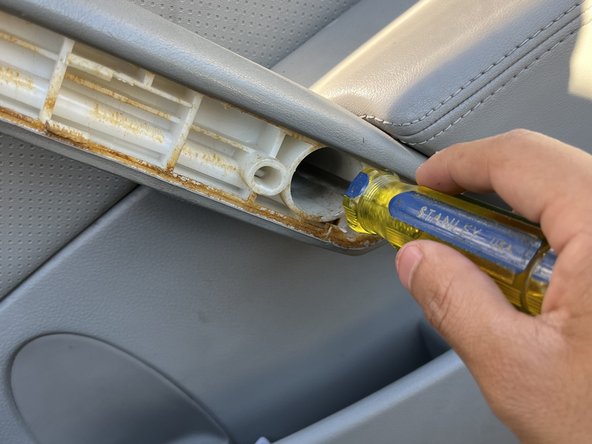
- Use a Phillips screwdriver to remove the screws hidden under the armrest trim and at the bottom edge of the door panel.
- Take note of the screw lengths to ensure proper placement during reassembly.
- Carefully pull the door panel away from the door frame to release the clips. Start from the bottom and work your way around the edges.
- Caution: Do not pull too hard to avoid breaking the plastic clips.
- Listen for the sound of clips releasing to ensure all are detached.
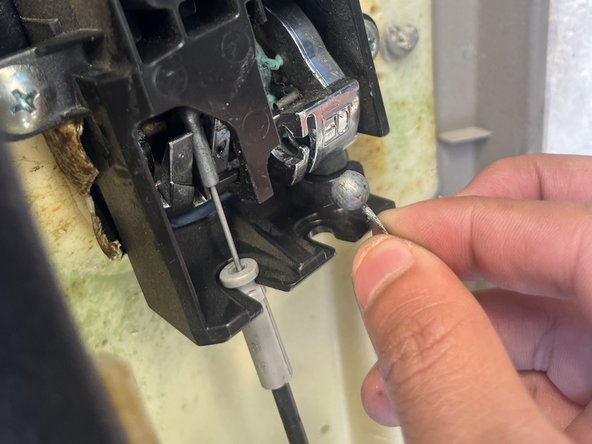
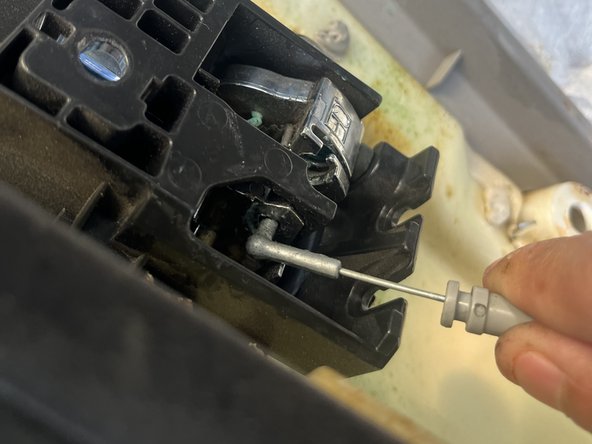
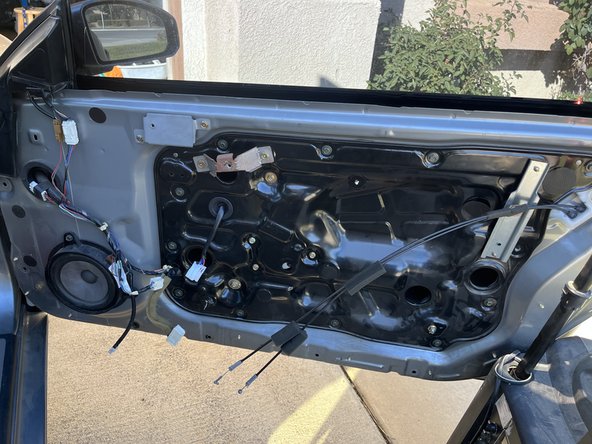
- Carefully disconnect the door from the interior mechanism.
- Label the connectors if necessary to avoid confusion during reassembly.
- Disconnect the lock cable carefully from the interior mechanism.
- Label the connectors if necessary to avoid confusion during reassembly.
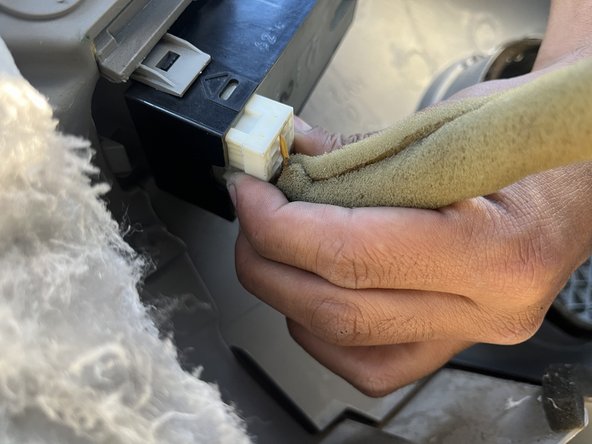
- Gently unplug all electrical connectors, including those for the window and locking controls
- Caution: Avoid pulling on the wires directly; press the release tabs on the connectors.
- Label the connectors if necessary to avoid confusion during reassembly.
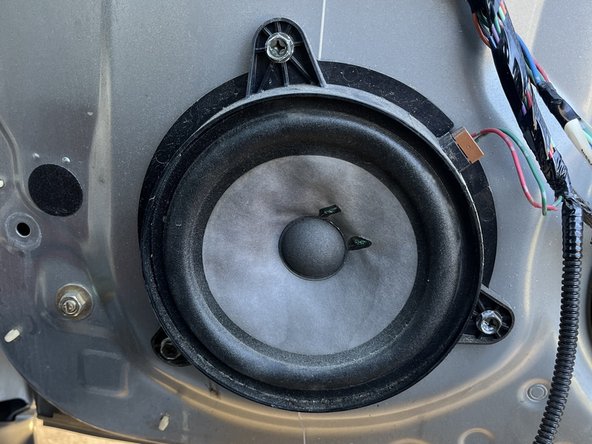
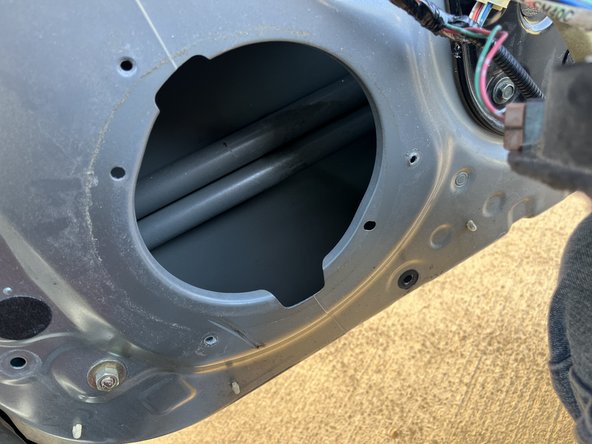
- Use a ratchet to remove the screws securing the speaker to the door frame and carefully disconnect the speaker and set it aside.
- Handle the speaker gently to avoid damaging its delicate components.
- There is no need to disconnect the speaker; it can be placed carefully to the side.
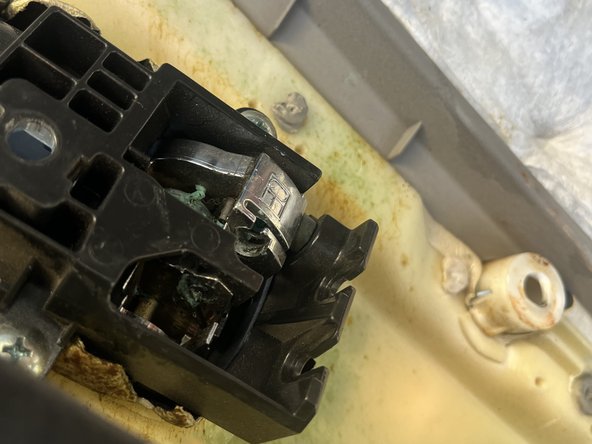
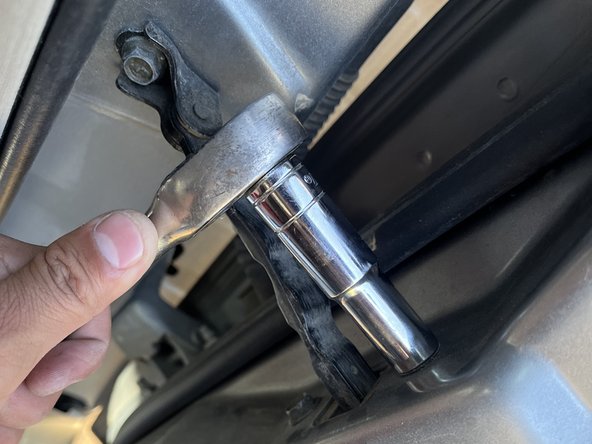
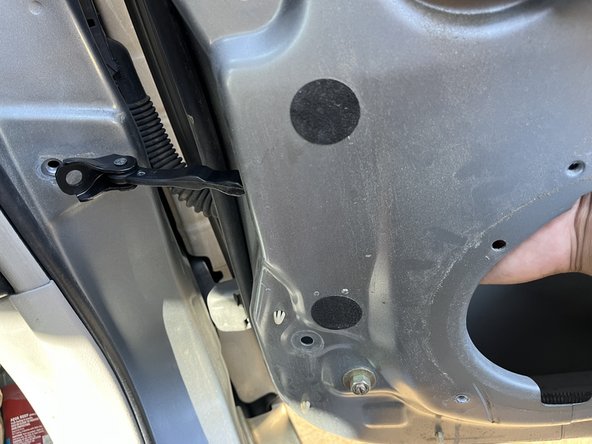
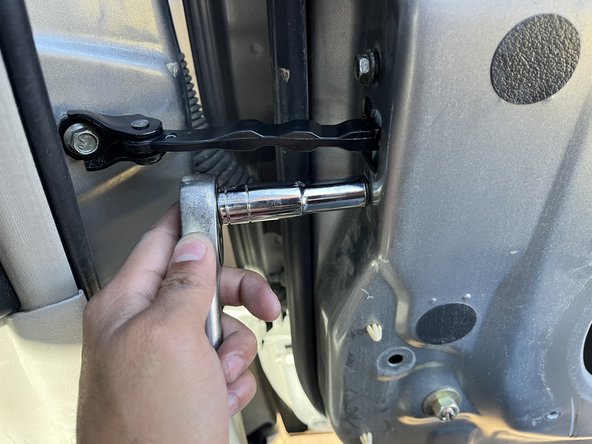
- Use a 10mm socket wrench to unbolt the door checker from the car door frame.
- Support the door while unbolting to prevent it from shifting or sagging.
- Keep the bolts with the old door checker for reference during installation.
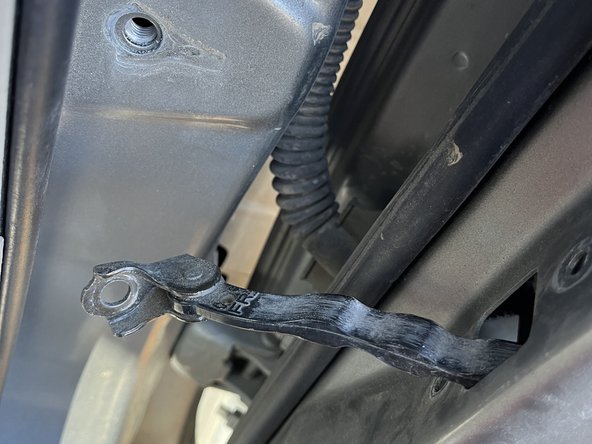
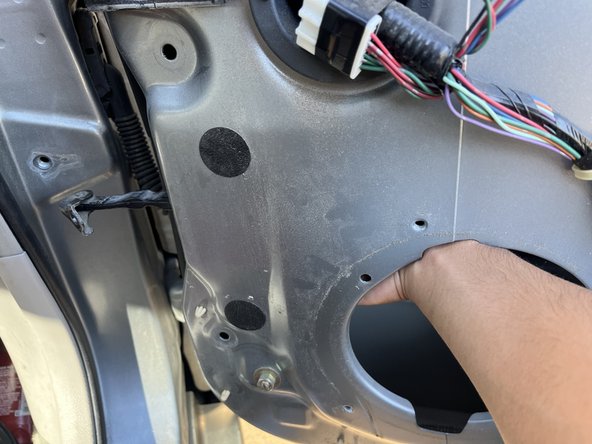
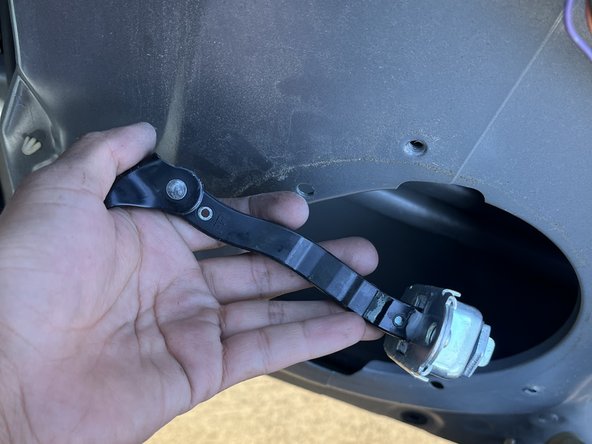
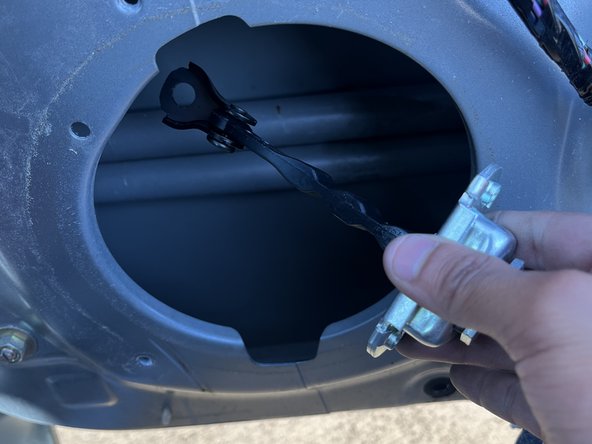
- Reach into the access hole in the door panel to grip the door checker. Carefully slide it out through the hole.
- Caution: Be mindful of sharp edges inside the door panel to avoid injury.
- Align the new door checker with the mounting holes inside the door frame. Carefully insert it through the access hole and ensure proper positioning.
- Double-check the alignment of the door checker before bolting it in place.
- Align the bolts in the holes, then use the 10mm socket wrench to bolt the new door checker securely to the frame.
- Caution: Do not overtighten the bolts to avoid damaging the door checker or its mounting points.
- Test the door at different angles to verify it holds open properly without popping noises.