Anbernic RG35XX Screen Replacement
ID: 179131
Description: The screen in the Anbernic RG35xx is...
Steps:
- Remove the SD card located on the right side of the device by pushing into the SD card slot and pulling the card out.
- Remove the six 1.2 mm screws that secure the back case with a 1.5 Hex Bit screwdriver.
- Insert an opening tool into the MicroSD card slot and twist it clockwise to begin releasing the rear case.
- You'll hear "clicks" as the retaining clips release.
- Pry around the entire perimeter until the rear case fully releases.
- Remove the rear case.
- Use your fingernails or tweezers to gently remove the battery connector from its socket.
- Disconnect the red audio cable from its motherboard port by carefully pulling the connector with your index finger and thumb or with fine tip tweezers.
- Remove the six 1 mm Phillips screws that secure the motherboard to the case.
- Flip up the black ZIF locking flap that secures the bronze ribbon cable.
- Gently disconnect the bronze ribbon cable.
- Lift the motherboard up and out the chassis.
- The wire is not part of the sticker.
- Remove the black sticker on the back of the screen.
- The screen is attached with adhesive.
- Do not heat the device too much, stop at regular intervals and insure that no pieces are being affected badly.
- Use a hair dryer to gently heat the rear of the screen until it's almost too hot to touch.
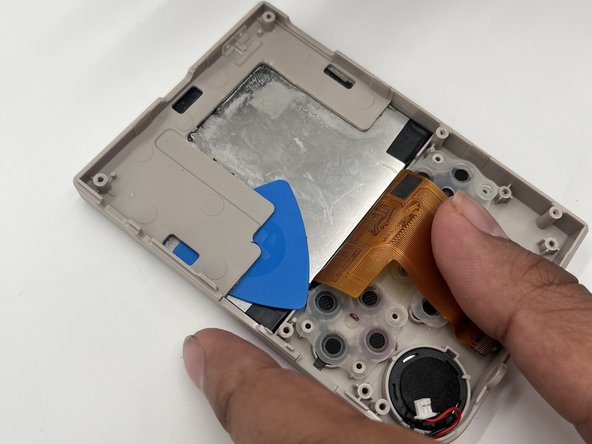
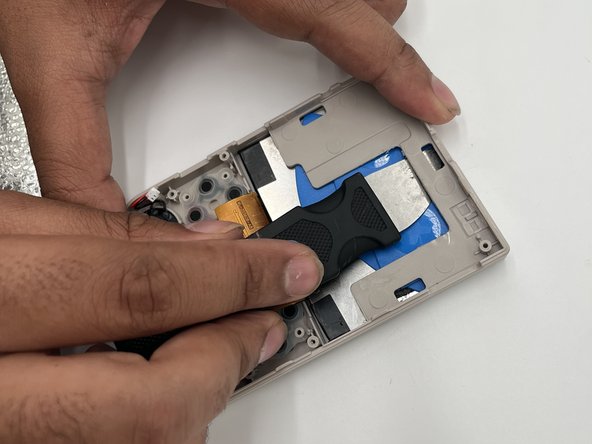
- Insert a jimmy between the screen and plastic bracket. Once a slim gap is opened, insert an opening pick between the plastic bracket and rear screen.
- Reheat the screen as needed.
- Continue to insert opening picks around the entire perimeter of the screen as you pry to avoid the adhesive from reengaging.
- Once the screen fully releases, remove it.