Sony BDP-BX320 Optical Drive Replacement
ID: 179143
Description: This guide will help you replace the optical...
Steps:
- Power off and unplug the device from any power source.
- Place the Blue-ray player on a clean, stable surface.
- If preferred, use the Magnetic Mat to organize screws.
- Use a Phillips #1 screwdriver to remove the three 8.3 mm screws on the back of the device.
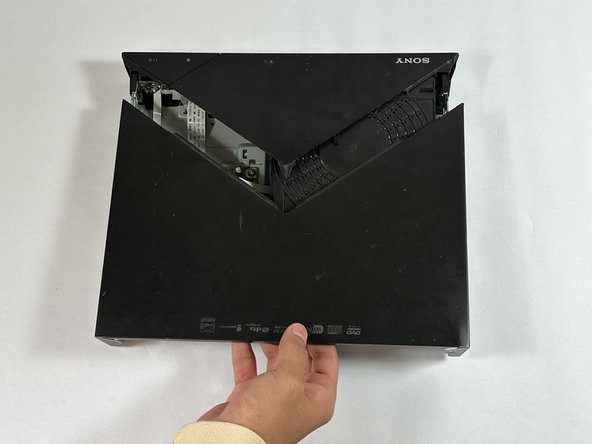
- Slide the back section of the top case off the device.
- Use your hands or a metal spudger to gently disconnect the case from the small tabs on the bottom and sides of the device.
- Slide off the front section of the top case to expose the internal components.
- Locate the optical drive, which is positioned next to the main board and connected by a wide ZIF connector ribbon cable.
- Use a Phillips #1 Screwdriver to remove the two 7 mm screws that secure the optical drive to the frame of the device.
- Use a spudger or a clean fingernail to flip up the locking flap of the ZIF connector located between the two "no fuss" ribbon cables that are attached to the board. This action puts the connector in the unlocked position.
- Use the widest tool possible to avoid damaging the delicate hinge pins.
- Use tweezers or your fingers to gently pull the cable out of its socket by the blue tab.
- You may damage the cable by gripping it directly.
- To reconnect, make sure the locking flap is flipped up and gently reinsert the cable. Then, flip the locking flap down to secure the cable. The cable should slide into the socket with little to no force. If you're having trouble, remove it, check that the flap is fully unlocked, and try again.
- Pull the other two "no-fuss" ribbon cables straight out of their socket to disconnect them.
- Carefully lift the optical drive out of the device housing.