Amazon Kindle 8 Battery Replacement
ID: 179156
Description: If your Amazon Kindle 8 no longer holds a...
Steps:
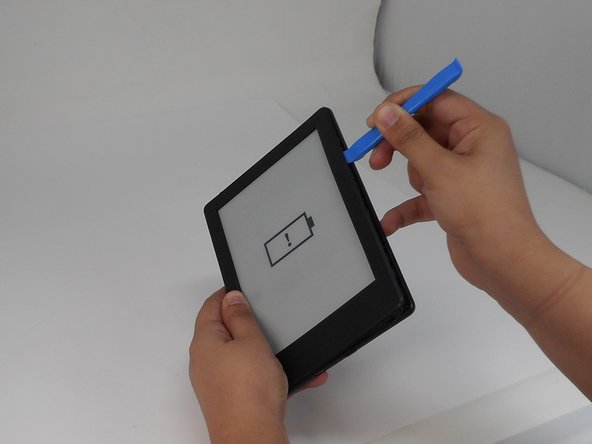
- Insert the iFixit opening tool into any corner of the Kindle’s front cover.
- Gently slide the tool along the edges and carefully separate the front cover from the inner front cover.
- Keep even pressure to avoid any cracks.
- Lift front cover once all clips are disengaged.
- Lift the front cover gently so that it is not cracked.
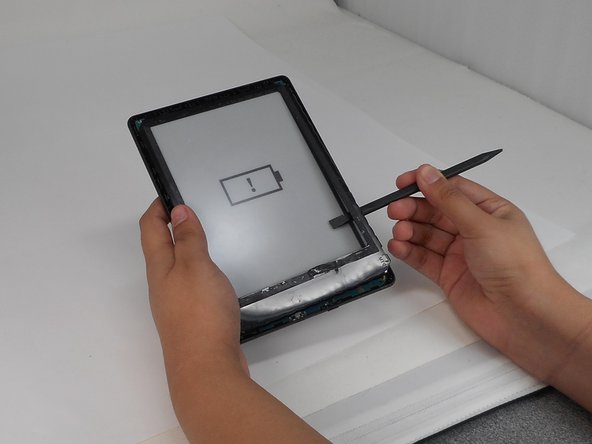
- Insert the spudger between the inner front cover and the screen.
- Gently work your way around to loosen the inner front cover.
- Carefully lift the inner front cover from the device.
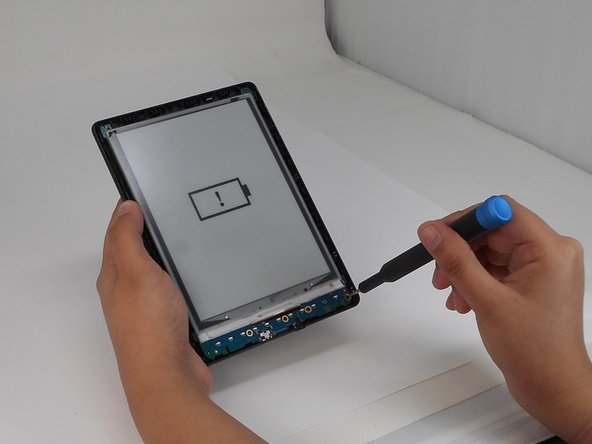
- Use a T4 Torx screwdriver to remove the seven 3 mm screws around the perimeter of the device.
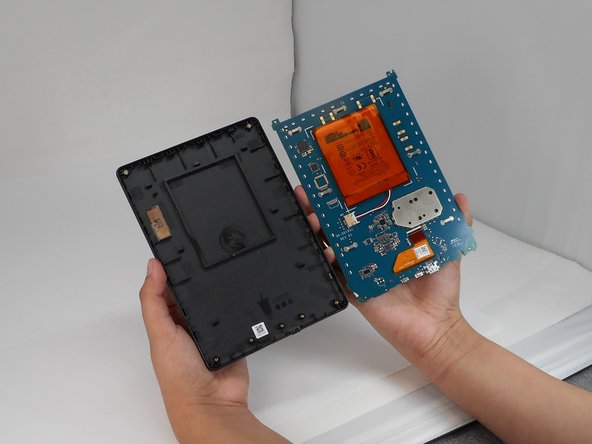
- Lift the screen and motherboard from the back cover.
- Pinch the clips on the battery and disconnect the battery connector from its socket.
- Insert the halberd spudger between the motherboard and battery.
- Take care not to bend, twist, or puncture the battery.
- Slowly move the spudger around the battery and pry it off.
- The battery is glued in place, so don't be afraid to use some moderate force.