Fujifilm Instax Mini 9 Flash Capacitor Replacement
ID: 179175
Description:
Steps:
- Untie the wrist strap by loosening the small black end of it, and pulling the large part out of the loop it makes which holds it in place.
- Turn the camera on its side and take off the battery cover by pulling down while putting pressure onto the cover.
- Remove both AA batteries.
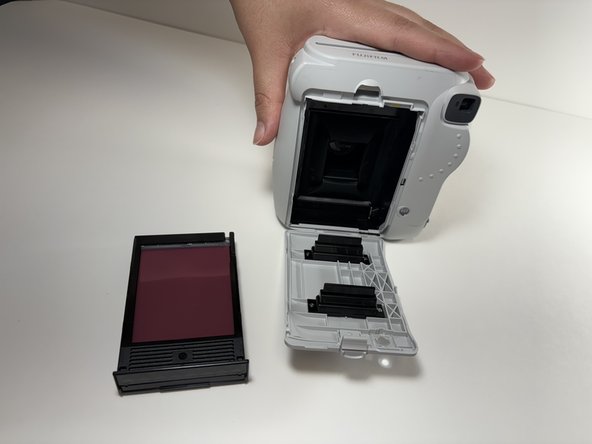
- Turn the camera to its back side and push down on the clip at the top of the film cover and remove film.
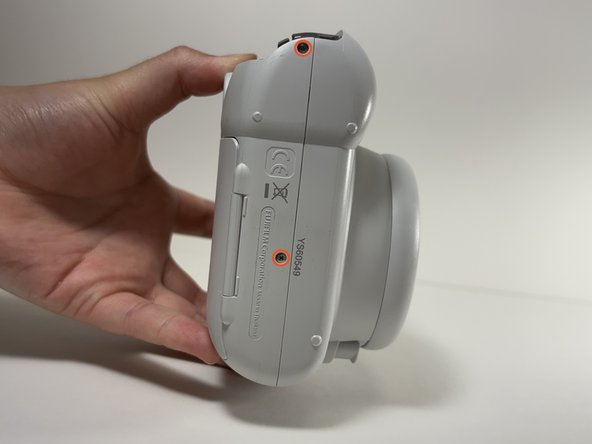
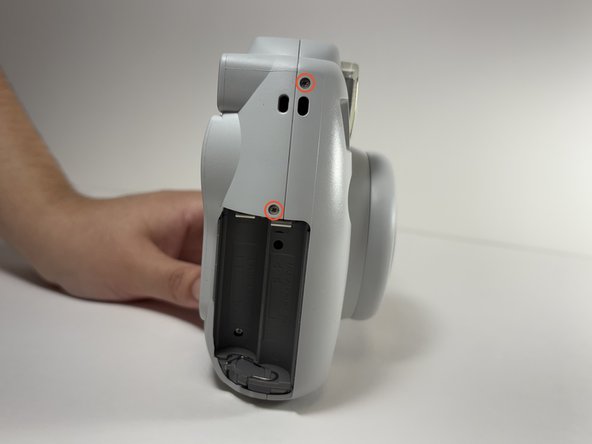
- Remove the six shell screws highlighted using a Philips #00 screwdriver.
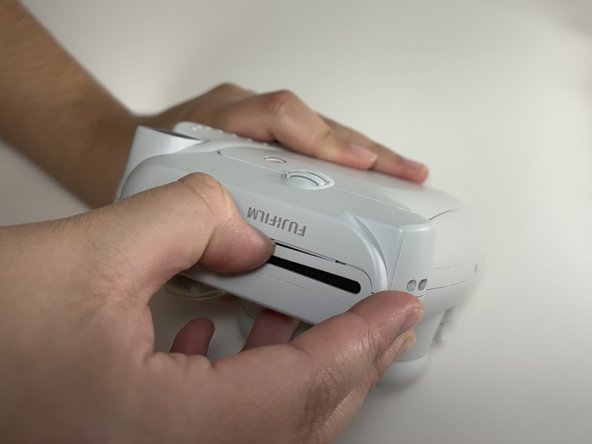
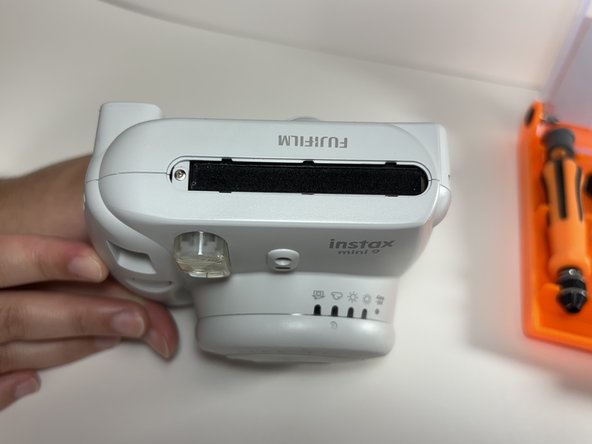
- Remove the shroud for the film printer. Carefully pry around the edge of the shroud until the part comes loose.
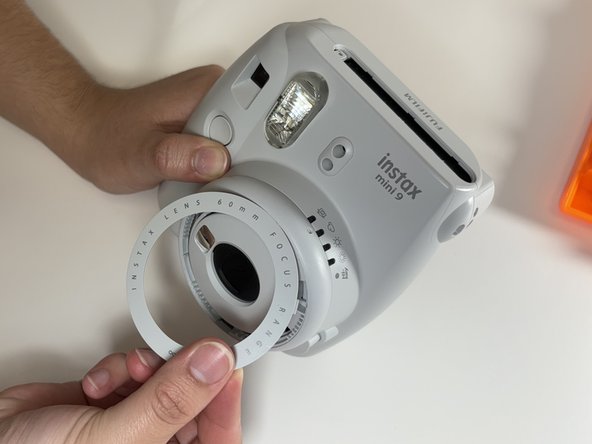
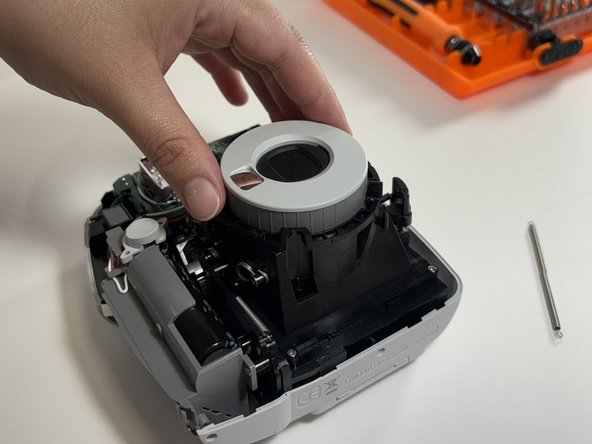
- Carefully pry around the lens shroud in a circular motion in order to remove it.
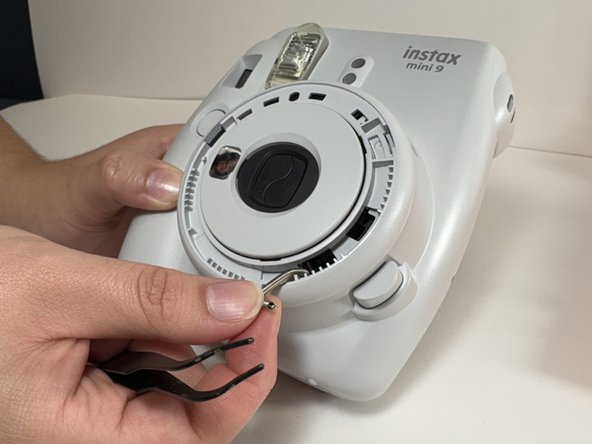
- Unhook the spring attached to the lens.
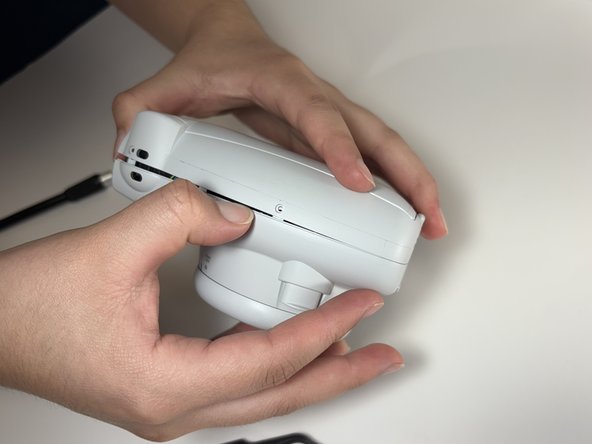
- Gently pry along the shell seam while tracing the seam along all sides of the camera. Take the front shell off the camera once the shell is released.
- Take the button that controls the shutter off of the camera.
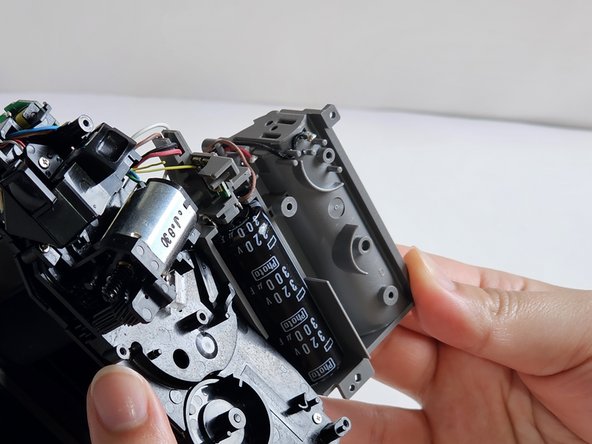
- Remove the battery slot by unscrewing the two highlighted screws. Once loose, remove the piece to reveal the capacitor.
- Note: These two screws are smaller than the case screws removed earlier.
- Heat the soldering iron up to 600°F and firmly hold it onto the soldered contacts.
- Replace the flash capacitor by de-soldering the highlighted contacts.
- Use a soldering wick or a vacuum pump to absorb the melted solder and remove capacitor once the wires are separated from the contacts.
- Note: The capacitor is rated for 320V and has a capacitance of 300µF
- Solder the two white wires back into place.