Bissell Vacuum Belt Replacement and Motor Inspection
ID: 179206
Description: The motor belt in a vacuum is a crucial...
Steps:
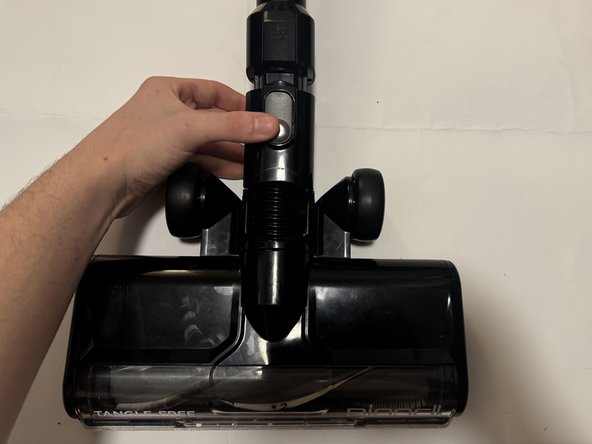
- Detach the head assembly of the vacuum by pressing down on the grey latch and pulling downward, releasing it from the main vacuum unit.
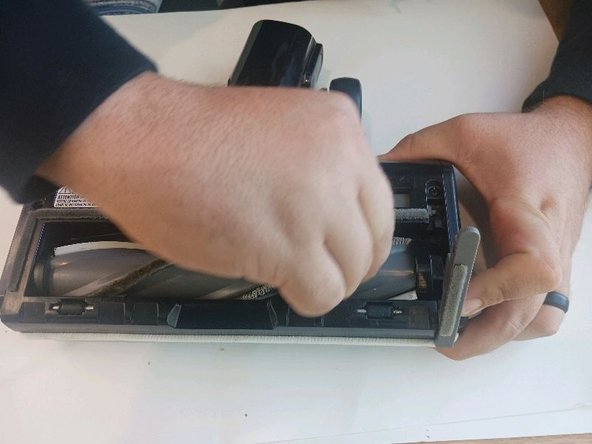
- Turn the head unit upside down and slide the grey switch to the unlocked padlock icon. This will release the grey lever, allowing you to lift and remove the brush roll.
- Using a Phillips head screwdriver, remove the six black screws located on the underside of the head unit by the wheels (2), in the middle (2), and one on each side of the unit.
- NOTE: One side screw will be under the brush roll clip that was previously lifted to remove the brush roll.
- Remove the two end caps located on the left and right sides of the head unit.
- Removing these requires a good amount of force to disengage the internal clips. It is recommended to pry it off carefully with a flat-head screwdriver.
- Remove the belt by gently "walking" it off the pulley. To do this, move the belt towards the driven pulley while pulling it towards yourself. Repeat this motion until the belt is fully off the pulley.
- If you are only replacing the belt, you can skip to the conclusion. Continue forward for steps on disassembling for motor inspection.
- Remove the two silver screws connecting the plastic cover to the head unit.
- Remove the two screws that are within the belt housing.
- Remove the last two screws holding the clear plastic cover to the housing.
- Separate the black plastic belt housing from the clear brush cover and pull.
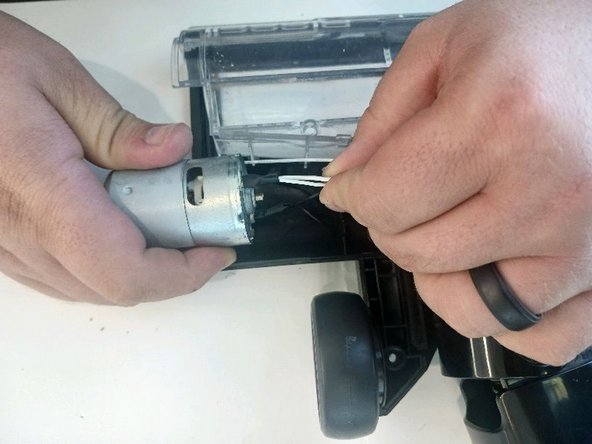
- Inspect the motor and wire connections for signs of damage on or in the motor. This includes frayed wires, loose connections, burn marks or smells, or excessive wear.
- If the motor is malfunctioning or the wires are severely damaged, consider replacing the motor or getting a new vacuum. Motor replacement will require desoldering.