Instant Pot 60 EPC Circuit Board Replacement
ID: 179216
Description: The following guide is for replacing the...
Steps:
- Ensure the device is unplugged and cool before beginning.
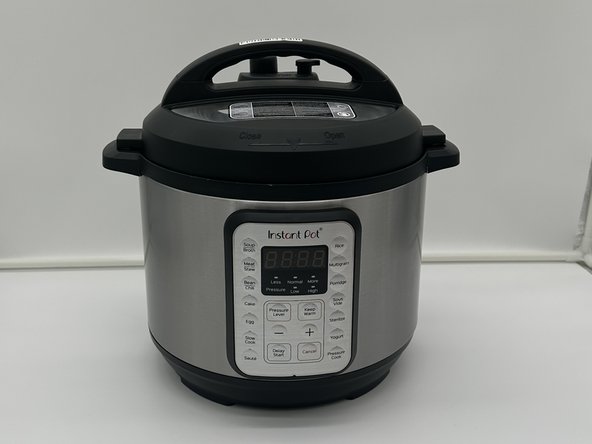
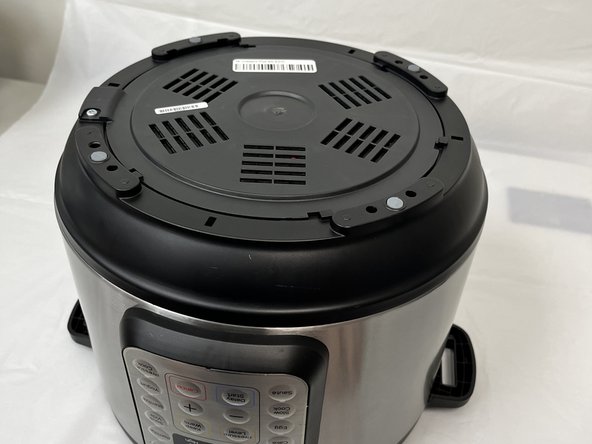
- Remove the lid and inner pot from the Instant Pot and turn the body upside down.
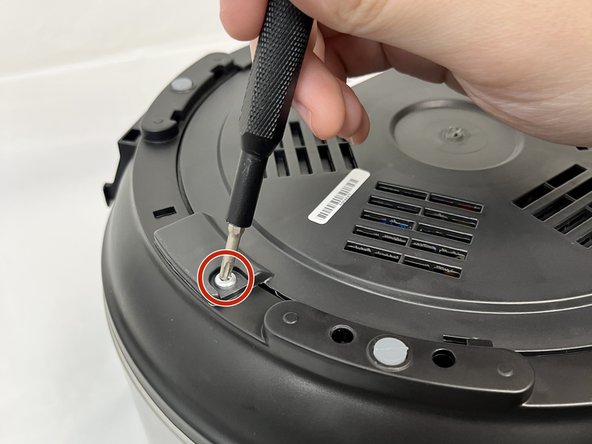
- Remove the single Torx screw.
- Turn the bottom face counterclockwise and remove it.
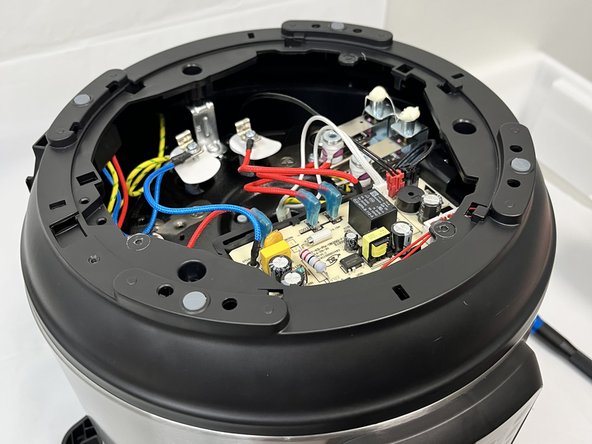
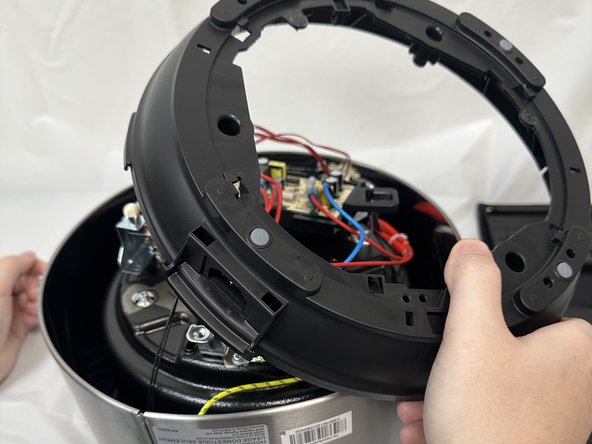
- In order to reach the circuit board you'll need to remove the secondary frame surrounding it.
- Remove the three Phillips screws securing the frame.
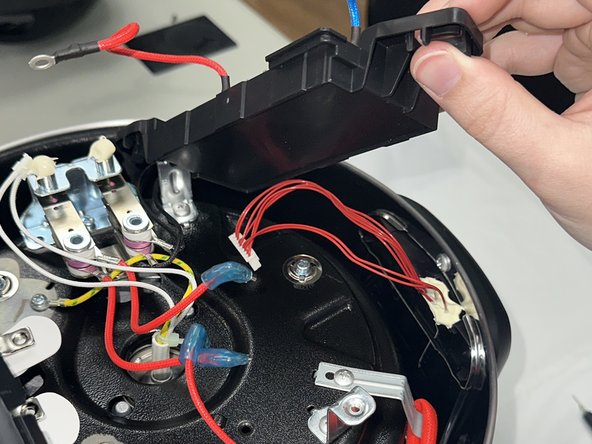
- Lift the frame, twist and set next to the body. Take care not to damage any of the attached wiring.
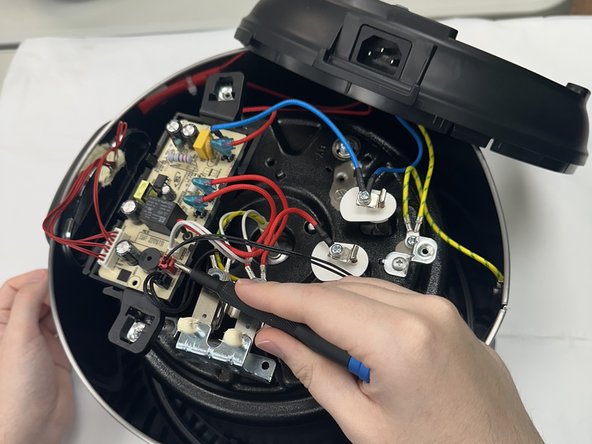
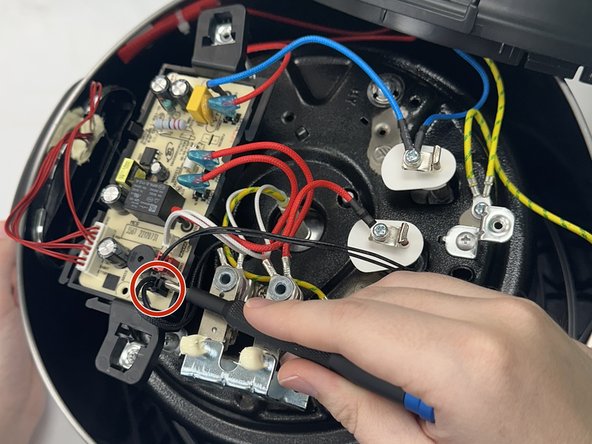
- Depress the latch securing the red connector and disconnect it.
- Repeat the previous bullet for the white and black connectors.
- It can be helpful to gently rock them back and forth while pulling up.
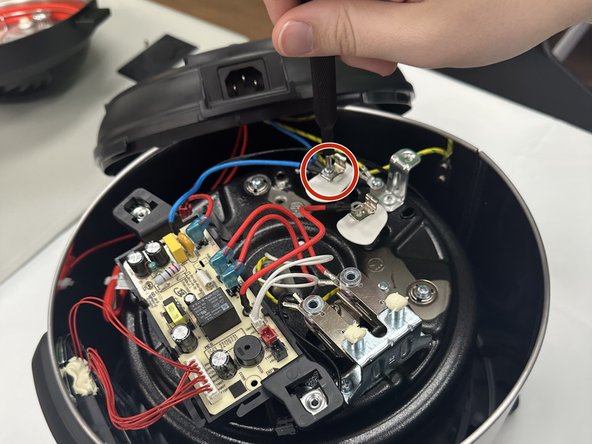
- Use a Phillips screwdriver to remove the two screws holding each of the two leads in place.
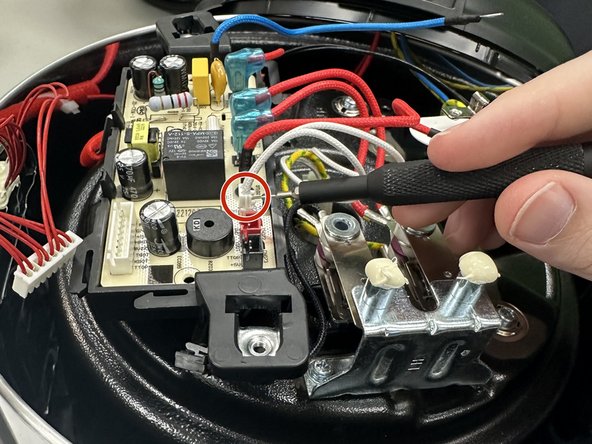
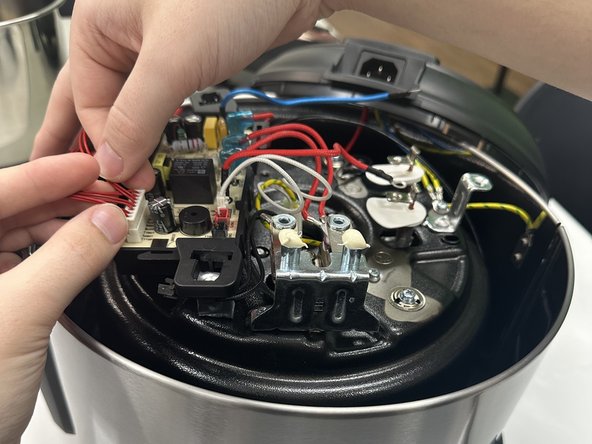
- Gently walk the 8x1 pin connector out of its socket.
- It may be helpful to also rock the plug side to side while pulling up.
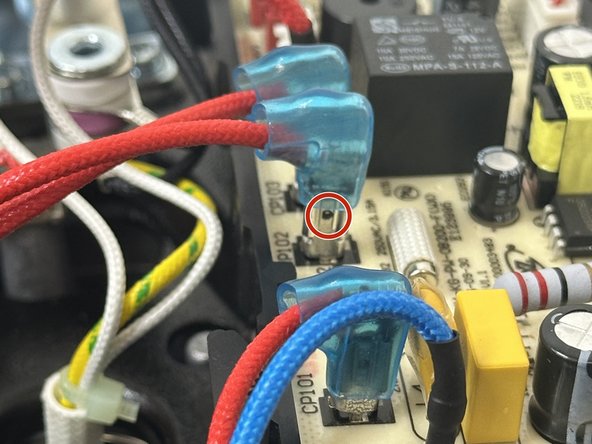
- Slide the blue sheathing up to expose the small hole in the lead.
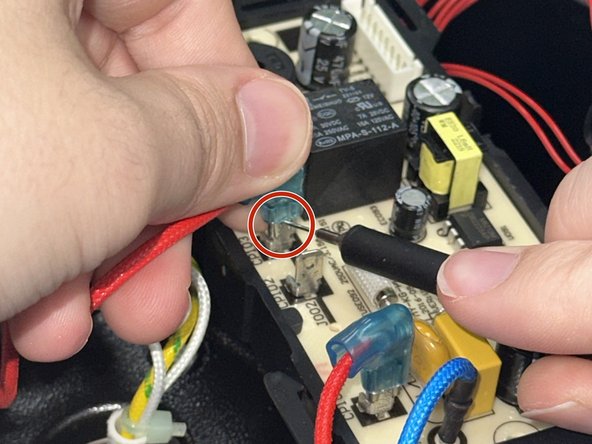
- Place a SIM card punch into the hole to unsecure the leads and pull them up. If a SIM card punch is not available, then a paperclip or earring should suffice.
- Repeat for the other two leads.
- Pull the board up slightly to unclip it from its stand and lift from the body to remove the circuit board.
- Instant Pot does not provide a new sensor with the device, so it will have to be purchased from a secondary source.