Instant Pot 60 EPC Button Panel Replacement
ID: 179217
Description: The following guide is from replacing the front...
Steps:
- Ensure the device is unplugged and cool before beginning.
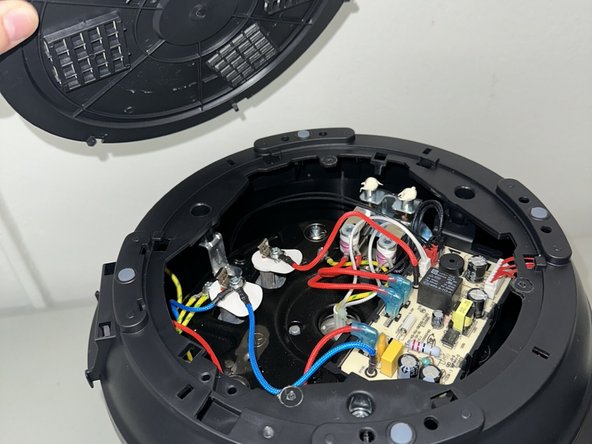
- Remove the lid and inner pot from the Instant Pot and turn the body upside down.
- Remove the single Torx screw.
- Turn the bottom face counterclockwise and remove it.
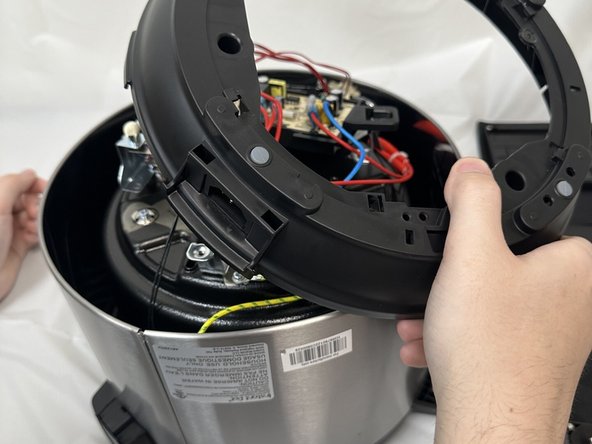
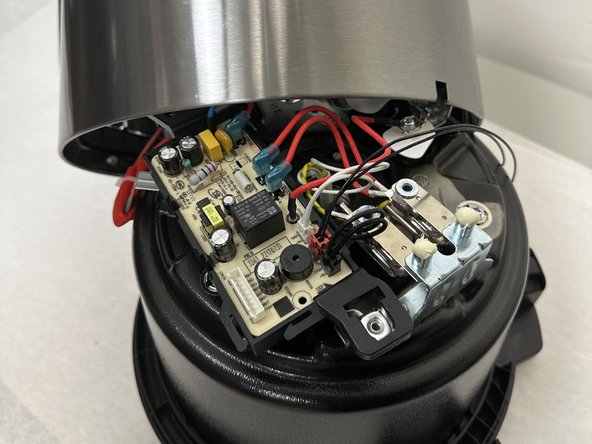
- In order to reach the circuit board you'll need to remove the secondary frame surrounding it.
- Remove the three Phillips screws securing the frame.
- Lift the frame, twist and set next to the body. Take care not to damage any of the attached wiring.
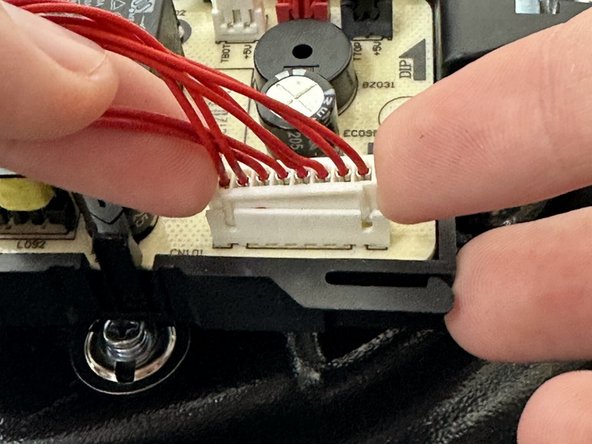
- Disconnect the 8x1 pin control connector from the main board.
- The plug should easily come up when pulled with slight pressure.
- It may be helpful to also rock the plug side to side while pulling up.
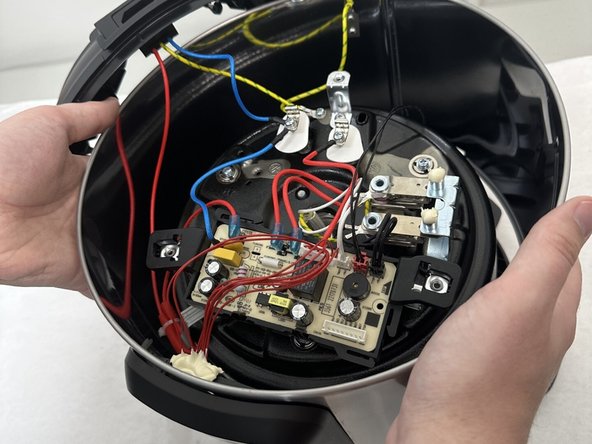
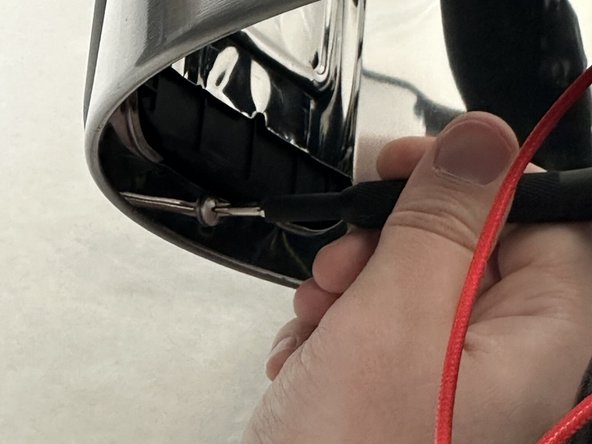
- Remove the single screw attaching the front panel to the main body with a Phillips screwdriver.
- This screw may be difficult to get to; we were able to remove it by threading a screwdriver underneath the main board.
- Remove the main body from the Instant Pot.
- It should easily pull up with a little force and be free from the control board.
- Remove the Phillips screw.
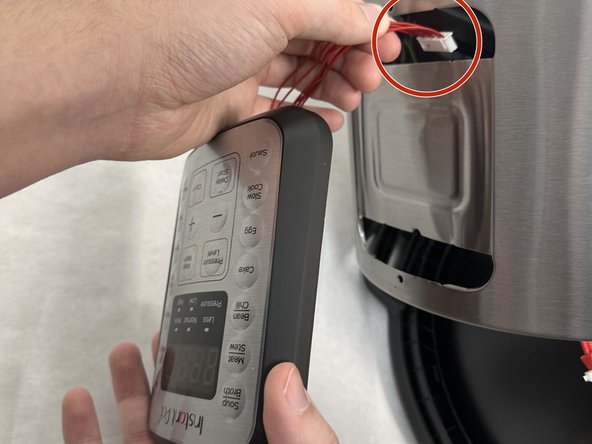
- Pull the front panel away from the body and carefully pull out the wires that connect the front panel to the circuit board.
- The front panel is now free to be replaced.