JBL Clip 3 Button Board Replacement
ID: 179225
Description: This guide demonstrates how to replace the...
Steps:
- Insert an opening tool between the speaker grille and speaker housing and pry around the entire perimeter of the device until the grille is released.
- A strong adhesive attaches the grill to the housing and requires some time and patience to break. Use mild heat to loosen the adhesive if necessary.
- Use a Phillips #1 screwdriver to remove the five 6.3 mm screws around the perimeter.
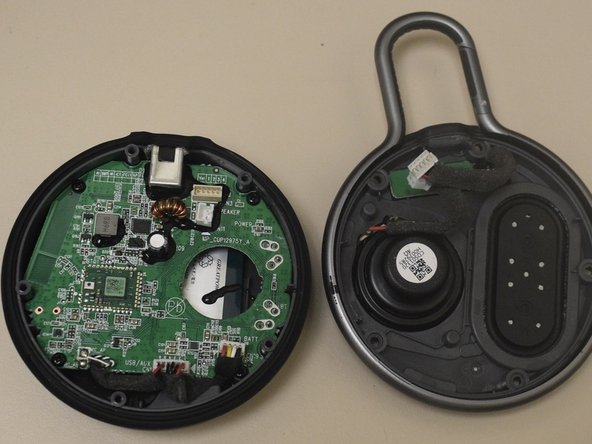
- Separate the speaker housing from the rest of the body.
- Carefully lift the speaker housing since there are components that are connected to the speaker housing.
- The speaker housing and the body are not glued together.
- Carefully remove the 2-pin and 4-pin connectors from the motherboard.
- Tweezers can also be used to remove the 2-pin and 4-pin connectors.
- Use a Phillips #2 screwdriver to remove the two 6.3 mm screws.
- Carefully remove the internal speaker from the speaker housing.
- This step is completely optional; completing this step will help unclutter the speaker housing, allowing you to unscrew the last final screws easier.
- Use a Phillips #2 screwdriver to remove the two 6.3 mm screws from the button board.
- Carefully lift and remove the button board from the speaker housing.
- When reassembling your device, remember to use super glue to reattach the grille to the speaker housing.