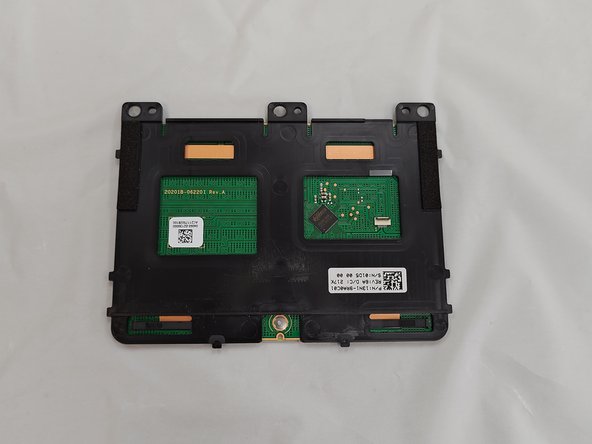
ASUS Chromebook C424MA-DH48F Touchpad Replacement
ID: 179226
Description: This is the ASUS Chromebook (Model...
Steps:
- Use a Phillips #0 screwdriver to remove the eleven 6.9 mm screws that secure the lower case.
- Make sure all the screws on this side get taken out because there could be a label or warranty sticker covering up a screw that might be missed.
- Insert an opening pick into the gap between the lower case and chassis.
- Slide the pick around the entire perimeter of the laptop until the lower case fully releases.
- Remove the lower case.
- Use an opening tool to pop up the silver locking bar securing the battery connector.
- Push the battery connector directly out of its motherboard port.
- Carefully use the plastic prying tool and pop up the locking bar and lift the connector off with your hand.
- Use a Phillips #0 screwdriver to remove the six 4.1 mm screws that secure the battery.
- The two screw holes (marked in orange) on the bottom won't have screws associated with them since they were removed earlier when the base was removed.
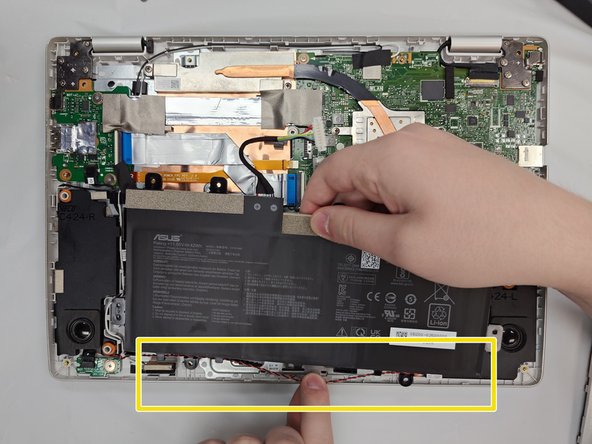
- Unseat the speaker cable from the black plastic hooks on the lower side of the battery.
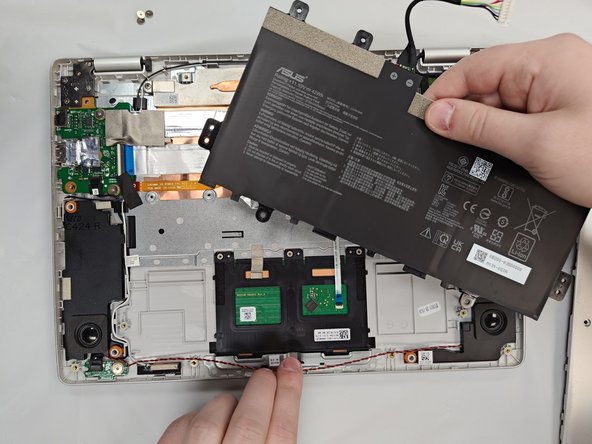
- Lift the battery up and out of the chassis.
- Use a Phillips #000 screwdriver to remove the three 1.9 mm screws that secure the touchpad.
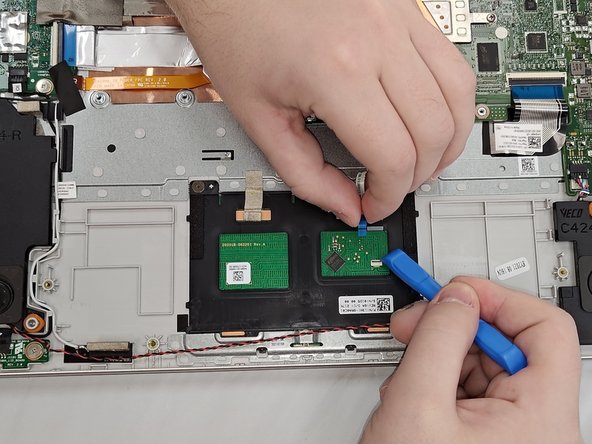
- Carefully peel off the gray tape on the touchpad.
- Use an opening tool to flip up the black ZIF locking flap that secures the ribbon cable connector to the touchpad.
- Pinch both sides of the ribbon cable connector and gently pull straight back to disconnect the touchpad.
- Be very careful as the ribbon cable is fragile and can rip easily.
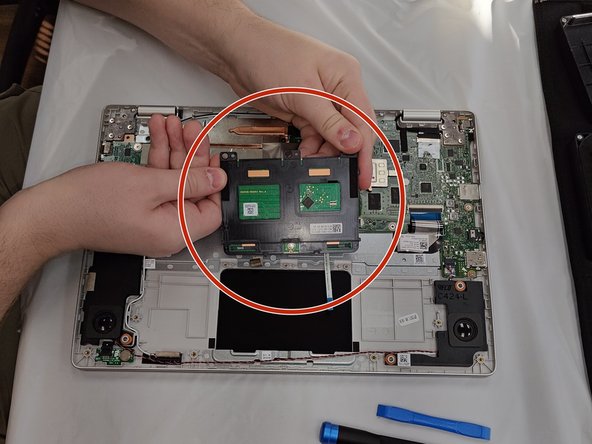
- Lift the touchpad up and out of the chassis.