Amazon Echo Show 8 3rd Gen Motherboard Replacement
ID: 179248
Description: The motherboard is the most important part of...
Steps:
- Use a prying tool to remove the rubber foot at the bottom.
- It is secured with adhesive and will lift off with some gentle prying.
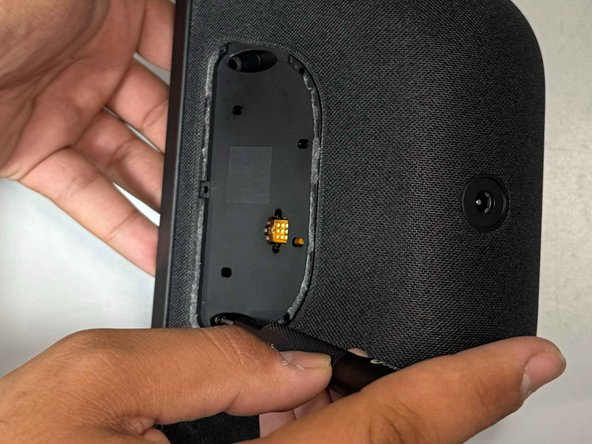
- Use an opening pick to remove the screw cover.
- Use a Torx TR8 screwdriver to remove the two 2 cm screws.
- Insert a jimmy in the gap between the display and chassis.
- Pry around the perimeter until the back case releases.
- Be careful as to not damage the ribbon cable on the top left area of the screen.
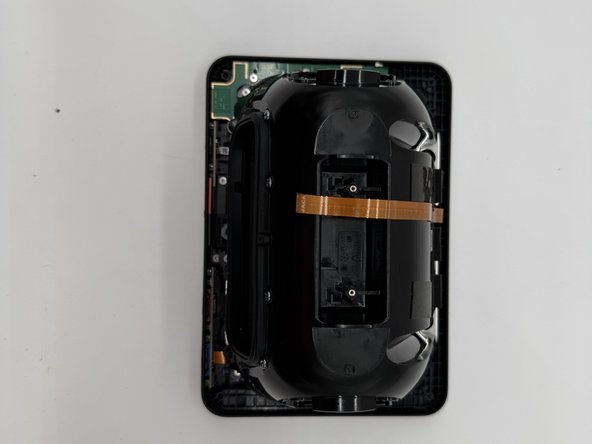
- Remove the back case.
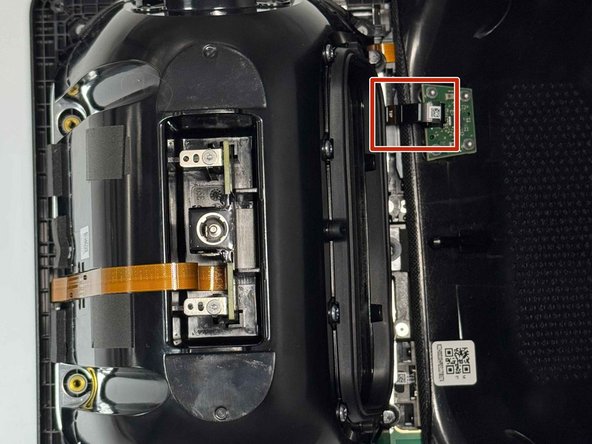
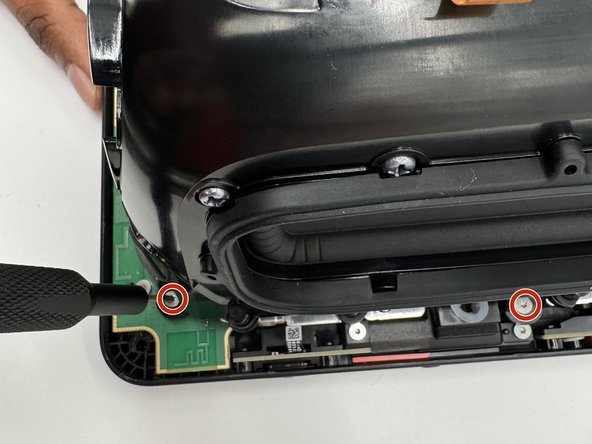
- Use a Torx TR6 screwdriver to remove the two 5 mm screws that secure the power board.
- Carefully lift the board without straining the ribbon cable.
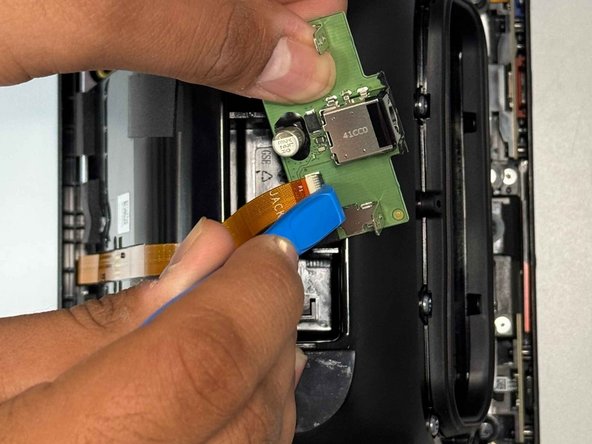
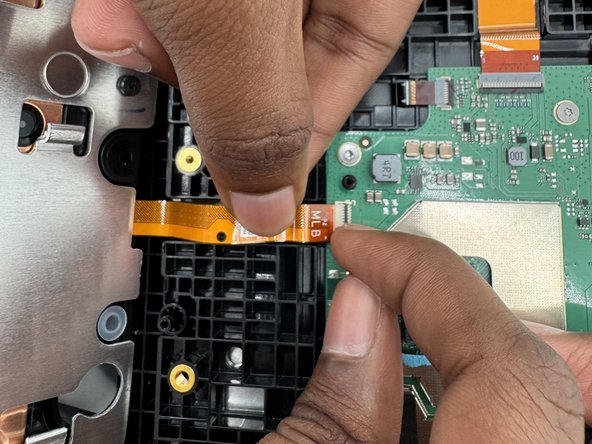
- Using an opening tool, carefully flip up the black ZIF locking flap that secures the ribbon cable.
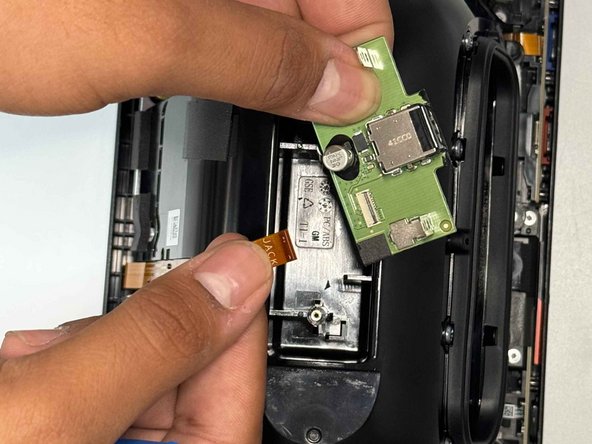
- Disconnect the ribbon cable.
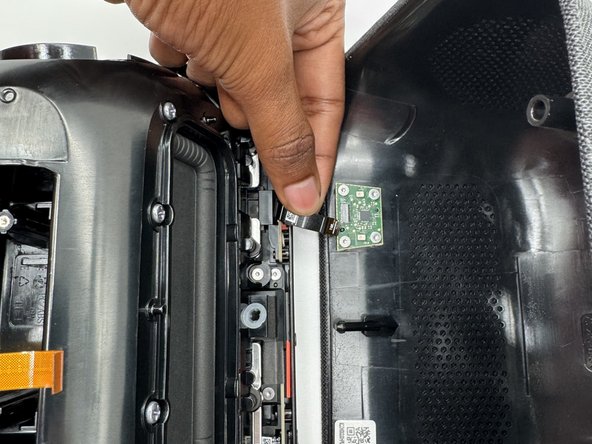
- Gently tilt the shell towards the top of the device and disconnect the ribbon cable from the board on the case.
- Don't tilt the cable too much as you can damage the ribbon or the connector.
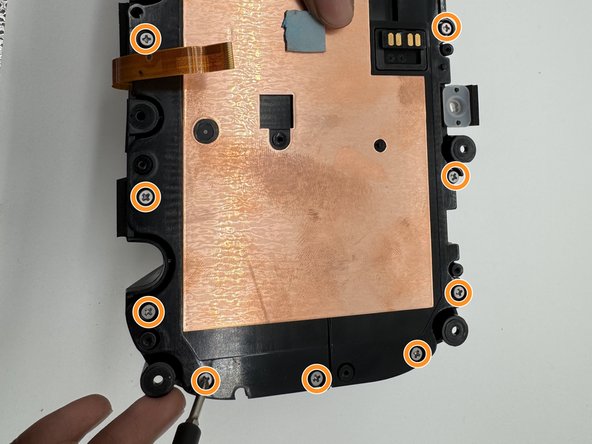
- Use a TR6 screwdriver to remove the six 7mm screws located around the speaker assembly.
- Gently tilt the speaker assembly towards the ribbon cable.
- The ribbon cable is fragile and can be damaged if moved any other way.
- Flip open the black tab on the connector towards the cable and gently pull.
- Don't use too much force pulling up on the tab, as it can break and the cable will no longer be properly connected.
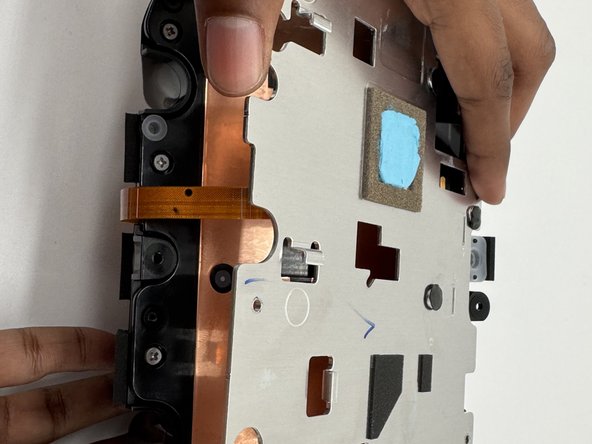
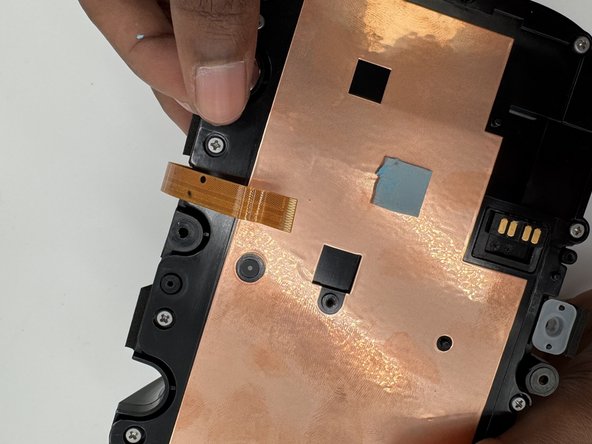
- Use a TR6 Torx screwdriver to remove the eight 9 mm screws holding the metal bracket.
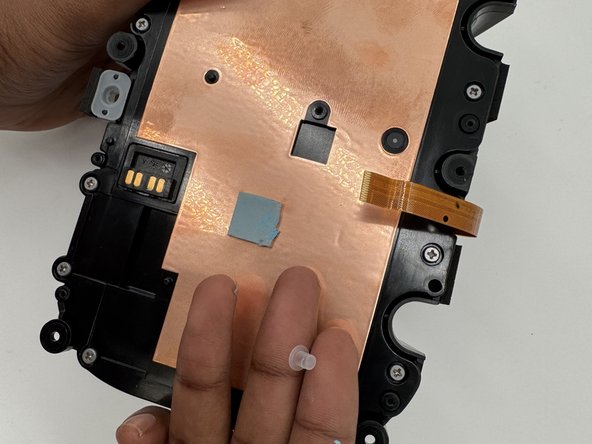
- Gently lift off the metal bracket.
- Remove the 2 rubber stoppers.
- Remove all 14 screws with a Phillips #1 screwdriver.
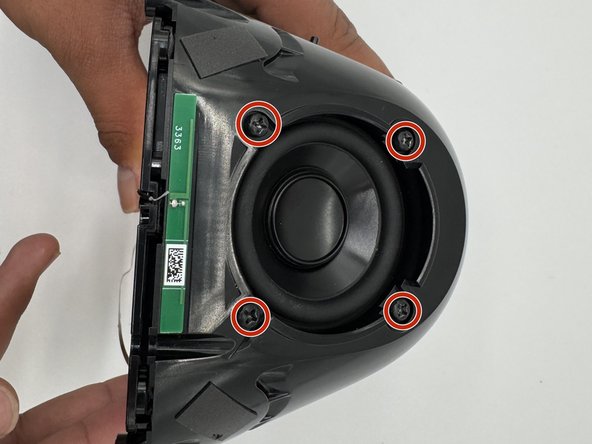
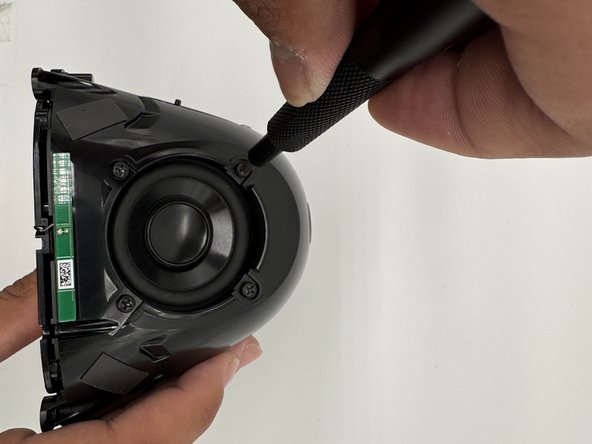
- Use a Phillips #1 screwdriver to remove the four 1.3 cm screws holding down each driver.
- Gently pull the plastic plate towards the antenna cable.
- There is a small antenna cable that is easy to rip off the solder joint, so lift carefully.
- There are 8 screws on the long side of the housing, but there is no driver behind it, so you don't need to remove them.
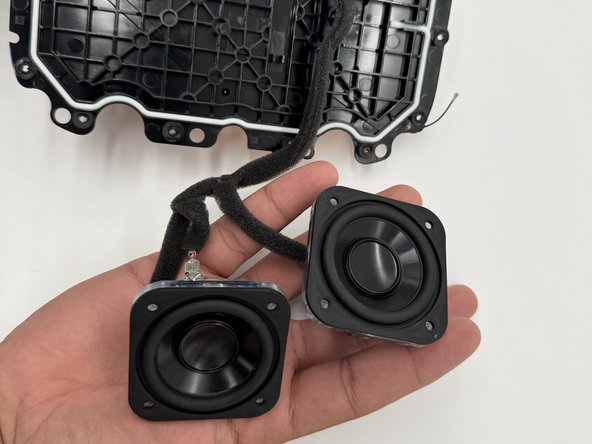
- Pry the speakers from the housing with a spudger.
- The speakers are connected to a spring-loaded pin connector which is attached to the black plastic using industrial hot glue, so while you can heat the glue to remove it, the plastic may melt and/or deform, so we wouldn't recommend it.
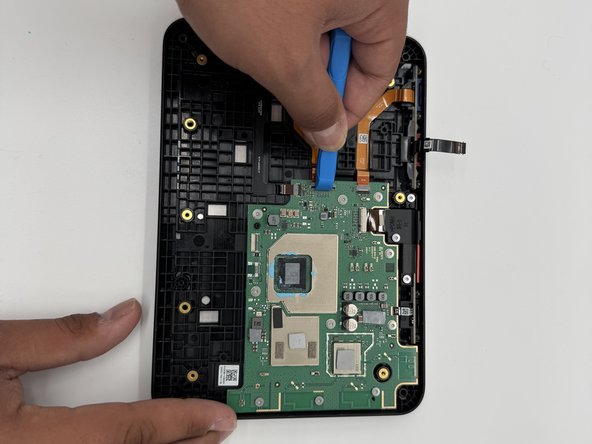
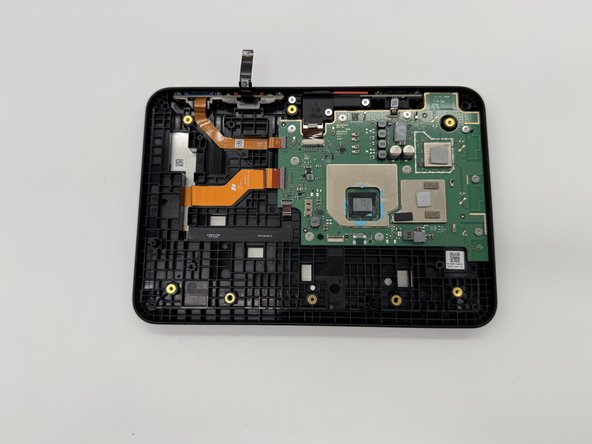
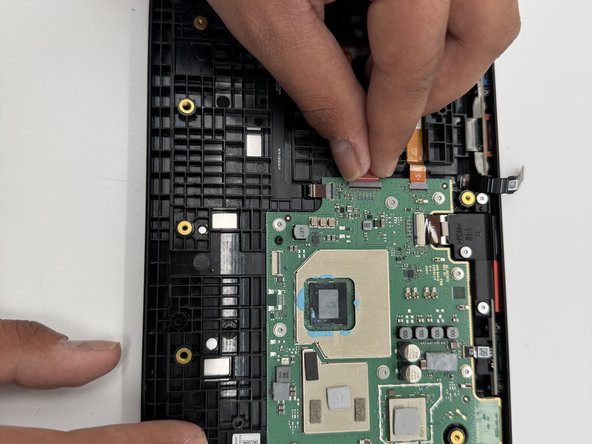
- Use an opening tool to flip up the black ZIF locking flap that secure the four ribbon cables.
- Use angled tweezers to disconnect all the ribbon cables from their motherboard sockets.
- The ribbon cables are fragile; pull with care.
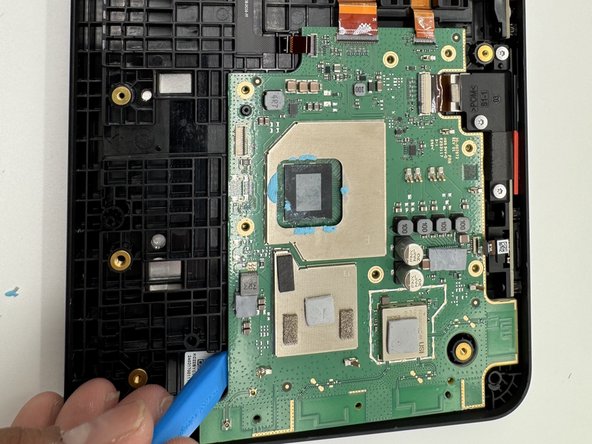
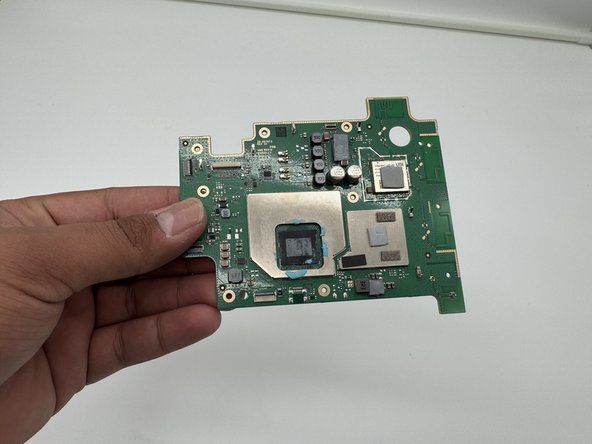
- Remove all 10 5 mm screws on the motherboard using a TR6 Torx screwdriver.