Motorola Moto G Stylus (2021) Camera Replacement
ID: 179256
Description: If the cameras in your Moto G Stylus 4G aren't...
Steps:
- Push a SIM tray ejector into the hole.
- Remove the SIM card and tray.
- Before you begin, discharge the battery below 25%. A charged lithium-ion battery can catch fire and/or explode if accidentally punctured.
- Power off your phone and disconnect the charger and any peripheries before beginning disassembly.
- Lay the phone face down.
- Heat an iOpener and apply it to the rear case.
- Alternatively, use a hair dryer to heat the rear case until it's almost too hot to touch.
- Insert an opening tool into the seam between the rear case and chassis.
- Once you create a gap, insert an opening pick a couple of millimeters into the gap.
- Slide the opening pick around the entire perimeter to sever the adhesive that secures the rear case.
- If you feel excessive resistance, reheat the problem area(s).
- Remove the rear case.
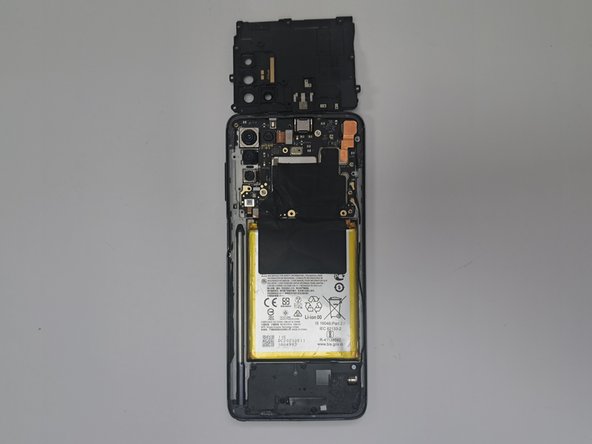
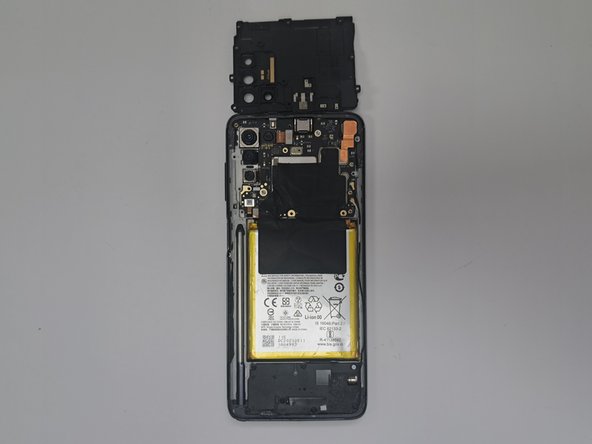
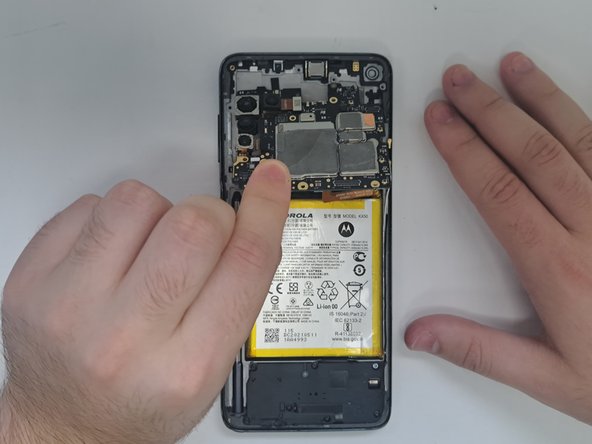
- Use an opening tool to lift and remove the midframe.
- You may need to use your heating device again to remove glue from covering the screws.
- Use a T4 Torx screwdriver to remove all eleven 3.2 mm screws securing the midframe.
- Use an opening tool to lift and remove the midframe.
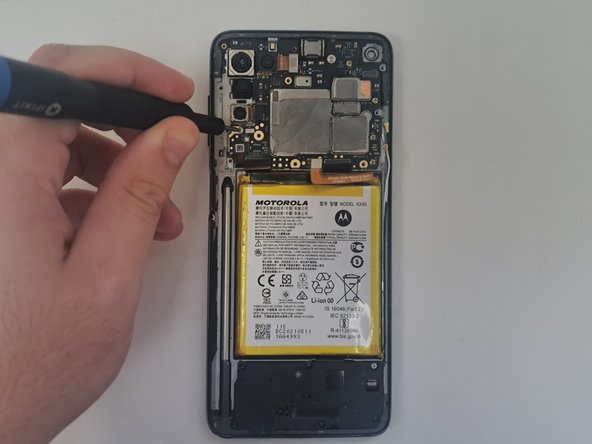
- Remove the black tape covering the connectors.
- Use an opening tool to lift and disconnect the four press connectors.
- Use an opening tool to lift and disconnect the two antenna cables connectors.
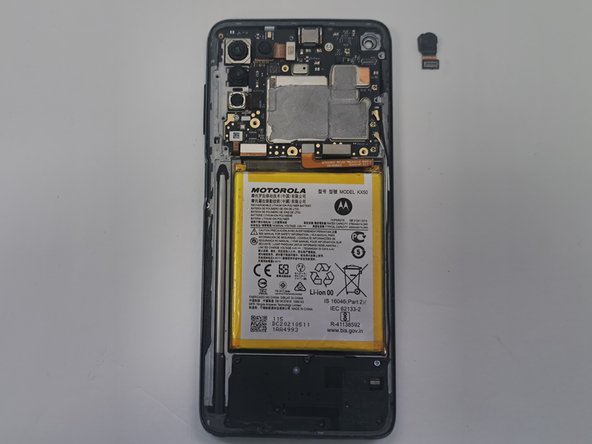
- Use an opening tool to lift and disconnector the front camera press connector.
- Remove the front camera.
- Use a T4 Torx screwdriver to remove the two 3 mm screws securing the main board.
- Use a spudger to an edge of the main board.
- Lift and remove the motherboard.
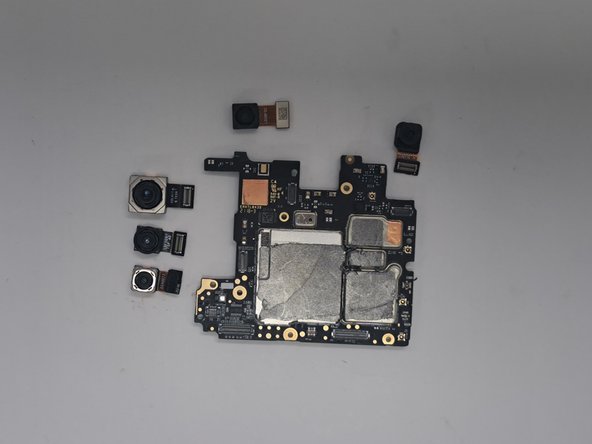
- From this point, you do not need to remove all of the cameras. Skip to the step that addresses your camera and follow that step as the last step. From there you can replace that specific camera and follow the instructions in reverse to put your phone back together
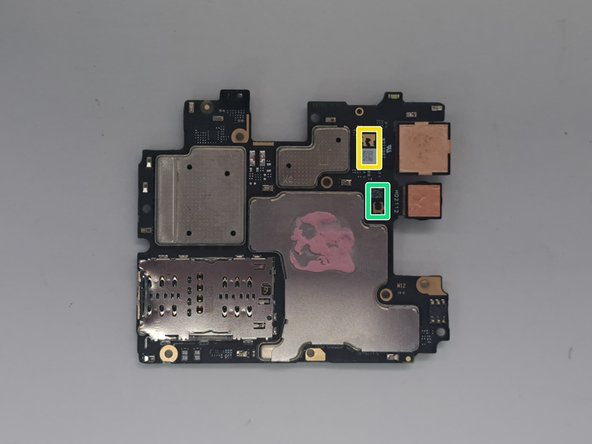
- Disconnect camera 1 from the main board using an opening tool.
- Disconnect camera 4 from the main board using an opening tool.
- Orient the main board so the back is facing up.
- Disconnect camera 2 from the main board using an opening tool.
- Orient the main board so the back is facing up.
- Disconnect camera 3 from the main board using an opening tool.
- Insert replacement cameras by following the instructions to remove it in inverse