Sony WH-CH520 Microphone Replacement
ID: 179258
Description: Blunt force or exposure to water may lead to...
Steps:
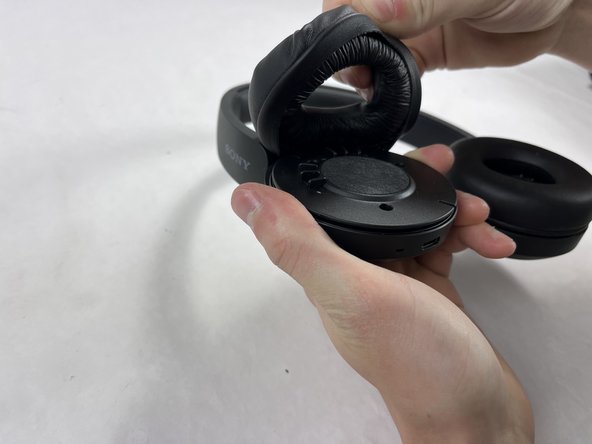
- Hold the headphones in one hand, and with your other hand lightly pinch the earpad cushion.
- Pull the pinched portion of the cushion up and towards yourself.
- Pull part of the cushion off of the lip of the headphones.
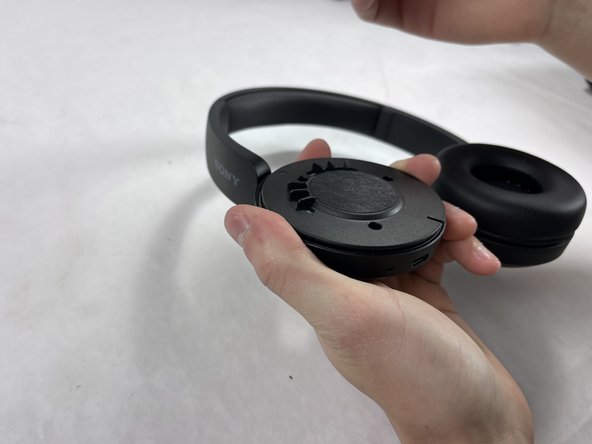
- Fully remove by pulling the earpad cushion down and away from yourself.
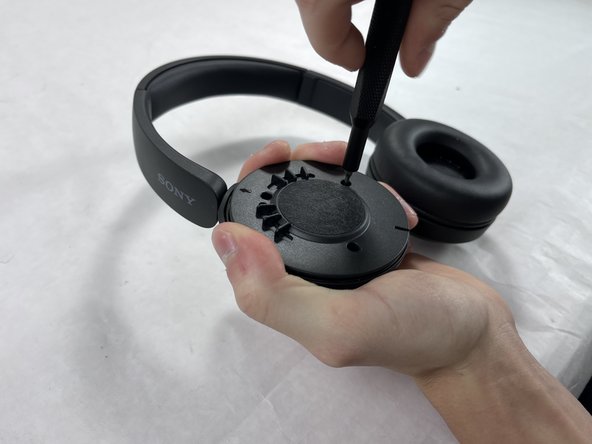
- Remove the three 2.5 mm screws from the headphones using a JIS #00 screwdriver.
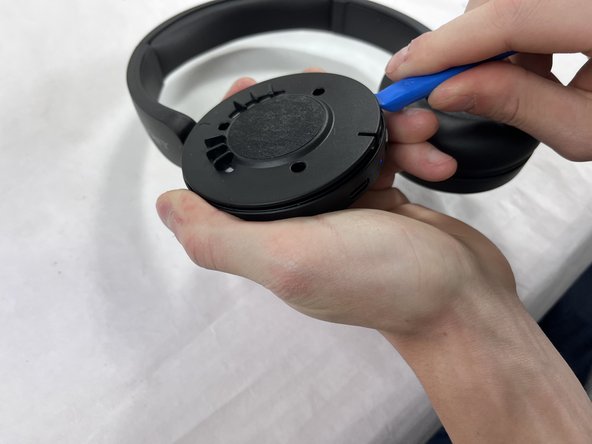
- Place one end of an opening tool against the edge of the base with the hook-like side pushing up against the covering.
- Carefully pull the tool down against the edge to lift the covering.
- Move the tool to different spots around the base of the headphones to pry it up until the covering comes off.
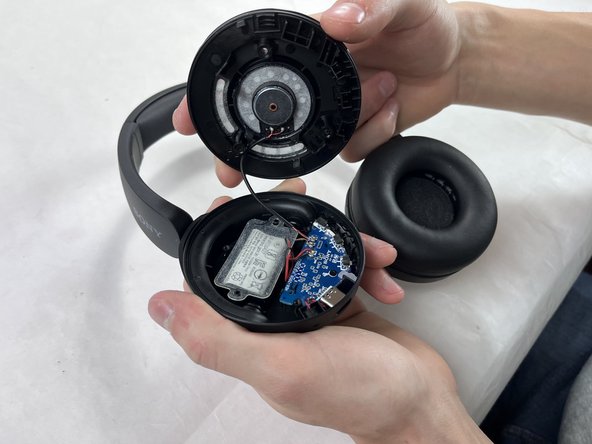
- There are two wires (one red and one black) connected to the B+ and the B- terminals on the motherboard.
- Desolder the wire attached to the B- terminal first.
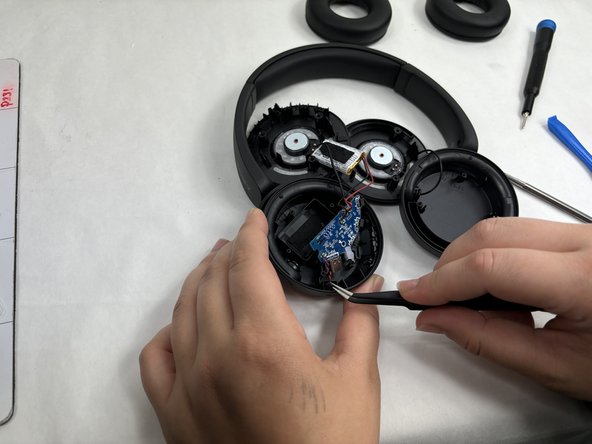
- The wires will be attached to the M+ and M- terminals on the motherboard.
- Desolder the wire attached to the M- terminal first.
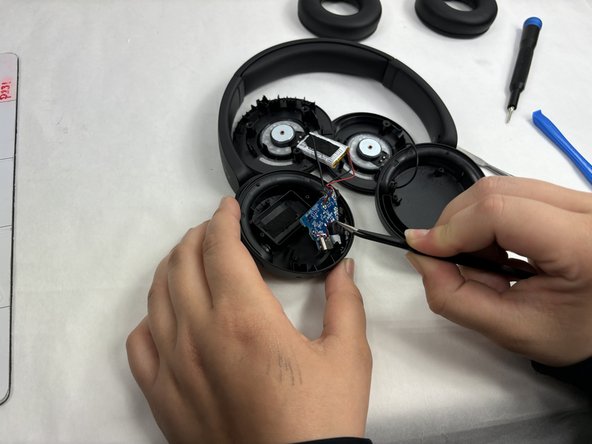
- Desolder the wires attached to the microphone from the motherboard.
- Remove the microphone using tweezers.