DJI Phantom 3 Standard Remote Controller Joysticks Replacement
ID: 179290
Description: This guide will be used to open the DJI Phantom...
Steps:
- Position the controller so the back is facing up and the joysticks are resting on the table.
- Remove the four 11 mm screws that secure the back plate using a JIS #0 screwdriver.
- Remove the back plate, being mindful of the wires still connected to the device.
- On the inside of the controller, remove the four 11 mm screws that cover the base housing of the joystick.
- Inside the base housing, remove the two 9 mm screws that secure the joystick brace piece on both the left and right side of the stick.
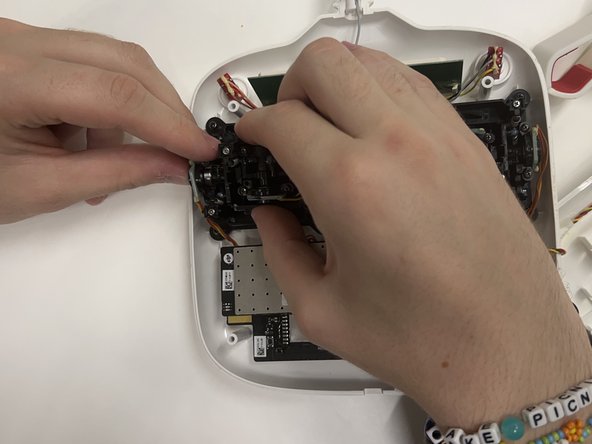
- Remove the braces on the left and right sides of the joystick to reach the circuit board piece on the left.
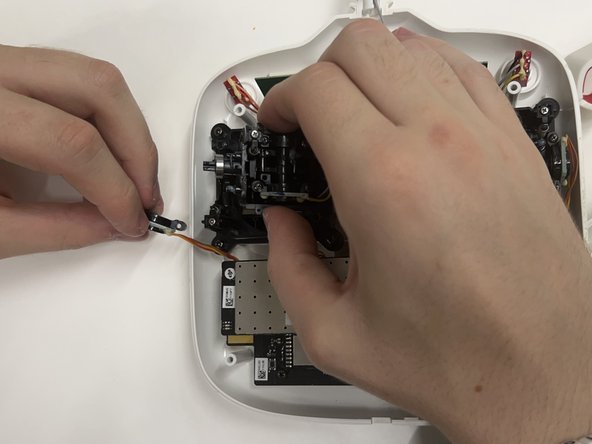
- Detach the circuit board piece.
- Separate the other circuit board piece from the joystick connection using a plastic spudger.
- The circuit board is wired through glue. If the plastic spudger is unable to pry the glue off, use the metal spudger as a last resort.
- Take the joystick module itself and remove the four 8 mm screws that connect the joystick to the housing.
- Unscrew the thumb stick from the module if a replacement is not needed.
- Remove the joystick.