Kindle 10 LED Status Light Replacement
ID: 180160
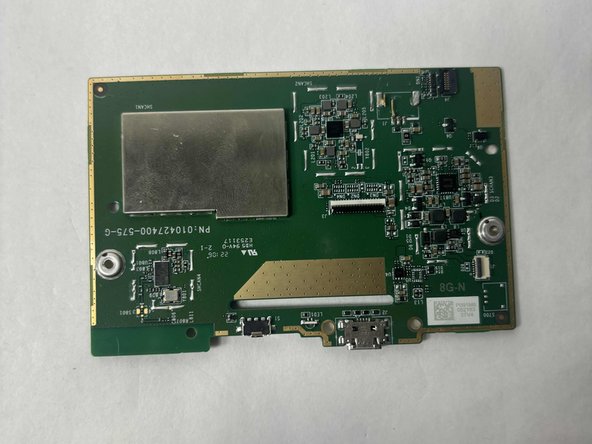
Description: The LED light on the Kindle 10 is a sturdy and...
Steps:
- Gently use a metal spudger to pry, twist, and lift the bezel away from the display.
- Remove the eight 2.6 mm screws using a T5 Torx screwdriver.
- Use the metal spudger to gently lift the screen out of the back frame.
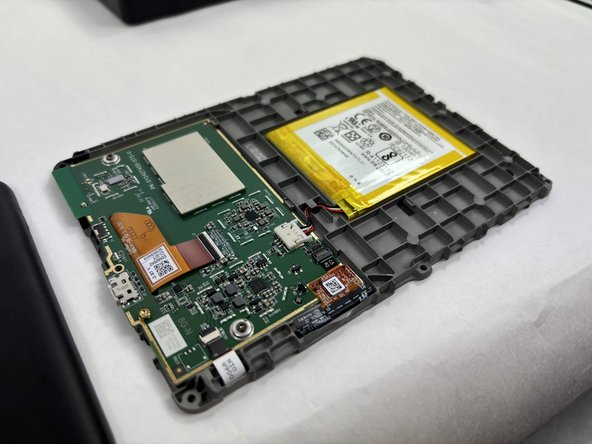
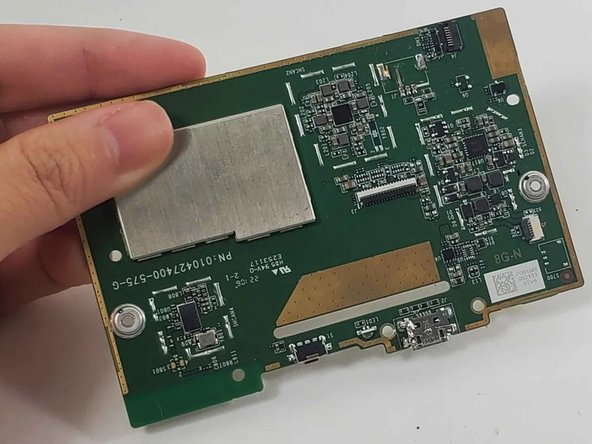
- Detach the battery connector from the motherboard.
- The battery pack may be glued on to the gray plastic frame. Take care when prying it out not to rip the battery, since it is made of a lithium polymer which is flammable and deforms easily.
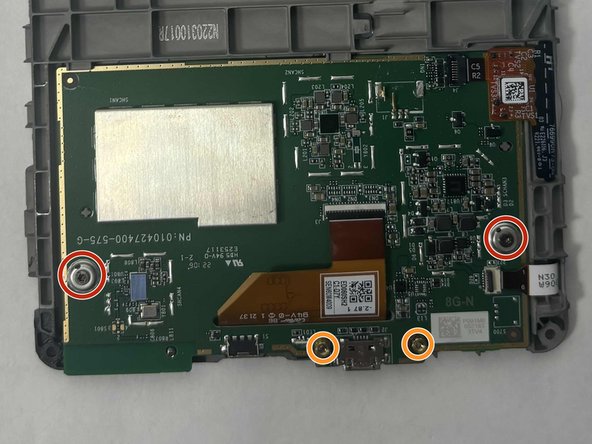
- Remove the two outer silver screws with a T5 Torx screwdriver.
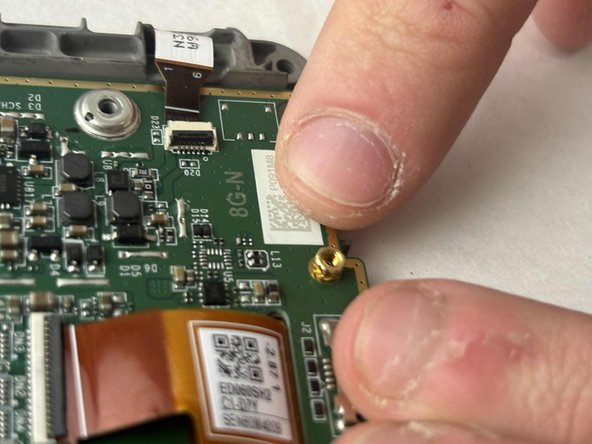
- Use your fingers to remove the two gold screws in the middle.
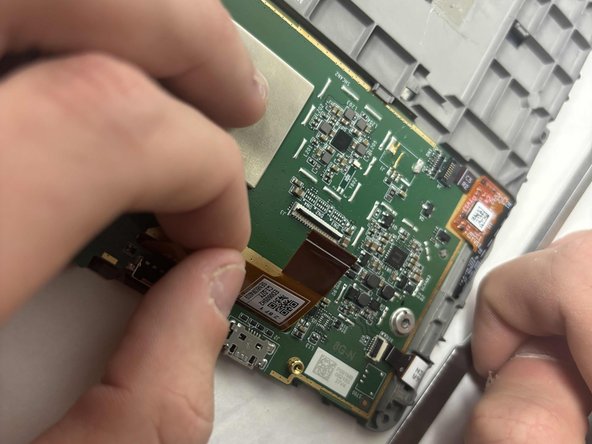
- Disconnect the two orange clear plastic ribbons on the upper right and center.
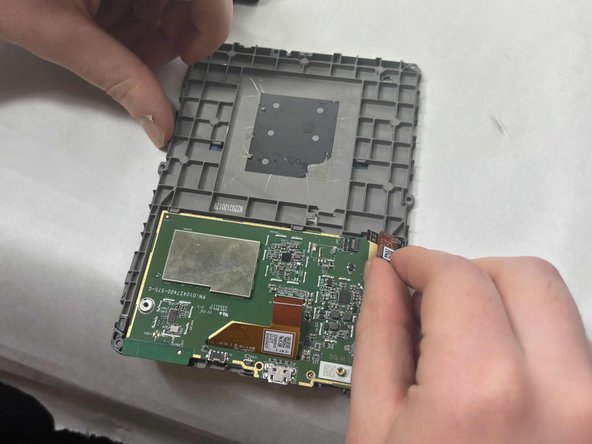
- Pry the motherboard away from the display frame
- Follow the guide How To Solder to prepare your soldering iron.
- Turn on the soldering iron.
- Clean the tip after the old solder has melted by dragging it across a sponge.
- Prime the soldering iron by touching its tip with a dab of lead-free wire. Your soldering iron is ready when the solder readily melts.
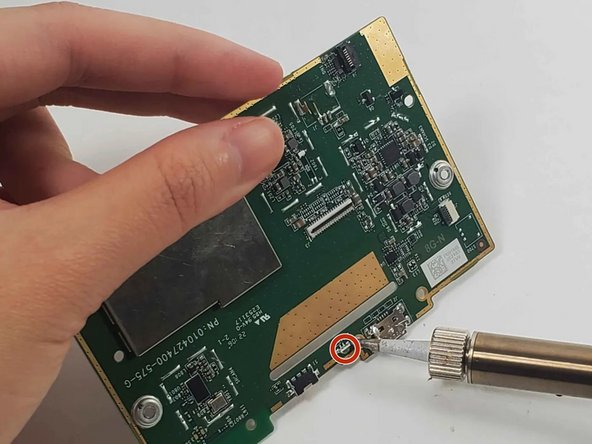
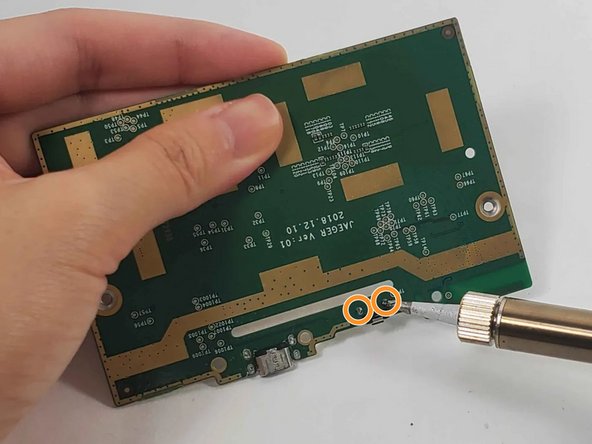
- Touch the soldering iron's tip to the two joints on the front and back of the LED for 5 seconds, or longer if it is not melted.
- Use tweezers to pull out the LED once it is loosened.
- Always use tweezers to handle components near the soldering tip as it will be hot.
- Search for "Through-Hole Soldering" on this How To Solder guide to ensure you replace and solder the LED correctly.
- Align your new replacement LED in the correct location.
- Pull the wires on each side of the new LED through the holes in the circuit where the LED was previously.
- Solder its joints in the back. Be sure the soldering joints create a concave tent shape indicating a strong connection.
- Use a tool such as tweezers to hold the new LED in place so that your hands are not near the hot soldering iron.