Sony WF-1000XM3 Earbud Speaker Replacement
ID: 180268
Description: A broken or faulty speaker could be the cause...
Steps:
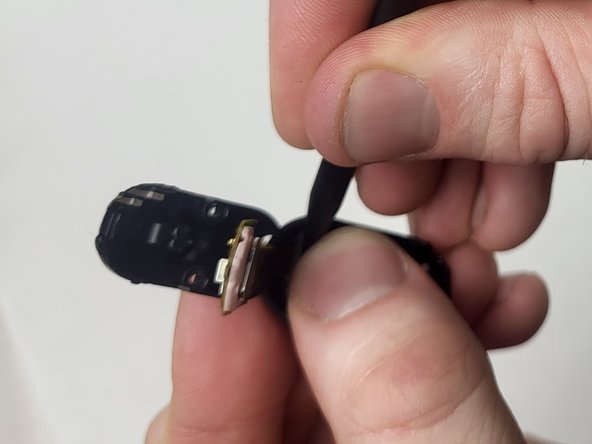
- Use a spudger to gently pry open the back plate of the earbud.
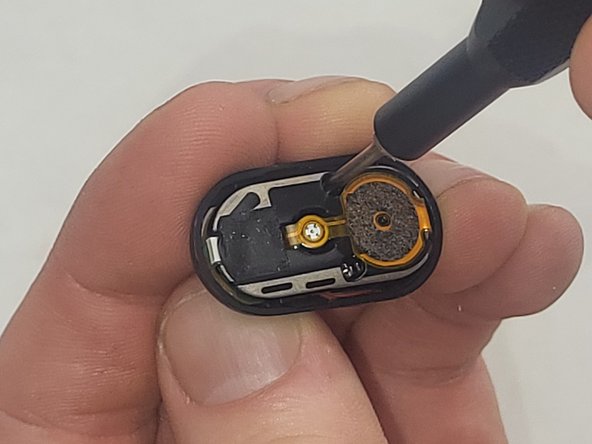
- Use a Phillips #000 screwdriver to remove the two 4 mm screws securing the internal components.
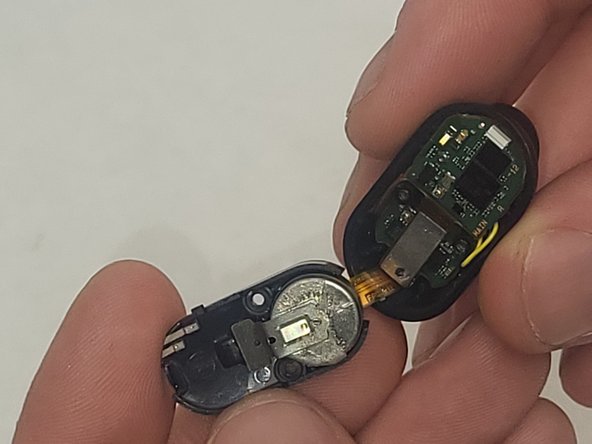
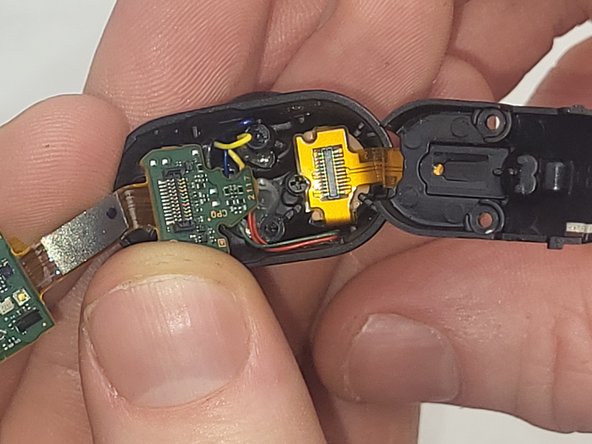
- Both sides of the earbuds are attached with a ribbon cable. Separate the two halves carefully to prevent tearing the cable.
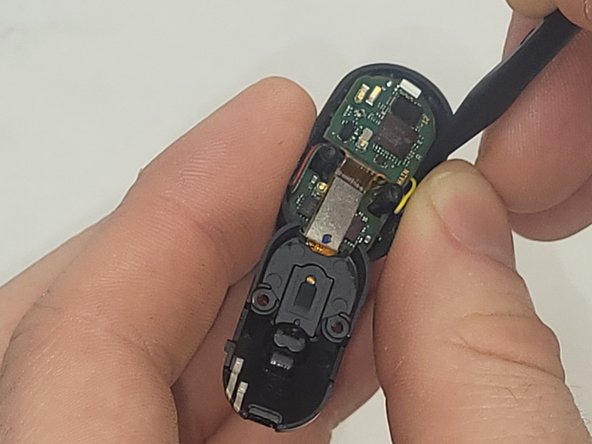
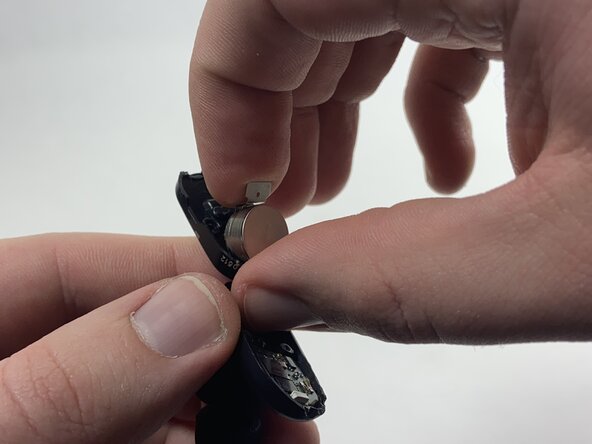
- Use a spudger to carefully remove the battery from the earbud's circuit board.
- When replacing the battery, make sure to keep the same orientation as the old battery and reconnect the battery to the circuit board.
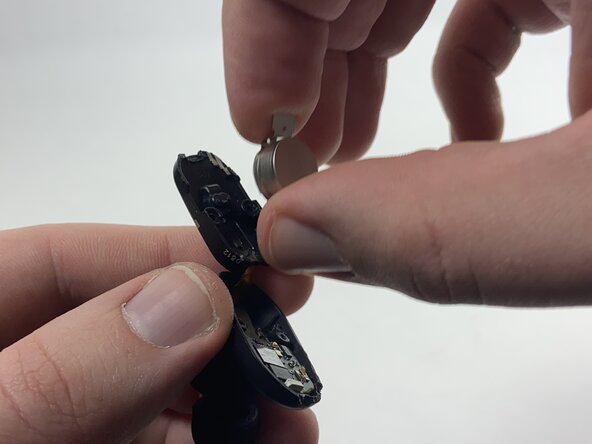
- Use a spudger to pry the battery and the metal negative contact from the earbud.
- The battery and the negative contact are secured with double-sided tape, so it may take some force to remove them.
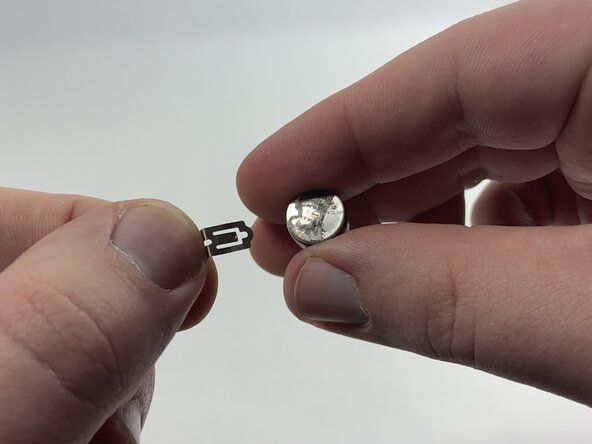
- Remove the metal negative terminal from the battery.
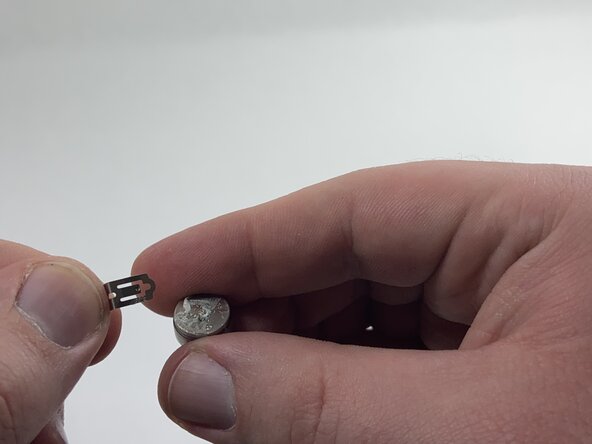
- Attach it to the new battery, either with double-sided tape or by placing the new battery and the terminal back into the earbud in the same position they were before.
- Identify the speaker unit's location as well as positioning on the main board
- Heat the soldering iron to the proper temperature
- Using the desoldering braid remove the soldering connecting the speaker unit to the main board.
- Using a plastic spudger, gently remove the speaker unit from the main board.