iPhone 16 Pro Screen Replacement
ID: 180298
Description: Follow this guide to replace a broken, cracked,...
Steps:
- Allow the phone's battery to drain below 25%, as a charged lithium-ion battery is a potential safety hazard.
- Unplug any cables from the phone.
- Hold the power and either volume buttons and slide to power off the phone.
- If the screen or back glass is badly cracked, lay overlapping strips of packing tape over the glass to protect yourself and make disassembly easier.
- Make sure there's a smooth area near the bottom edge that's big enough for a suction cup to stick to.
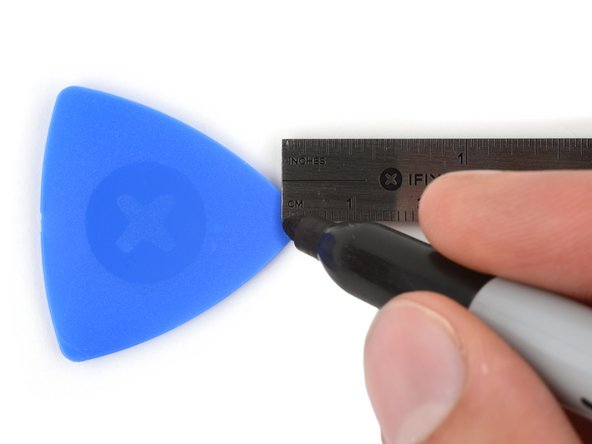
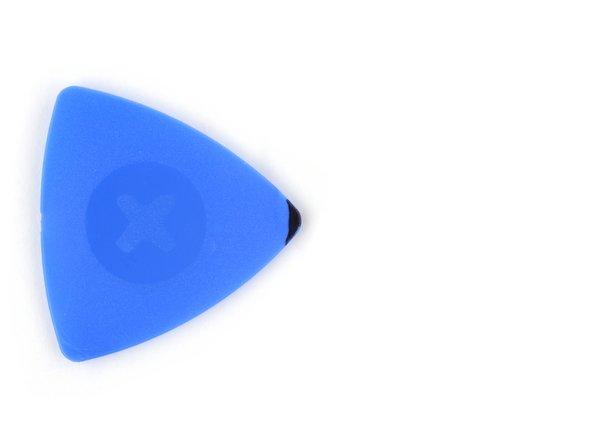
- If inserted too far, an opening pick can damage your device. Follow this step to mark your pick and prevent damage.
- Measure 3 mm from the tip and mark the opening pick with a permanent marker.
- You can also mark the other corners of the pick with different measurements.
- Alternatively, tape a coin to a pick 3 mm from the tip.
- Use a P2 pentalobe screwdriver to remove the two 7.4 mm‑long screws on either side of the USB-C port.
- The next two steps show how to create an initial gap using a suction handle.
- Use a hair dryer or heat gun to heat the bottom edge of the screen until it's hot to the touch.
- You can also use an iOpener to heat the screen. Follow these instructions to heat and apply the iOpener properly.
- Apply a suction handle to the bottom edge of the screen.
- Pull up on the handle with a strong, steady force to create a gap between the screen and the frame.
- If you can't create a gap, apply more heat to the edge and try again.
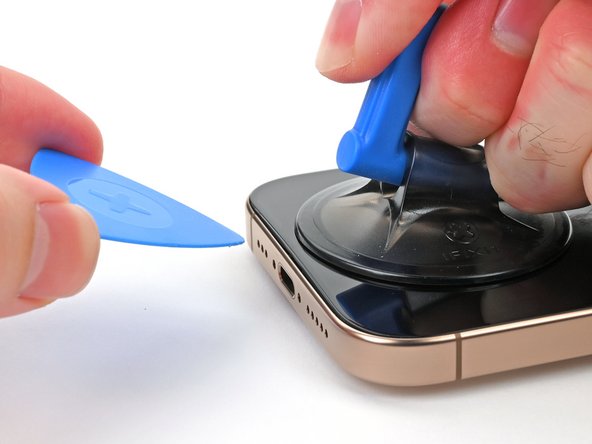
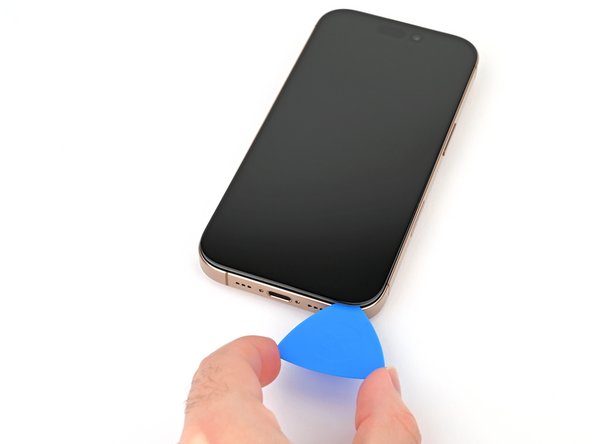
- Insert the tip of an opening pick into the gap.
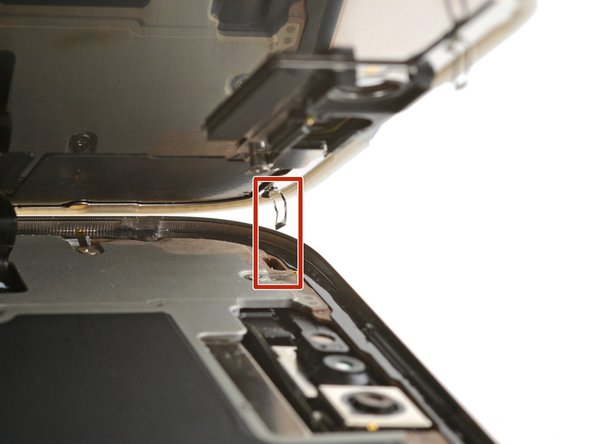
- As you slice the adhesive securing the screen in the following steps, don't insert your pick deeper than 3 mm to avoid damaging the following areas:
- Two delicate cables connecting the screen to the iPhone—one just above the Action button and the other about halfway along the left edge of the iPhone
- Multiple spring contacts around the perimeter of the iPhone
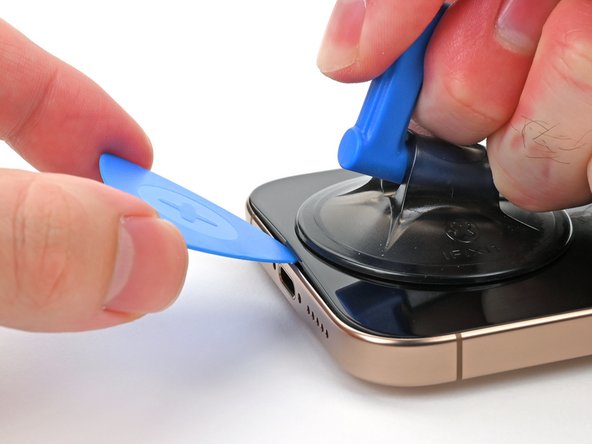
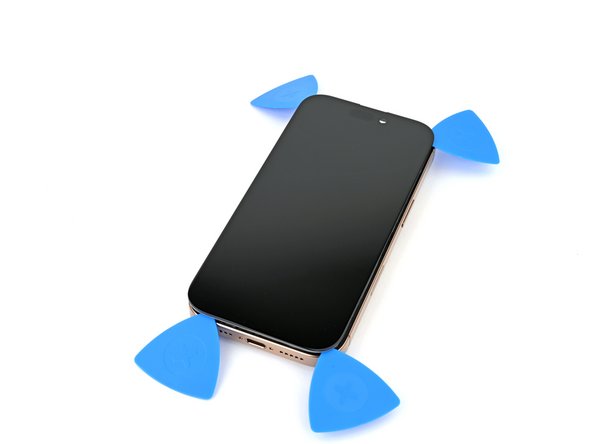
- Slide the opening pick along the bottom edge to release the adhesive.
- Don't insert the pick deeper than 3 mm to avoid damaging the spring contacts.
- If the adhesive feels difficult to slice, reheat the edge for a minute.
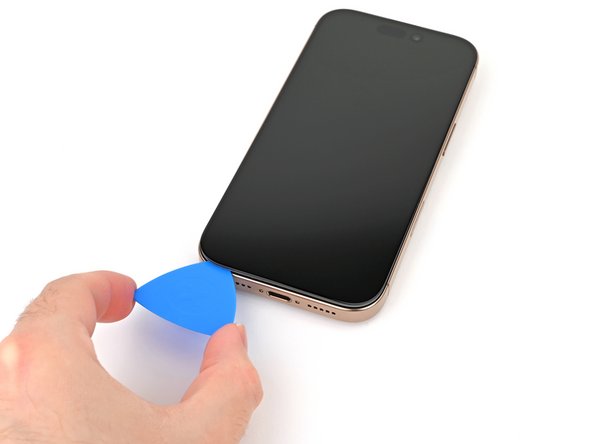
- Leave the opening pick in the bottom-left corner to prevent the adhesive from resealing.
- Use a hair dryer or heat gun to heat the left edge of the screen until it's hot to the touch.
- Don't insert your pick deeper than 3 mm to avoid damaging the spring contacts and cables.
- Insert a second opening pick in the bottom-left corner, close to the existing pick.
- Slide the opening pick along the left edge of the screen to separate the adhesive and release the metal clips.
- You'll hear and feel the metal clips release as you pass them.
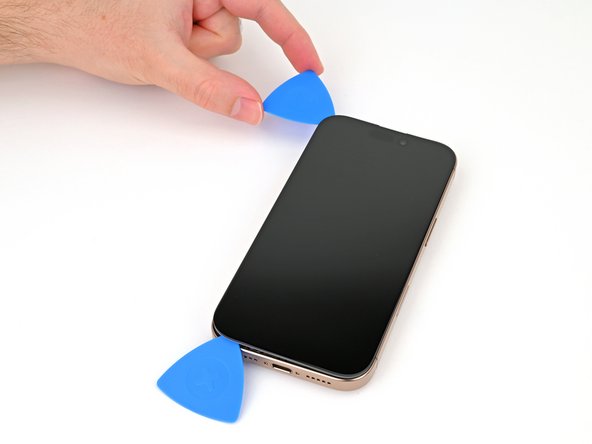
- Leave the opening pick in the top-left corner to prevent the adhesive from resealing.
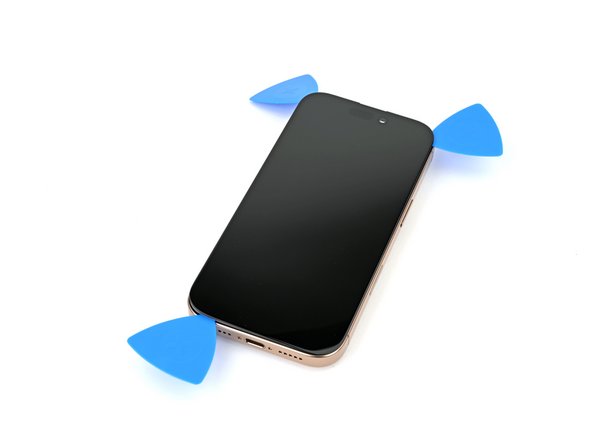
- Repeat the heating and slicing procedure along the remaining screen edges.
- At this point, the screen should be free from the frame. If the screen feels stuck, go back around the perimeter with your pick and carefully check for missed sections of adhesive or stuck clips.
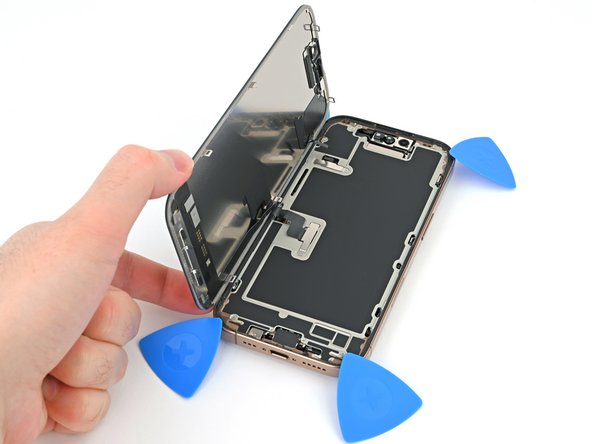
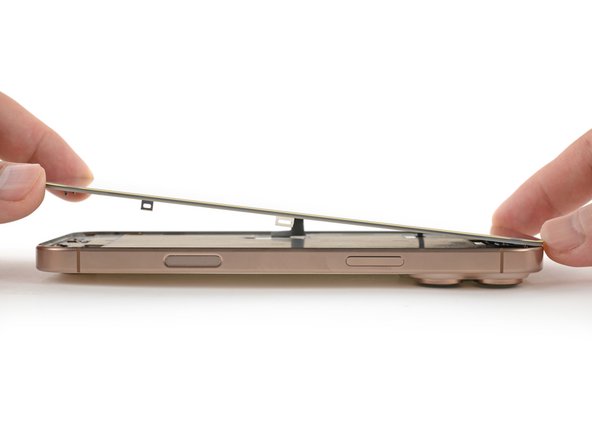
- Carefully lift the screen upwards until the clips along the long edges clear the frame.
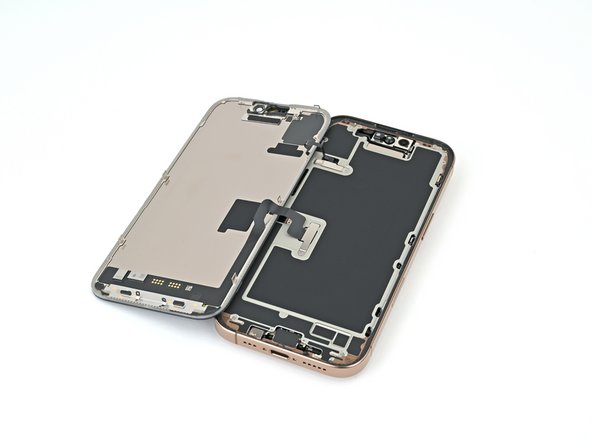
- Swing open the screen over the left edge of the iPhone and lay it flat on your work surface.
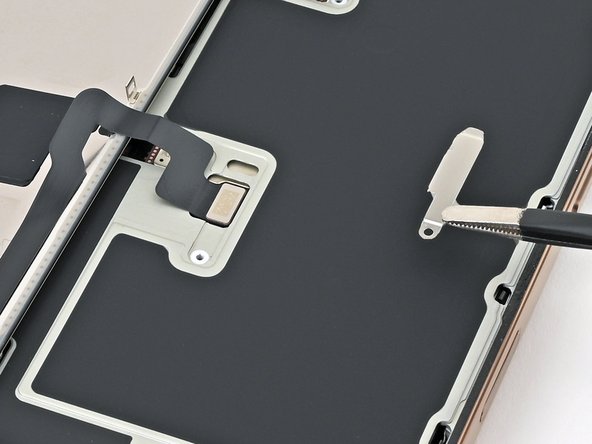
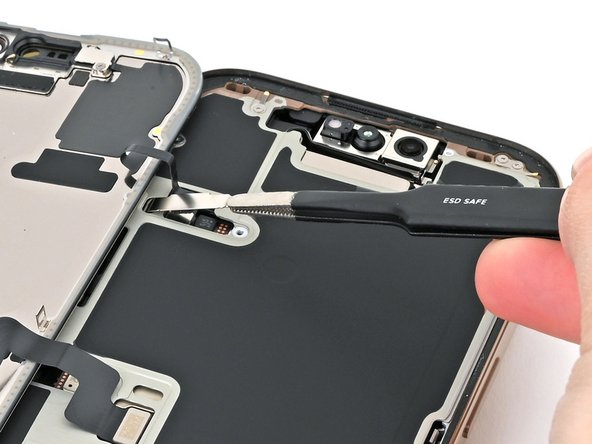
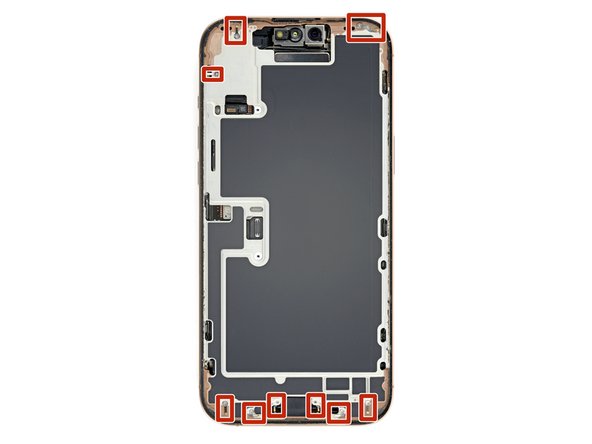
- Use a tri-point Y000 driver to remove the two 1.3 mm‑long screws securing the front sensor and display connector covers.
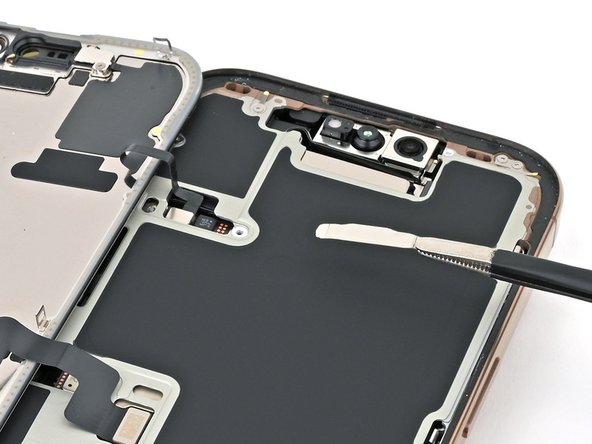
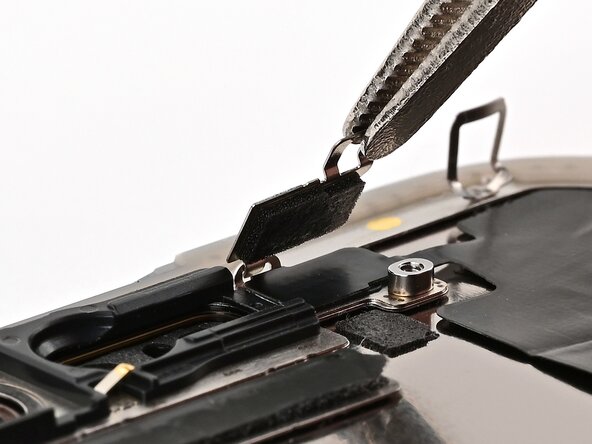
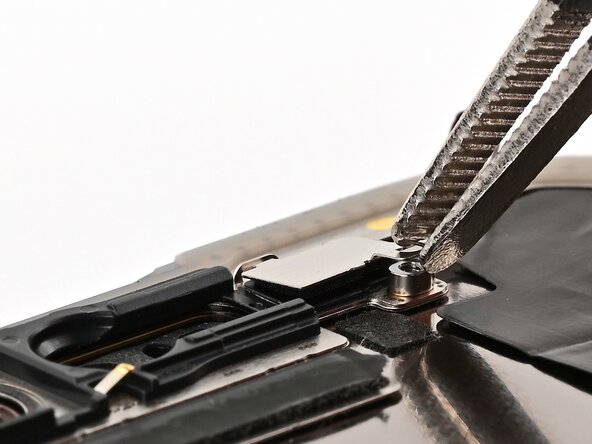
- Use tweezers to grasp the front sensor connector cover near the screw hole.
- Lift and remove the cover.
- Repeat this process for the other cover.
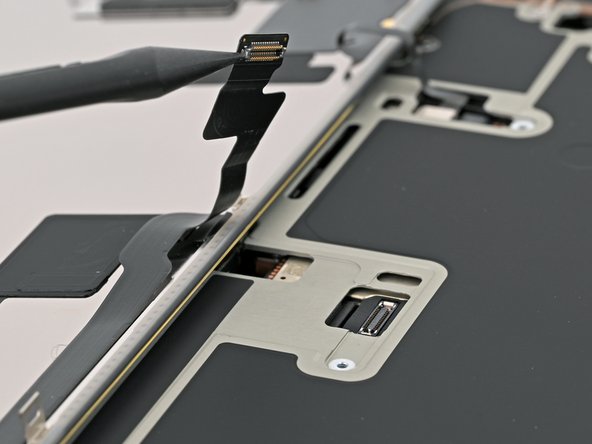
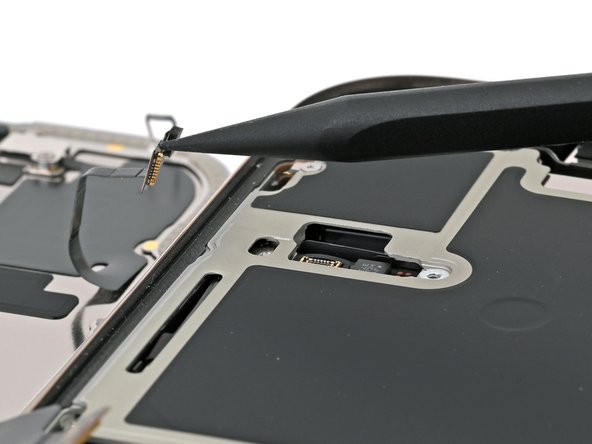
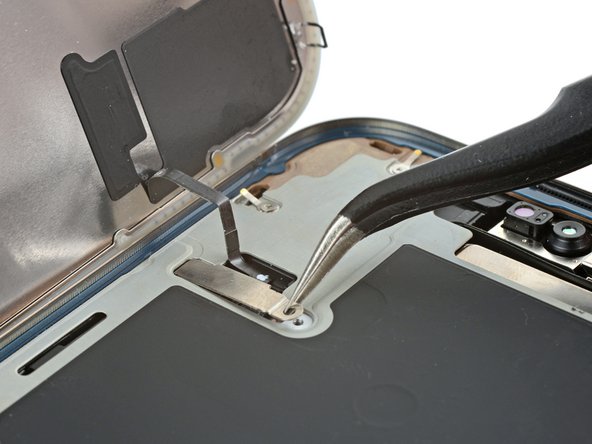
- Use the tip of a spudger to pry up and disconnect the display press connector.
- Repeat this process for the front sensor press connector.
- Remove the screen.
- Congratulations on completing disassembly! The remaining steps will show how to reassemble your iPhone. Some of the reassembly photos show the Pro Max model, but the procedure is correct for the Pro.
- The ambient light sensor is located behind the screen, next to the cut‑out for the Face ID sensors.
- Check if the replacement screen comes with one installed. If it does, click here to skip the next twelve steps.
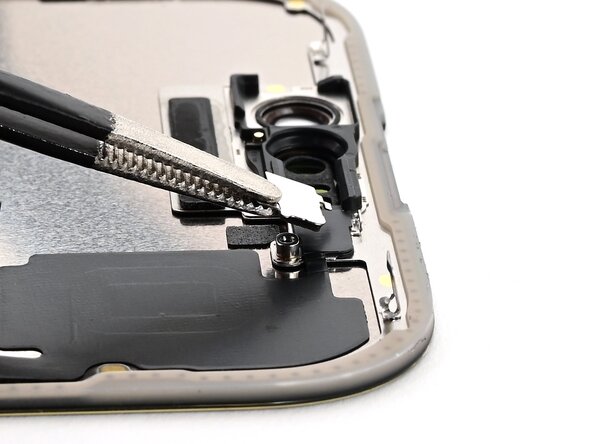
- Use a Phillips screwdriver to remove the 1 mm‑long screw securing the bracket on the ambient light sensor.
- Use a pair of tweezers or your fingers to lift and remove the ambient light sensor bracket.
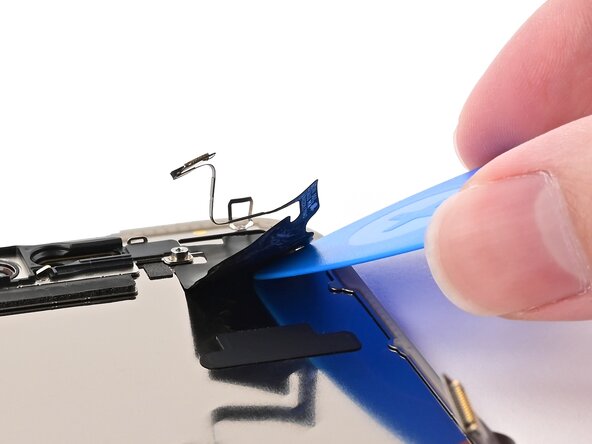
- Use a hair dryer, heat gun, or iOpener to soften the adhesive under the ambient light sensor and ambient light sensor cable.
- Be careful and work slowly—the cable is extremely delicate, especially near the sensor. Don't try to lift the sensor itself yet.
- Slowly slide an opening pick under the ambient light sensor cable, starting under the connector at the bottom and working upwards until the cable is free from the screen.
- If the adhesive doesn't peel up easily, apply more heat.
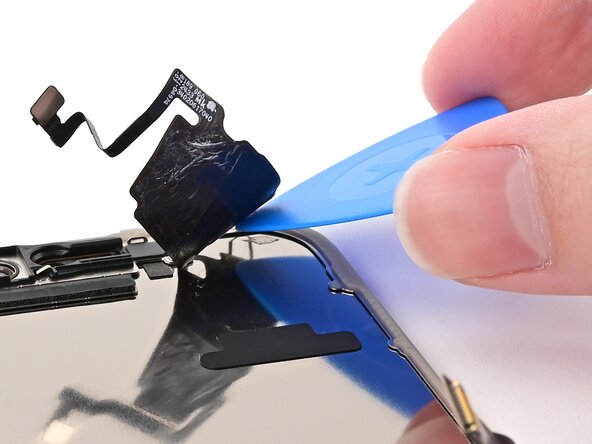
- Use a hair dryer, heat gun, or iOpener to soften the adhesive under the ambient light sensor itself.
- Work slowly to avoid tearing the thin cable attached to the ambient light sensor. If it feels stubborn, apply more heat instead of using more force.
- Use the flat end of a spudger to slowly pry up the ambient light sensor from the side with the protruding cable.
- Remove the ambient light sensor.
- Use tweezers to reposition any adhesive that may have covered the ambient light sensor during removal. The adhesive should form a border around the raised rectangle.
- If the adhesive was damaged or stayed with the old screen, replace it with a 1 mm wide strip of thin, double-sided tape along its top border.
- Align the ambient light sensor with its recess in the back of the screen.
- Use a spudger or your finger to press the ambient light sensor into its recess.
- Use a hair dryer, heat gun, or iOpener to soften the adhesive under the ambient light sensor and its cable. It only needs to be warm—not hot.
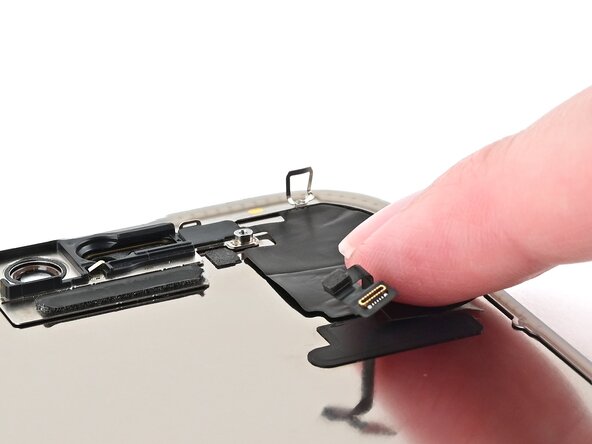
- Use your finger to press down the ambient light sensor cable.
- If the ambient light sensor cable isn't sticking, apply a few small pieces of thin, double‑sided tape, like Tesa tape, to the back of the sensor cable.
- Use tweezers or your fingers to hook the ambient light sensor bracket over the back of the sensor and set it into place.
- Use a Phillips screwdriver to install the 1 mm‑long screw securing the bracket on the ambient light sensor.
- Use a spudger or tweezers to remove the adhesive chunks from the iPhone's frame.
- Work around the fragile grounding clips. If you bend one out of place, gently bend it back with your fingers or tweezers.
- If you're reinstalling your existing screen, be sure to remove any remaining adhesive from the back of your screen as well.
- Using a lint-free cloth (or coffee filter) and some high concentration (>90%) isopropyl alcohol, clean the areas of the frame and screen where you removed the old adhesive.
- For best results, swipe your cleaning cloth in one direction, not back and forth.
- Work around the fragile grounding clips. If you bend one out of place, gently bend it back with your fingers or tweezers.
- Take your time doing this. A clean frame allows replacement adhesive to lay evenly, ensuring a better bond.
- Lay the adhesive sheet over the frame to determine its proper orientation.
- Use features such as the camera cutout to visualize how the adhesive will lay in the frame.
- Grasp the tab in the corner of the adhesive sheet and peel the liner to expose a third of the adhesive.
- The exposed adhesive is very sticky. Don't let it touch anything until you're ready to apply it to the frame.
- If your adhesive has multiple liners, peel the liner that exposes the side that sticks to the frame.
- Carefully align the exposed edge of the adhesive strip with the corresponding edge of your iPhone's frame.
- Once the adhesive is pressed into place, you can't reposition it—you'll have to remove it and start over with new adhesive.
- When it's correctly aligned, gently press the exposed adhesive strip into place.
- Continue peeling away the liner from the adhesive, gently pressing the adhesive into place.
- If you've correctly aligned the adhesive, the edges will fall perfectly into place.
- If your adhesive is slightly misaligned, pull the long edges into alignment with the frame.
- If the adhesive begins to crease or wrinkle, remove it and start over with fresh adhesive.
- If you don't have another set of adhesive strips handy, it's okay to temporarily put your iPhone back together and use it normally without any adhesive. Just keep in mind that your iPhone's water resistance will be compromised until you replace the adhesive.
- Use a spudger to press the adhesive around the entire perimeter of your iPhone.
- Work around the fragile grounding clips. If you bend one out of place, gently bend it back with your fingers or tweezers.
- Don't press too hard, or you'll stretch and deform the adhesive.
- Use a spudger or your fingers to lift the pull tab connected to the large front liner—the pull tab is often in a corner of the liner.
- Use the pull tab to peel off the large front liner from the adhesive.
- At this point, you may still have liners covering the perimeter, which prevent the adhesive from accidentally sticking to anything while you're reassembling your iPhone. Don't remove these small release liners just yet.
- Use your finger to press down and connect the display connector.
- To re-attach wide press connectors like this one, carefully align and press down on one side until it clicks into place, then repeat on the other side. Don't press down in the middle. If the connector is misaligned, the pins can bend, causing permanent damage.
- Press down and connect the front sensor connector.
- Align the connector carefully over its socket and press down with your fingertip until it clicks into place. Don't try to force the connector into place. If you're having trouble, reposition it and try again.
- This is a good time to power on your iPhone and test all functions before you seal it up. Be sure to power your iPhone back down completely before you continue.
- If your iPhone doesn't turn on, connect it to a power source and try again.
- Tuck the display connector cover's tab into its frame cutout and lay the cover in place.
- Repeat with the front sensor connector cover.
- Use a tri-point Y000 driver to install the two 1.3 mm‑long screws securing the two connector covers.
- While supporting the screen, use your fingers or a spudger to peel away all perimeter liners, exposing the adhesive.
- Be careful not to touch the exposed adhesive.
- Check the frame and screen for any stray liners and remove them. There should be no liners remaining.
- Carefully align the screen's top clips with their frame cutouts.
- Lower the screen onto the frame, beginning with the top edge.
- If you feel resistance, a perimeter clip may have bent out of place and is being crushed by the frame. Look at the point of resistance and gently straighten any bent clips.
- Make sure the screen edge isn't pinching any cables.
- Use a hair dryer, heat gun, or an iOpener to heat the screen perimeter until it's slightly too hot to touch.
- The heat softens the adhesive and helps create a better bond.
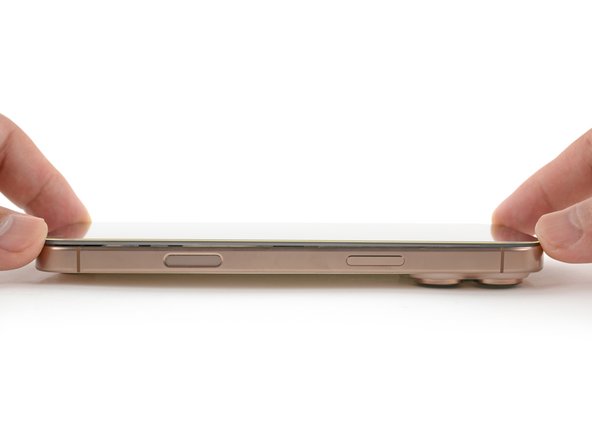
- Use your fingers to firmly squeeze around the perimeter of the iPhone.
- Place your iPhone screen-side down on a clean, flat work surface.
- Lay a strip of tape around the perimeter of the back glass to protect the finish.
- Stack coins around the perimeter of the back glass until you create a wall that's as tall as the rear camera protrusions.
- Alternatively, you can use vise clamps around the perimeter of your device to set the new adhesive.
- Place 3-4 heavy books squarely on top of your iPhone.
- The coins may leave a slight impression on the bottom book cover, so don't use anything valuable.
- Leave the books in place for about 30 minutes.
- The pressure will help activate the adhesive.
- Use a P2 pentalobe screwdriver to install the two 7.4 mm‑long screws on either side of the USB-C port.