2020 Honda Civic Cabin Lights Replacement
ID: 180301
Description: Cabin dome lights are something we use when...
Steps:
- Open the trunk.
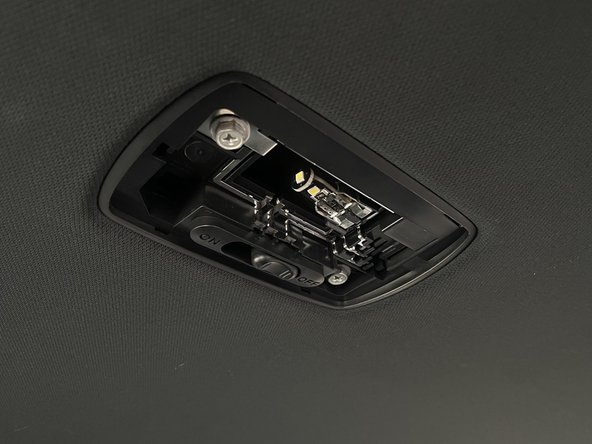
- The cabin light for the trunk will be located on the roof of the trunk.
- Wedge a prying tool into the crevice between the light and the roof. Push the tool in to release the light compartment.
- Carefully pull the light bulb out, using a prying tool if necessary.
- The light bulb may be hot.
- Hold the compartment up while you grab your LED light bulb.
- Insert the new LED bulb into the light socket until it turns on.
- When the LED remains constantly on without flickering, the light bulb is correctly inserted into the socket.
- Reinstall the light compartment back into position.
- Align the tabs and push the compartment into the frame until it clicks securely.
- When the compartment is fully inserted, the cabin light replacement in the trunk is complete. Proceed to the rear passenger cabin light.
- The cabin light is located in the rear passenger seats.
- You need to be inside the car to complete the replacement for this cabin light.
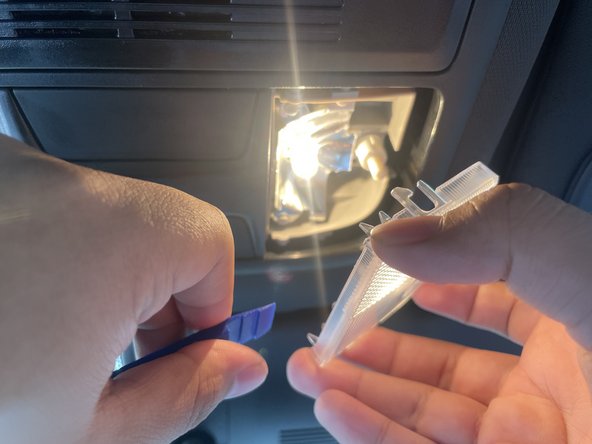
- Wedge a prying tool into the corner of the frame.
- Once the cover pops out, use the end of another prying tool to fully remove it.
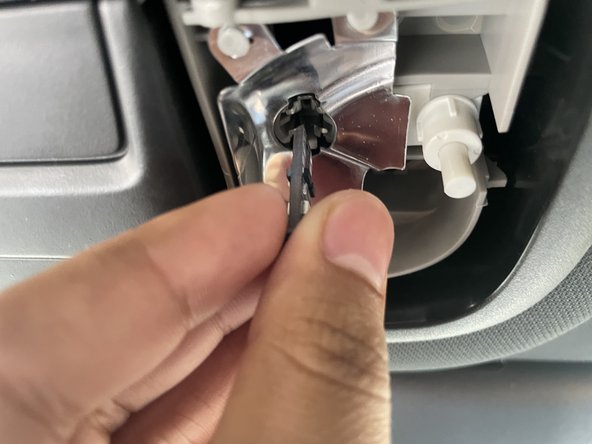
- With the cover completely removed, begin removing the light bulb.
- If the light bulb is difficult to remove, use your prying tool to assist in removing the light bulb.
- Grab one of your LED light bulbs and insert it into the socket until it is securely in place.
- Turn on the switch to ensure the light bulb turns on, indicating the step was completely correctly.
- After confirming it works, align the cover with the clips and push it into place until you hear a clicking sound.
- Move to the to cabin lights in the front of the driver and passenger seat.
- Each front cabin light has its own switch. We will start with the driver's side light.
- Wedge the prying tool into the crevice on the inside of the cover.
- Push carefully to release and remove the cover.
- After removing the cover, start pulling out the light bulb from its socket.
- Once the light bulb is removed, grab your new LED light bulb.
- Insert your new LED light bulb into the socket until it is completely in place.
- Once you are done inserting the new LED light bulb into the socket, begin placing the cover back on.
- Align the cover with the clips on the frame and push it in until you hear clicking sound.
- After that, you're done with the driver's side cabin light. Move on to the passenger side.
- The passenger side steps are the same as the driver's side.
- Grab your prying tool, insert it into the wedge on the inside of the cover, and push inward.
- Once the cover is removed, you can begin removing the light bulb.
- After removing the old light bulb, grab your new LED light bulb replacement.
- With the new light bulb in hand, insert the new light bulb into the socket.
- Make sure the light bulb is correctly seated in the socket.
- After inserting the new LED light bulb into the socket. You can begin putting the cover back on.
- Align the cover with the clips around the frame and push inward.
- This step is complete when you hear a clicking sound.
- Once you have finished, all your cabin lights should look like this when turned on.