Motorola Moto G Play (2023) Teardown
ID: 180478
Description: This guide describes how to remove everything...
Steps:
- Use a SIM tray ejection tool, or the one on your iFixit screwdriver's cap, to eject the SIM tray.
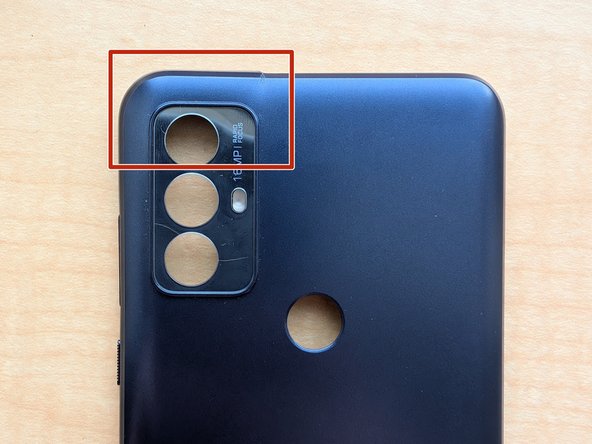
- The back plate is very fragile in some areas, so be careful when prying. These areas are the SIM slot, power and volume buttons, headphone jack, and camera bezel.
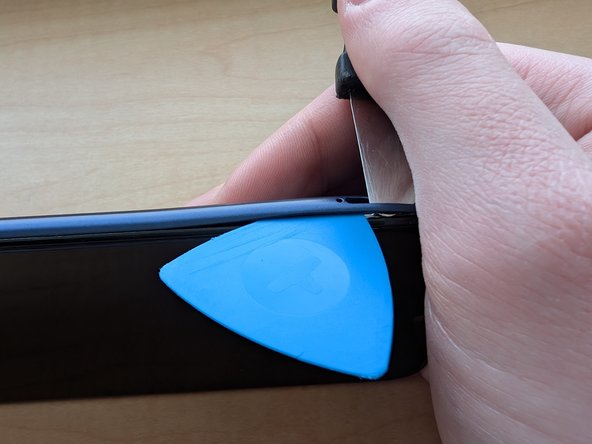
- Insert a shimmy tool in the SIM slot, into the edge of the plate, to create a gap. Then, insert a pick into the gap, and slide it across the edge of the phone, to unclip the plate.
- Do not try to unclip the part around the camera. We will save that for step 4.
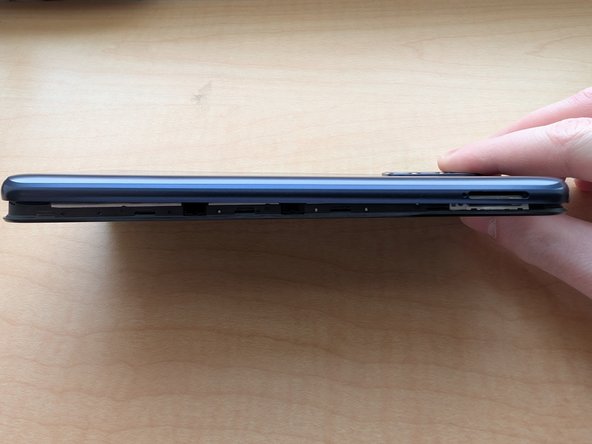
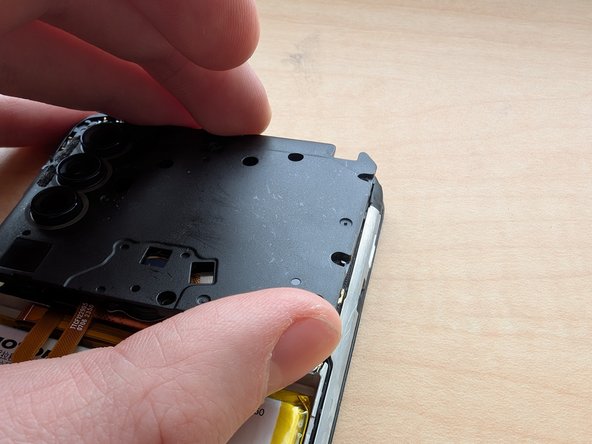
- While carefully lifting the back plate up, push the fingerprint sensor down to separate it from the plate.
- Again, take caution when lifting the back plate, as to not damage the area around the headphone jack, and volume buttons.
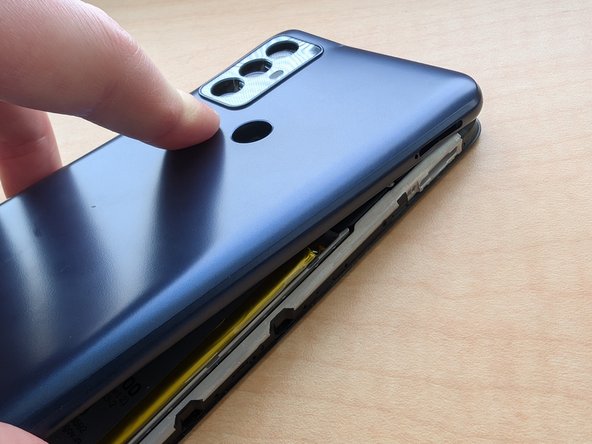
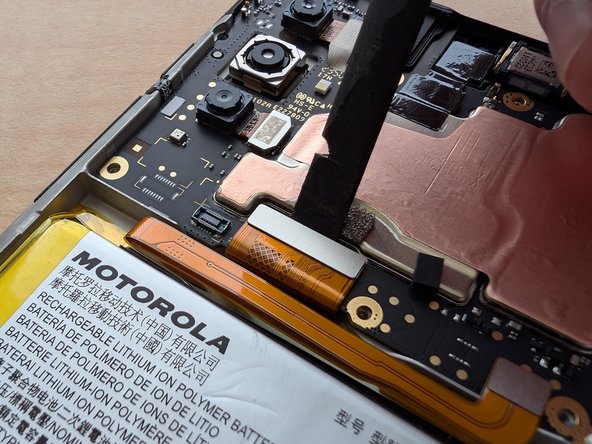
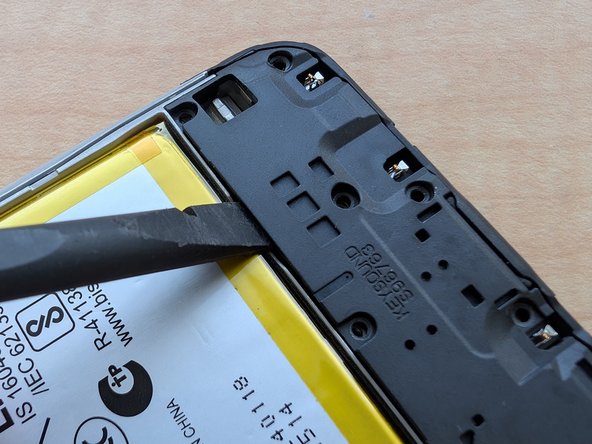
- Insert a spudger into the phone, to separate some of the glue from the phone.
- Be careful not to poke the battery, or the fingerprint sensor and it's ribbon cable.
- Again, be careful as to not bend the plastic around the headphone jack, as I did on accident (shown on image 3). These things suck!
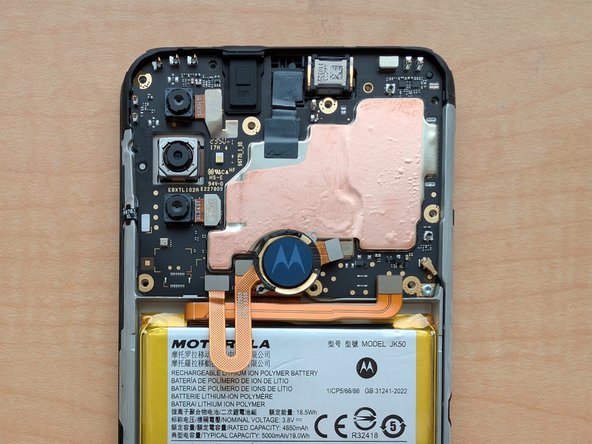
- Using a TORX T5 bit, unscrew and remove the screws shown with the red circles. Then, lift out the cover.
- Remove the fingerprint sensor, screen/daughterboard, and battery ribbon cables, with the spudger.
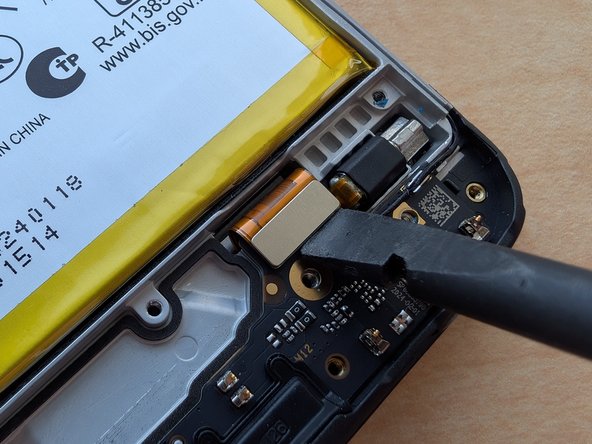
- Using the spudger tool, pry the WiFi antenna out of the motherboard.
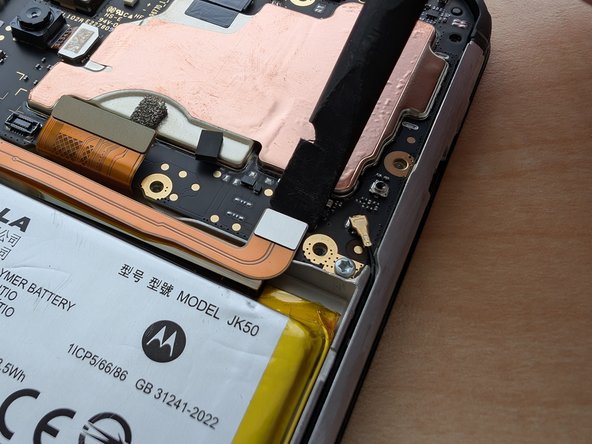
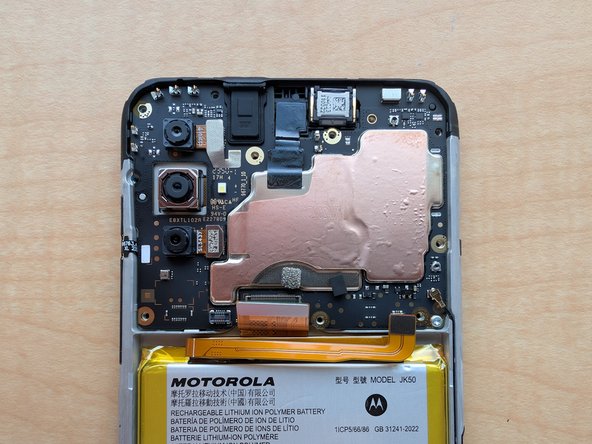
- Using a TORX T5 bit, remove the screw at the bottom corner of the motherboard, highlighted in red. Then, using the spudger, pry the motherboard out of the body.
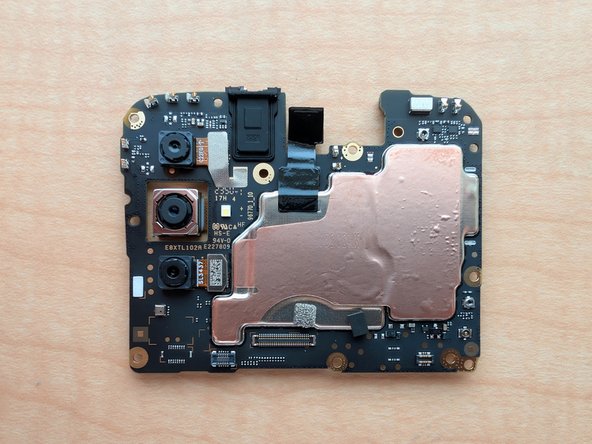
- Using a spudger, pry the cameras out of their connectors on the motherboard. There are 3 cameras connected on the front of the board, and one on the back. Peel the tape off with the camera, if need be.
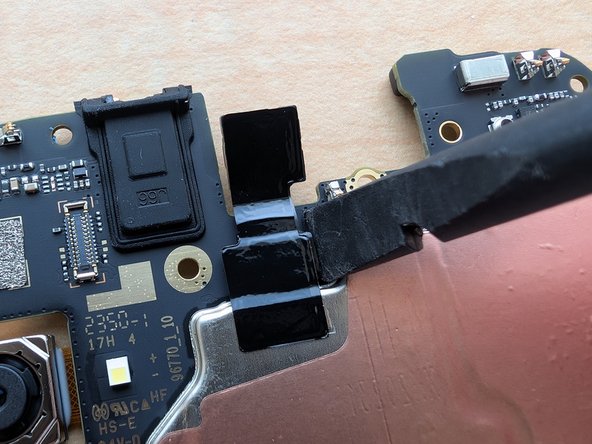
- Again, using a TORX T5 bit, unscrew the screws highlighted in red. Then, use a spudger to lift the plate out.
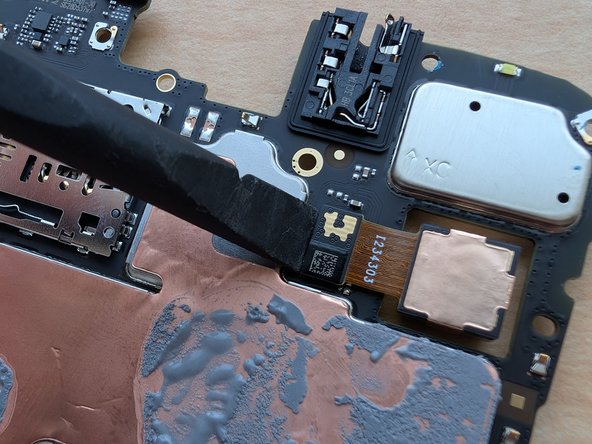
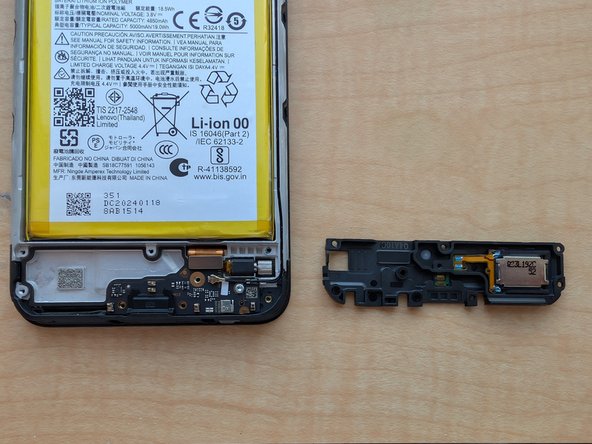
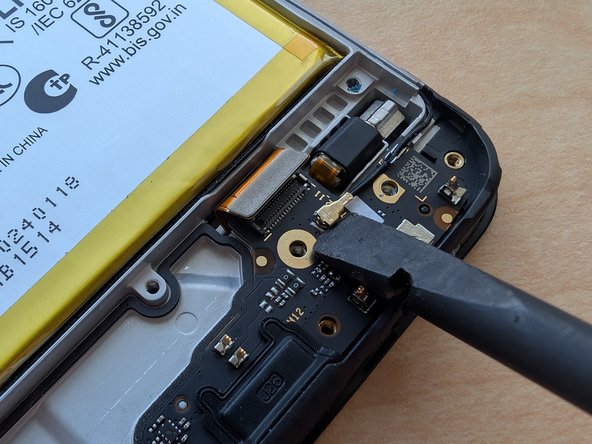
- Use a TORX T5 bit to remove the screw - highlighted in red - holding in the board. Then, use a spudger to disconnect the ribbon and antenna cables.
- Use a spudger to take out the daughterboard, and pull out the cable with your fingers.
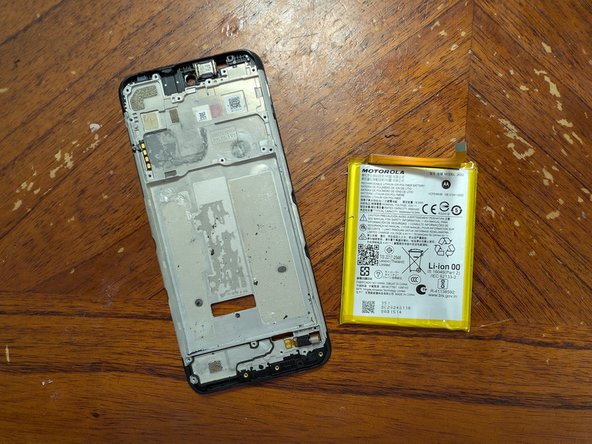
- Heat the front of the phone up a little bit with a hair dryer or heat gun, then use an old credit card to lift out the battery.
- Do not poke the battery, and make sure it's been discharged. Also, do not heat the phone up to the point it gets too hot.
- Be very careful when using isopropyl alcohol to loosen the glue! Otherwise, it will leak into the LCD and damage it.
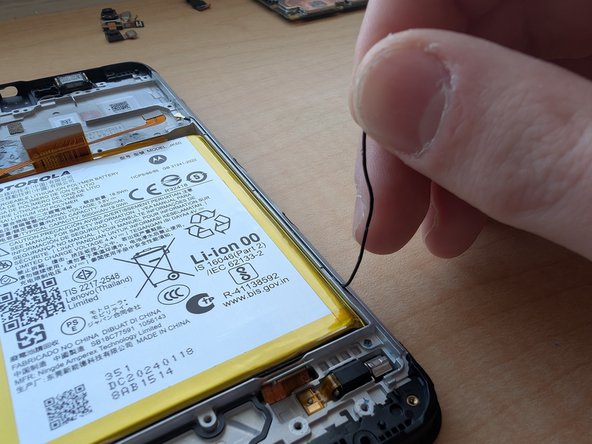
- Using a pick, separate the glue on the frame away from the ribbon cable.
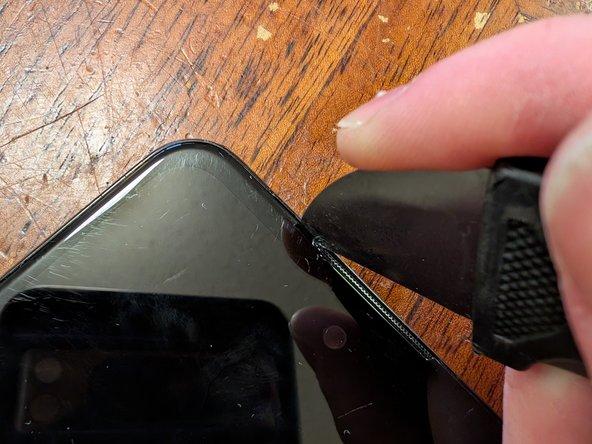
- Using a hair dryer or heat gun, heat up the front of the phone, until it becomes warm to the touch. Then, wedge a jimmy tool in between the frame and the screen, and glide it across the perimeter of the display.
- Only insert the jimmy about 2mm into the screen bezel, otherwise, you will ruin the display.
- Insert the jimmy into the top of the phone, and pry out the display with it. Then, lift it out of the frame, and pull the ribbon cables out.
- The teardown process is complete! In order to put everything back together, follow this guide in reverse.