HTC Vive Pro 2 Outer Shell Replacement
ID: 180849
Description: Use this guide to replace the outer shell on...
Steps:
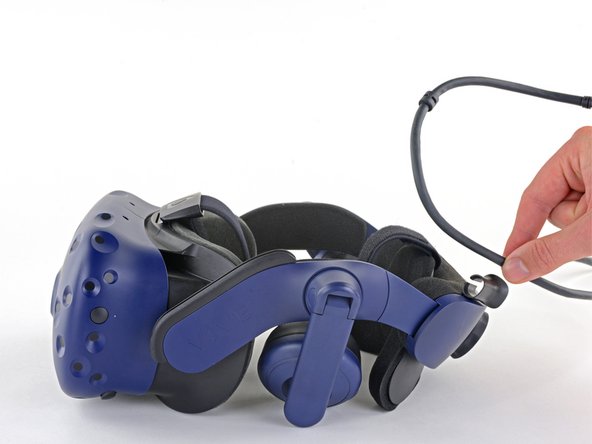
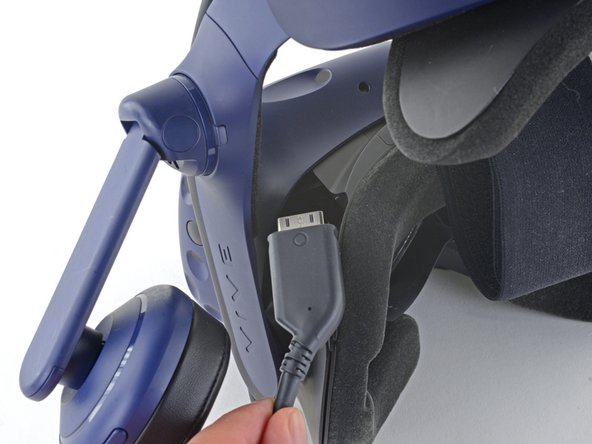
- Unplug the All-In-One Cable from your headset.
- Remove the All-In-One Cable from the cable guides along the left side of the head strap.
- During reassembly, connect the All-In-One Cable to the headset before routing it through the cable guides. This will ensure it has the right amount of slack.
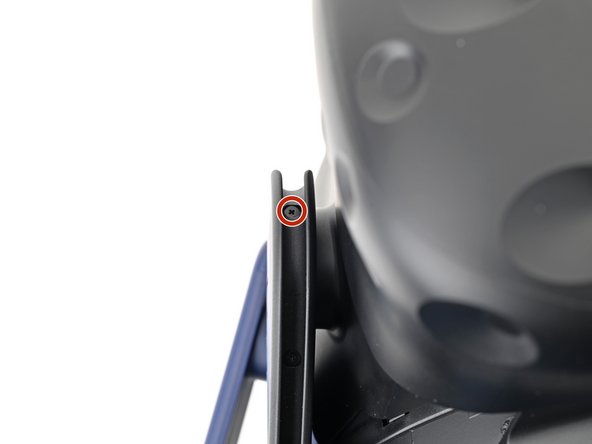
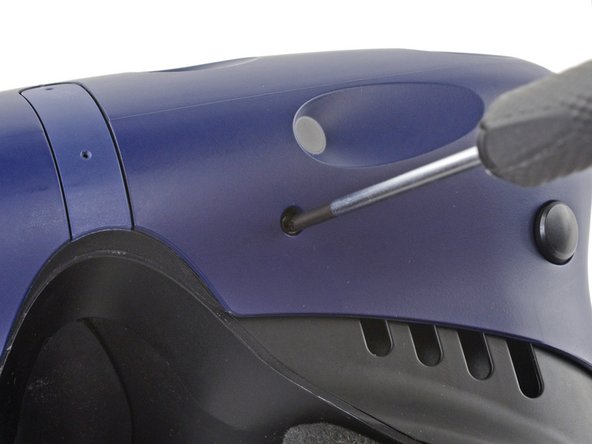
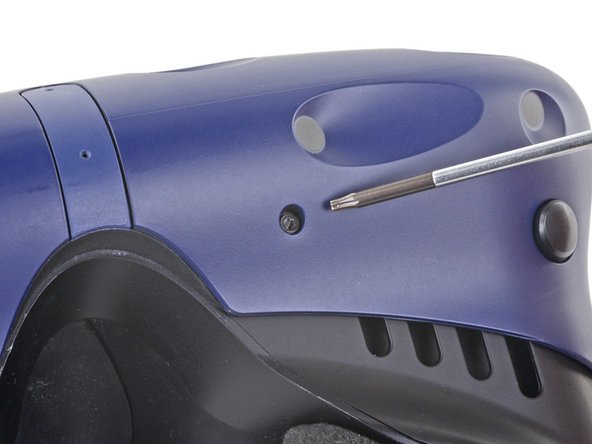
- Use a Phillips screwdriver to remove the three 2.4 mm‑long screws securing the All-in-One cable bracket.
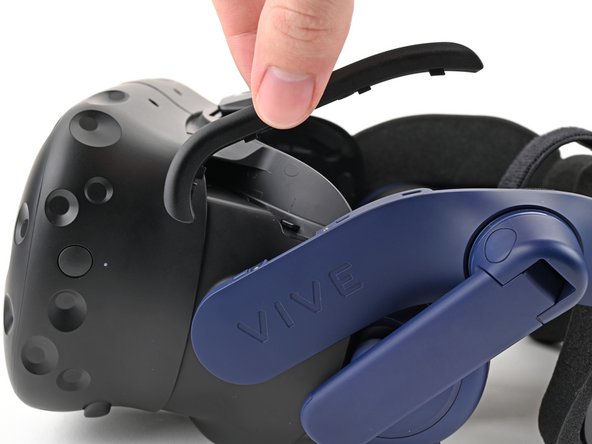
- Lift the All-in-One cable bracket straight off the headset and remove it.
- The bracket is aligned on the headset with pegs. During reassembly, make sure the pegs align properly and the bracket sits flush on the headset.
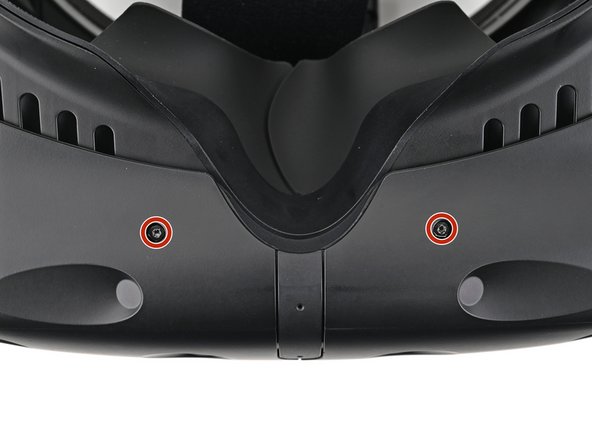
- The four screws securing the outer shell are covered with black stickers. If the stickers are difficult to remove, simply press your T6 Torx driver through them.
- Use a T6 Torx screwdriver to remove the four 3.9 mm screws (two on top, two on bottom) securing the outer shell to the headset.
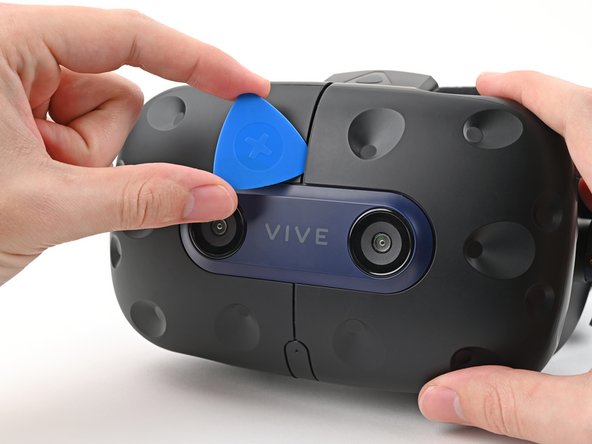
- Insert an opening pick into the seam between the two halves of the outer shell.
- Slide the opening pick through the seam to dislodge the clips securing it to the headset.
- Only insert the opening pick as far as necessary. There are ribbon cables underneath the outer shell.
- Continue sliding the opening pick through each seam until all clips have been dislodged.
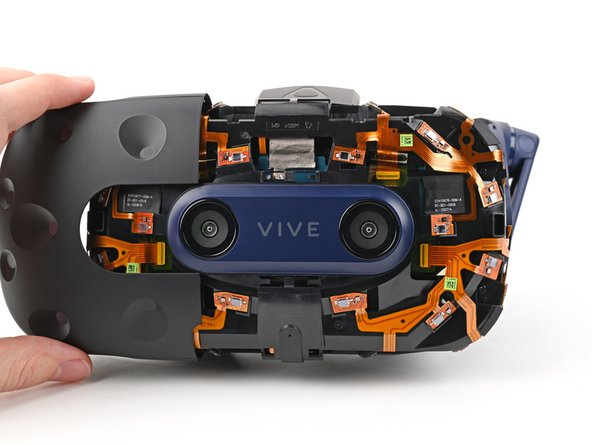
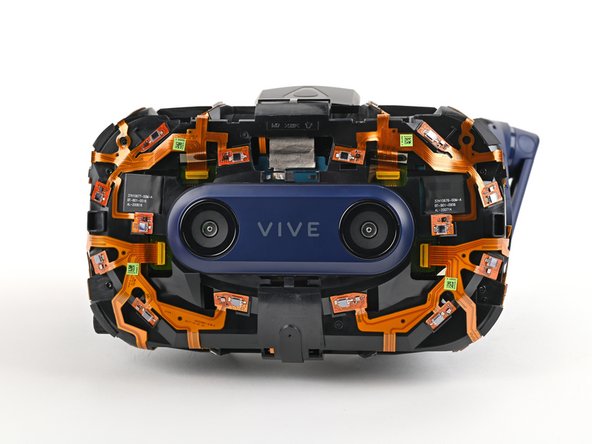
- Carefully slide each half of the outer shell off of the sensor array.
- Be careful not to snag any of the ribbon cables underneath.