iPhone 16 Plus Microphone Installation
ID: 180917
Description: Reassembly steps for the main microphone in the...
Steps:
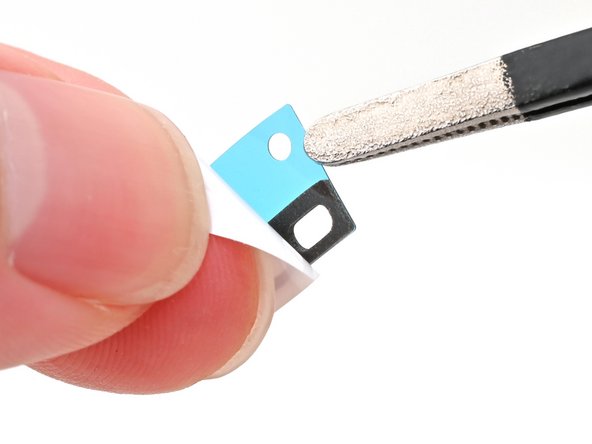
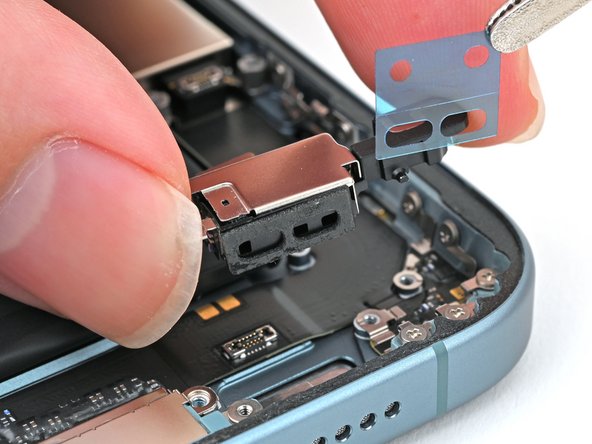
- Peel away the new adhesive strip from its white liner, keeping the blue liner in place.
- Don't stick the adhesive to the microphone yet.
- Once the adhesive sticks to the microphone, it cannot be removed and reused. Ensure it is perfectly aligned before adhering.
- Align the two holes in the adhesive with the three holes in the microphone, and stick it into place.
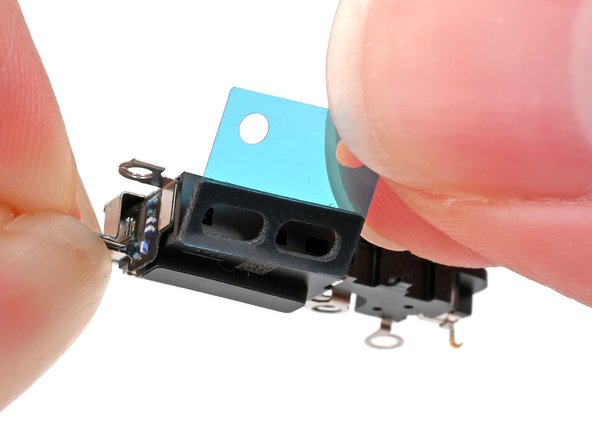
- Use tweezers or your fingers to remove the blue plastic liner.
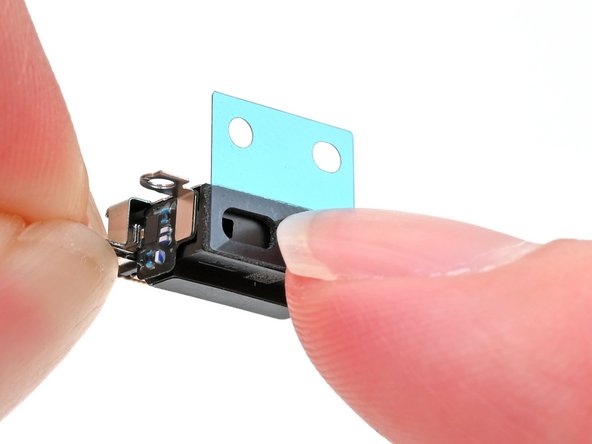
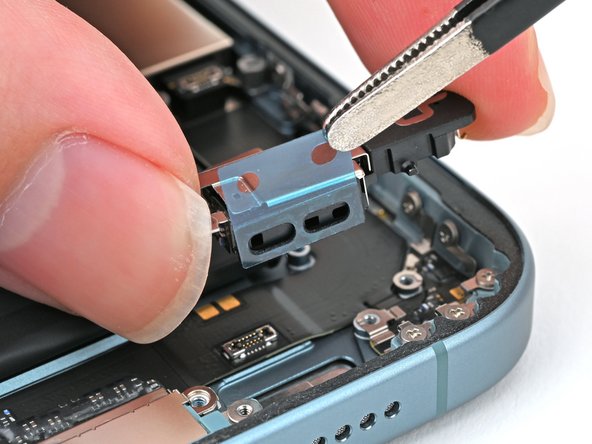
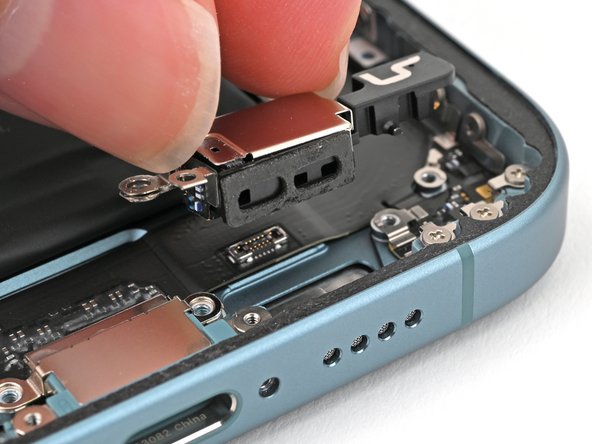
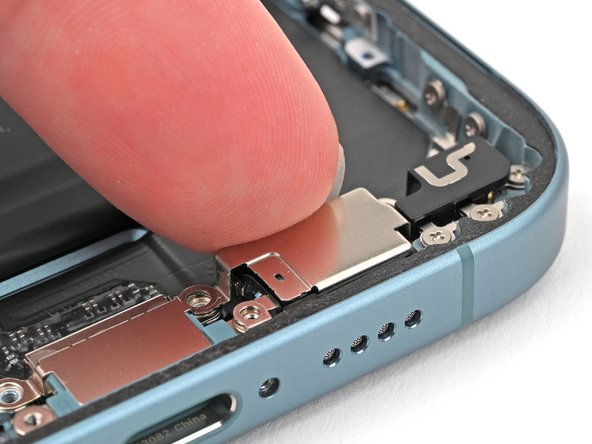
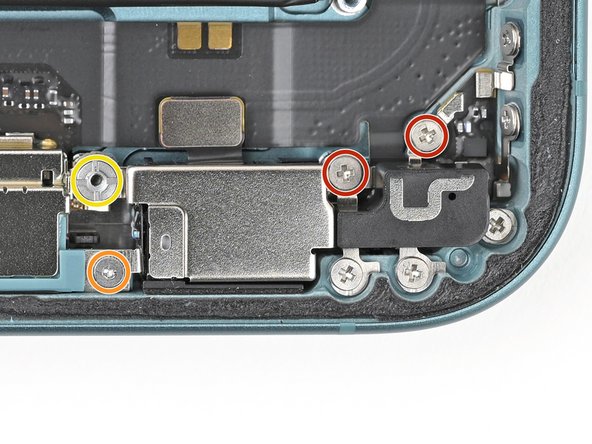
- Align the microphone with its screw holes and set it into the frame.
- Press the microphone against the bottom edge of the frame once it's perfectly aligned.
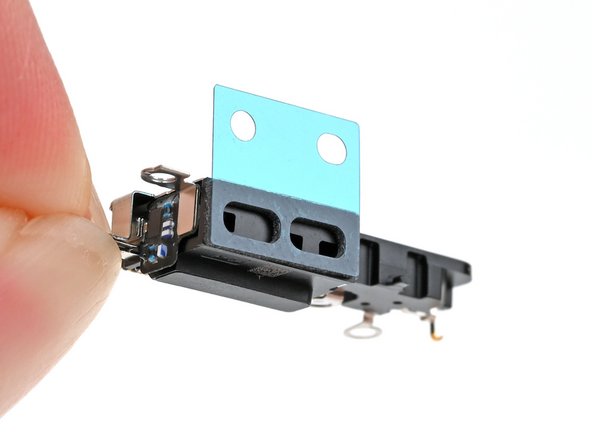
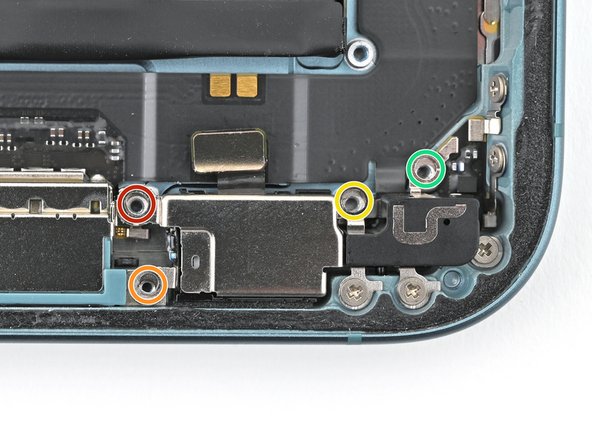
- Partially install (don't fully tighten) the four screws securing the microphone:
- One 3.3 mm‑long standoff screw
- One 1.3 mm‑long tri-point Y000 screw
- One 1.5 mm‑long Phillips screw
- One 1.3 mm‑long Phillips screw
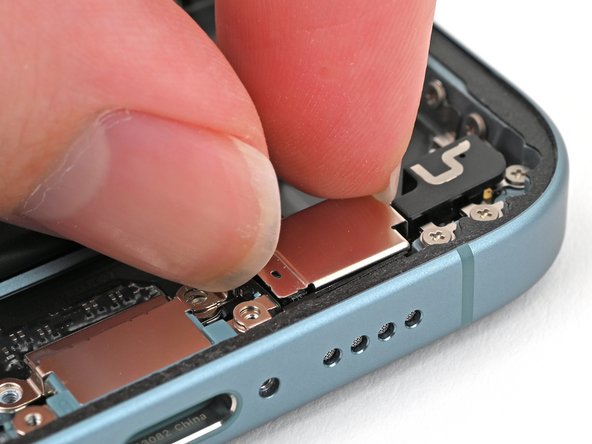
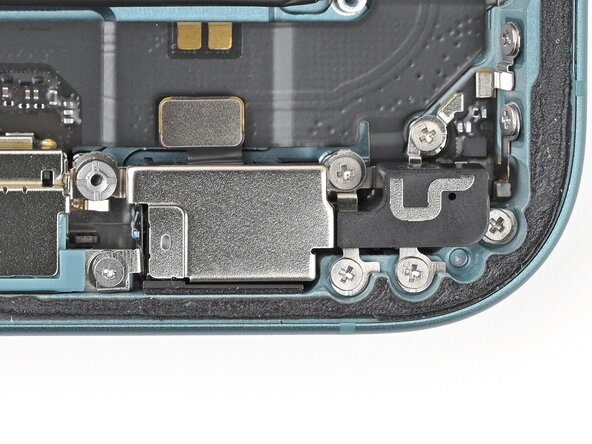
- Squeeze the microphone against the bottom of the frame for 15 seconds to compress the adhesive.
- Fully tighten the four screws securing the microphone to the frame:
- Two Phillips screws
- One Tri-point Y000 screw
- One Standoff screw
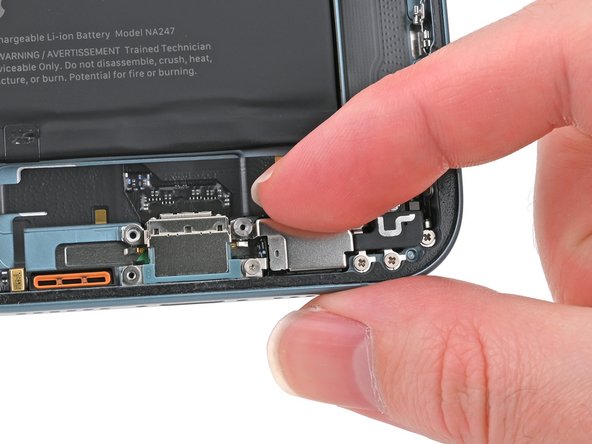
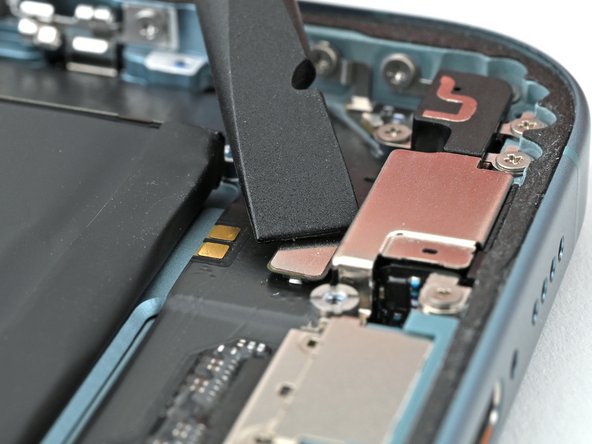
- Use the flat end of a spudger to connect the microphone's press connector.