Sony VAIO PCG-F580 IDE Hard Drive Replacement
ID: 180949
Description:
Steps:
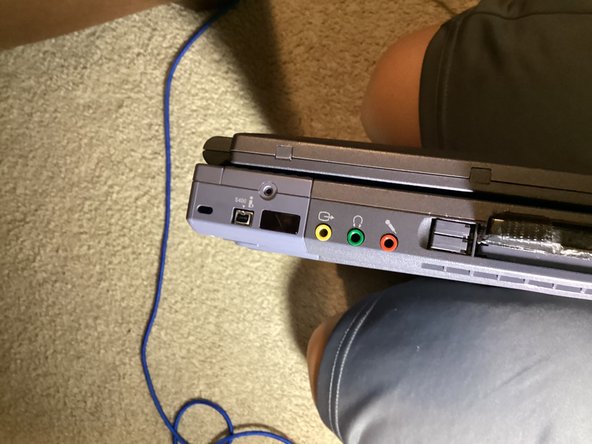
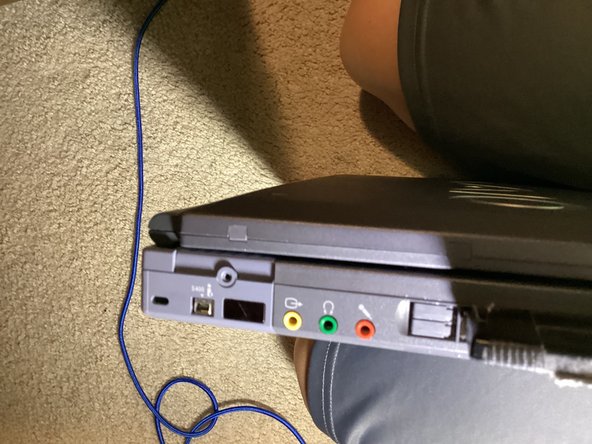
- On the side with the audio ports, there is a Philips screw. Unscrew it.
- Push the loose plastic piece, this will loosen the daughterboard from the main case.
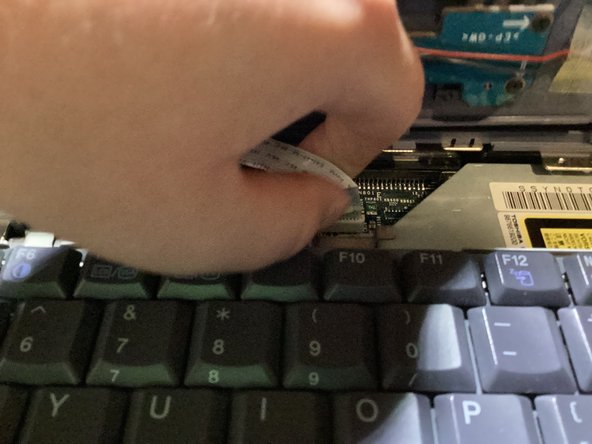
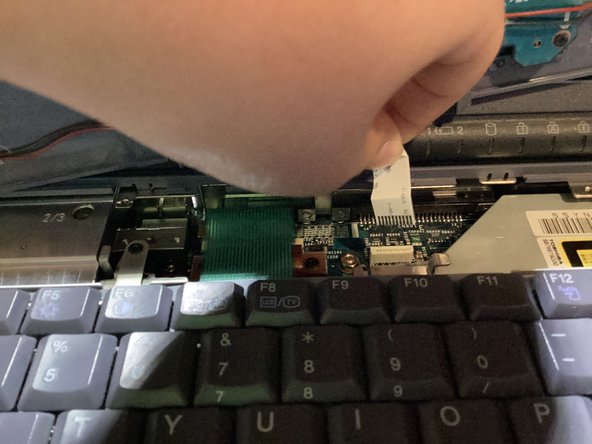
- Open the lid, and pull up on the daughterboard enough to see the ribbon cable.
- Pull up on the ribbon cable to release it. Don't worry, if you pull it straight up, there will be no damage.
- Set the daughterboard to the side for now.
- Unscrew the Philips screw at the top of the keyboard.
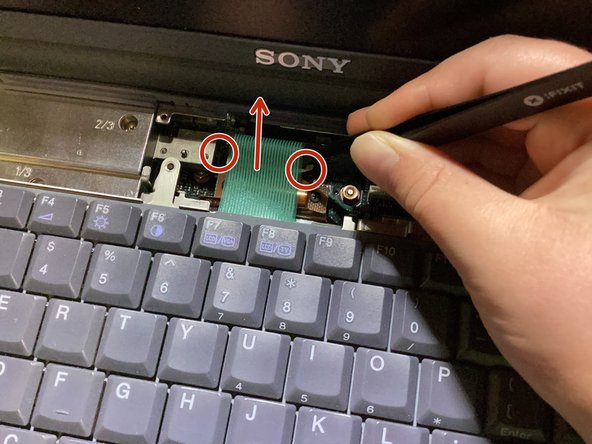
- Remove the ribbon cable by pulling up on the plastic tabs on either sides of the socket with tweezers, then lifting it straight out.
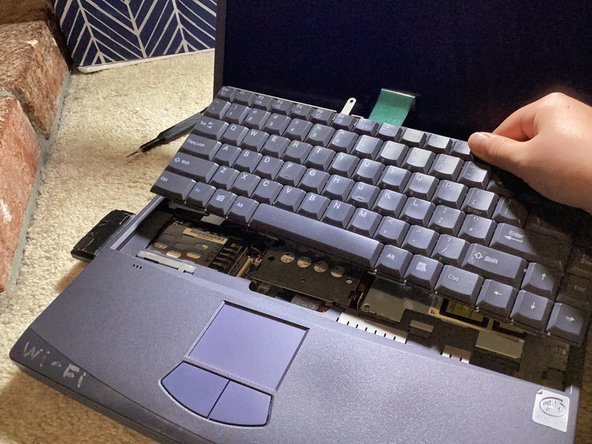
- Lift the keyboard up at an angle, towards the screen.
- Note: If you hear what sounds like peeling, that's normal.
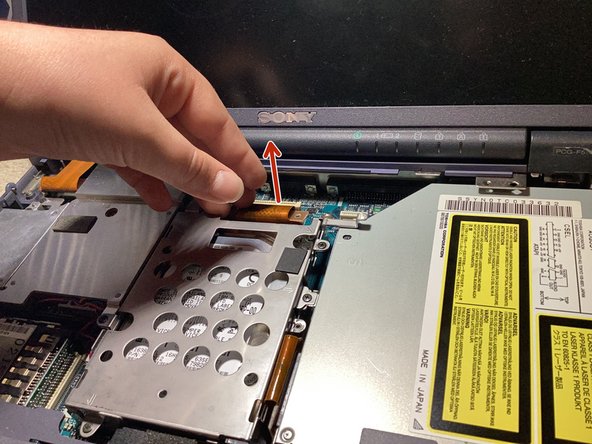
- Unscrew the Philips screws holding the cable into the socket.
- Pull up on the end of the cable with two fingers.
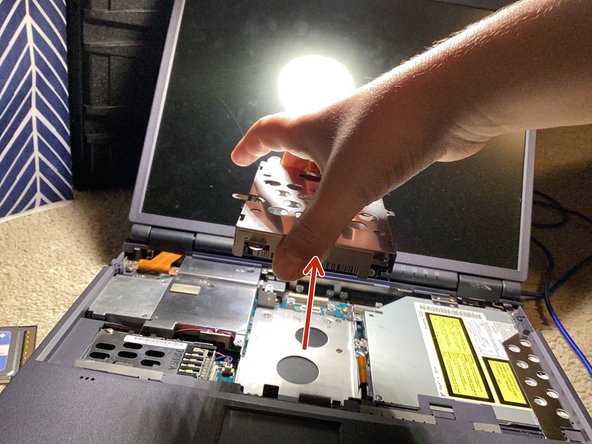
- Unscrew the Philips screws holding the drive in place.
- Lift the drive straight up and out of the laptop.
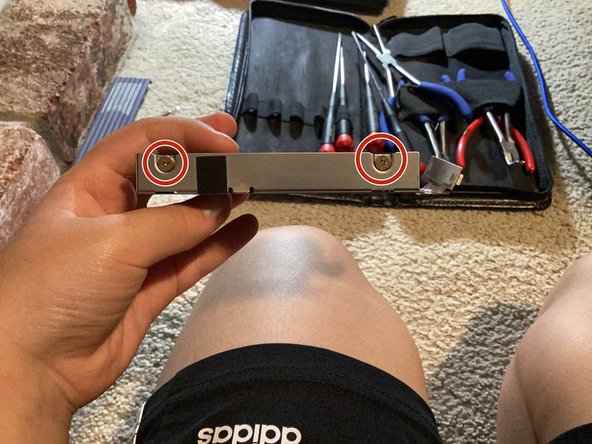
- Unscrew the Phillips screws holding the hard drive itself into place.

