iPhone 16 Microphone Installation
ID: 180974
Description:
Steps:
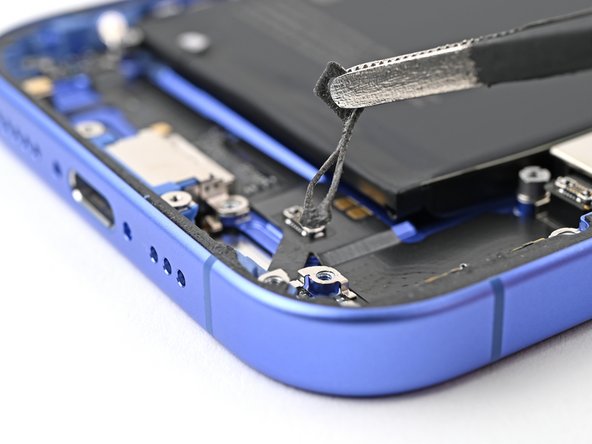
- Use tweezers or your fingers to remove the old adhesive from the bottom of the frame.
- Use high concentration isopropyl alcohol (greater than 90%) and a microfiber or lint-free cloth to clean the adhesive residue off the microphone opening in the frame.
- If your microphone comes with adhesive installed, skip this step.
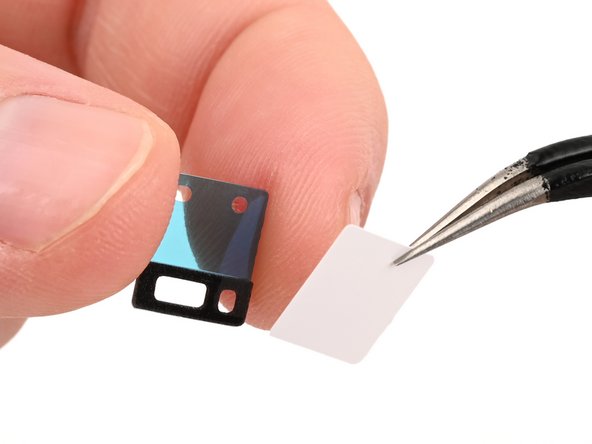
- While holding the microphone adhesive with one hand, use your fingers or a pair of tweezers to remove the white liner from the adhesive.
- Hold the microphone so the metal side is facing up.
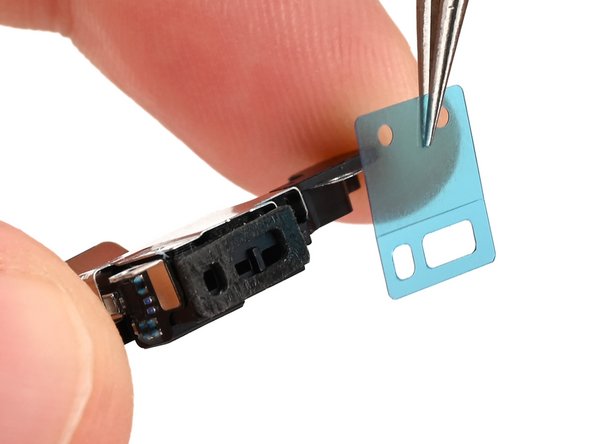
- Apply the adhesive to the microphone with the pull tab pointing up.
- Remove the blue liner from the microphone adhesive.
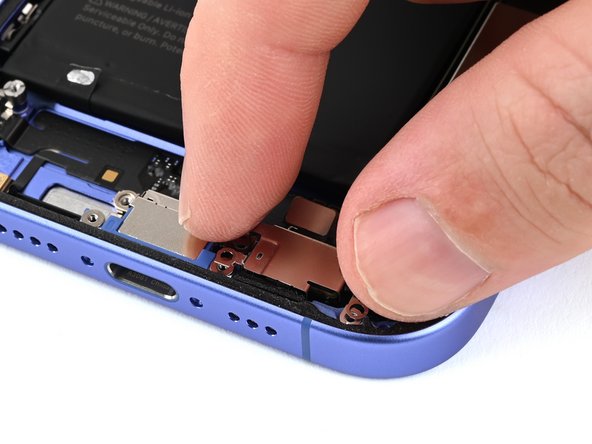
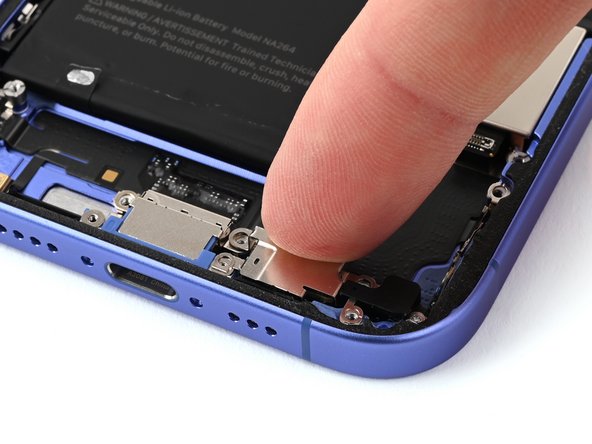
- Insert the microphone at a downward angle so the adhesive adheres firmly to the frame around the opening.
- Press the microphone firmly into place.
- Install the four screws securing the microphone:
- Two 3.3 mm‑long standoff screws
- One 1.1 mm‑long tri‑point Y000 screw
- One 1.5 mm‑long Phillips screw
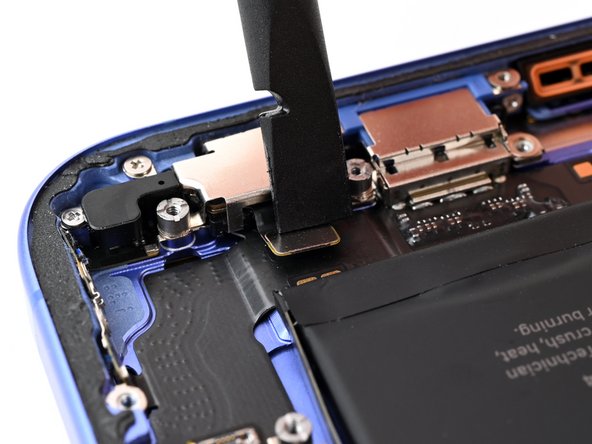
- Use the flat end of a spudger to connect the microphone press connector.
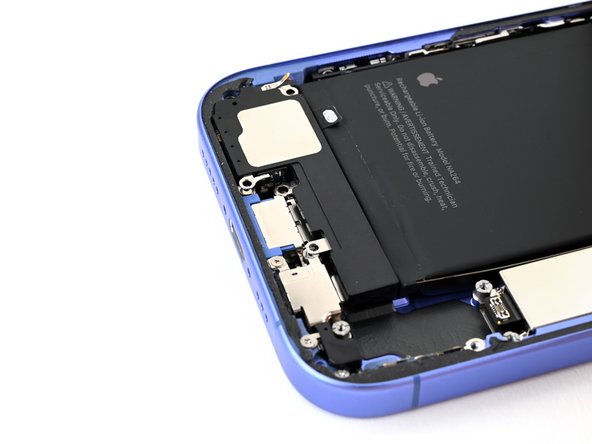
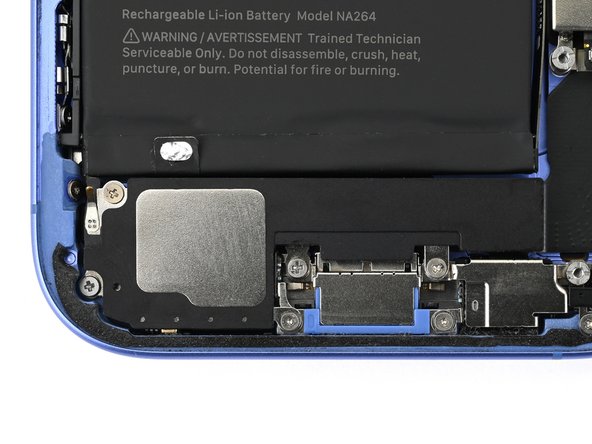
- Place the loudspeaker into the frame.
- Install the five screws securing the loudspeaker:
- Two 1.5 mm‑long Phillips screws
- One 2.0 mm‑long Phillips screw
- One 2.9 mm‑long Phillips screw
- One 1.2 mm‑long tri‑point Y000 screw

