Saeco SM Models: pump replacement
ID: 181088
Description: These instructions show how to replace the pump...
Steps:
- Never forget: Unplug the machine!
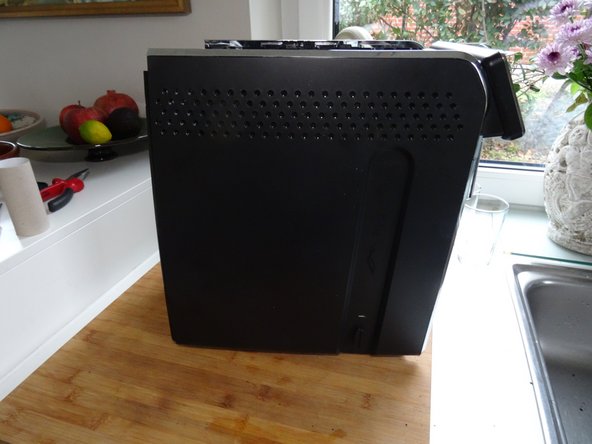
- Remove all attachments such as the water tank, brewing unit, bean compartment lid, and drip tray. Remove all coffee beans.
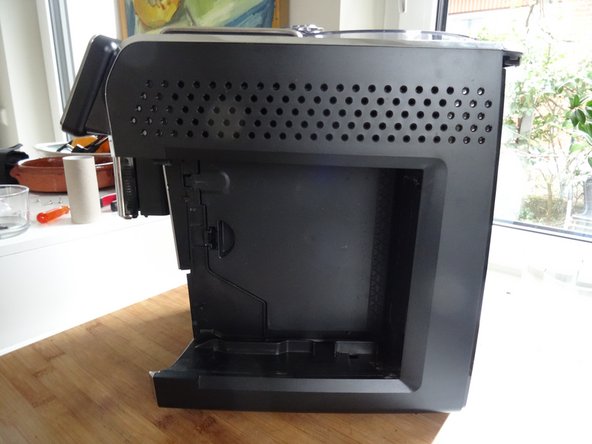
- Turn the machine over so that the back is facing you. Remove the two Torx T10 screws at the bottom. Pull the back out slightly at the bottom and lift it down.
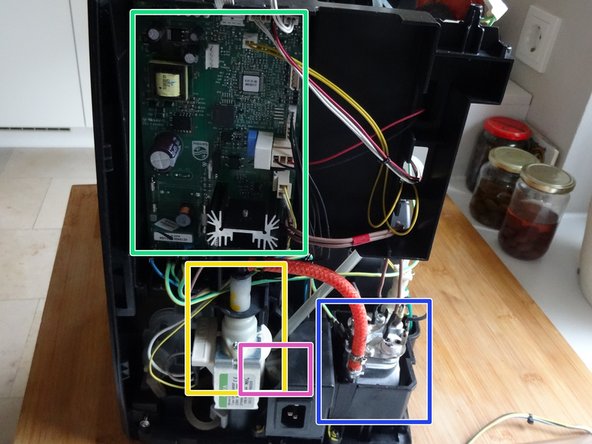
- Important components are immediately visible:
- The main circuit board
- The pump
- The flow meter
- The boiler
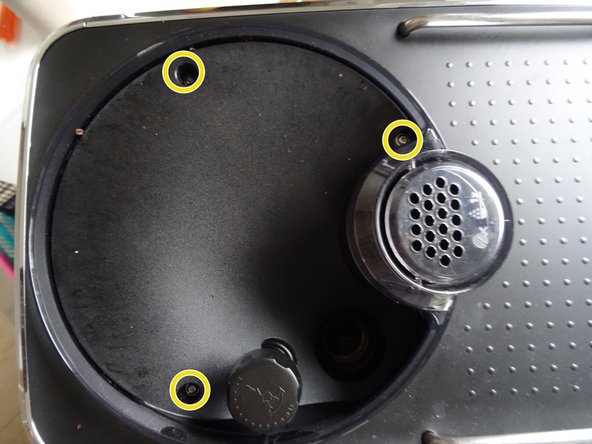
- Unscrew the Torx T10 screw on the finger guard in the coffee bean compartment.
- Lift out the finger guard.
- The screw is especially long.
- Unscrew the three Torx T10 screws in the coffee bean compartment.
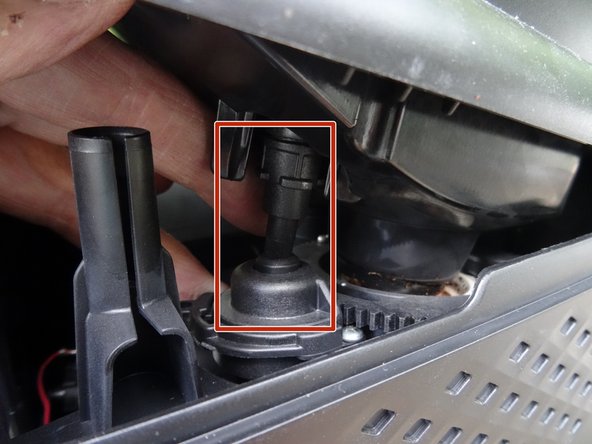
- Lift the upper cover slightly at the rear edge.
- Then lift the cover completely off.
- When reassembling, make sure that the grinder adjustment is correctly positioned.
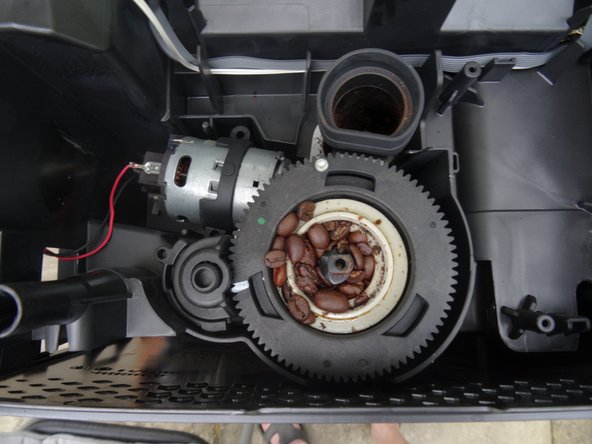
- Figure 3 shows the grinding mechanism, which can now easily be removed.
- Unscrew the two Torx T10 screws at the bottom of the front.
- Slide the right side panel back slightly and remove it.
- Slide the left side panel back slightly and remove it.
- Hier weitere wichtige Bauteile:
- The boiler
- Valve block, consisting of four solenoid valves
- Grinder
- Drive
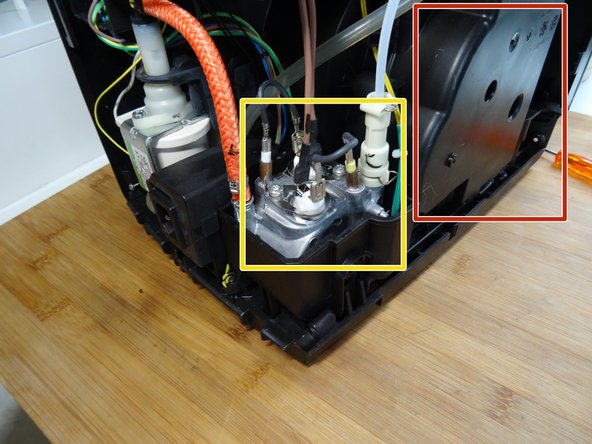
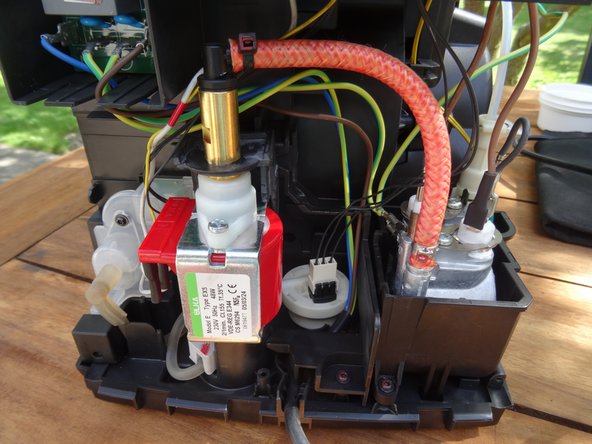
- The pump is clearly visible in the back. It is installed in a vertical position and held by a rubber bracket.
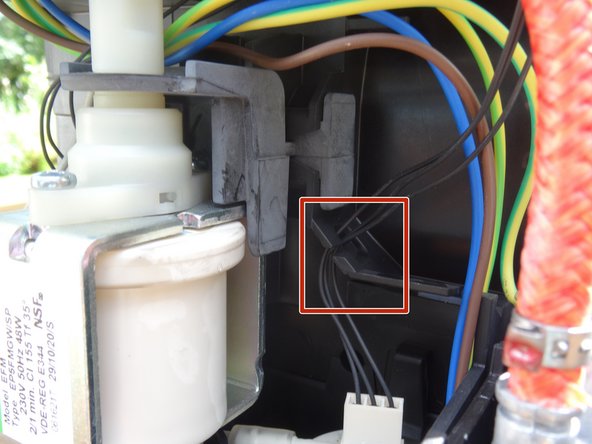
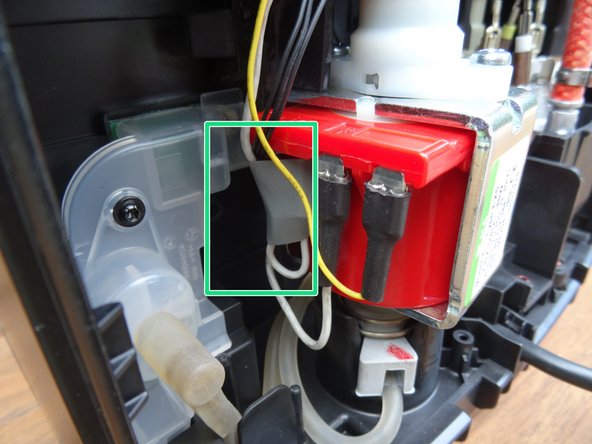
- To be on the safe side, remove the three black cables of the flowmeter from their holder so that the pump has a free path.
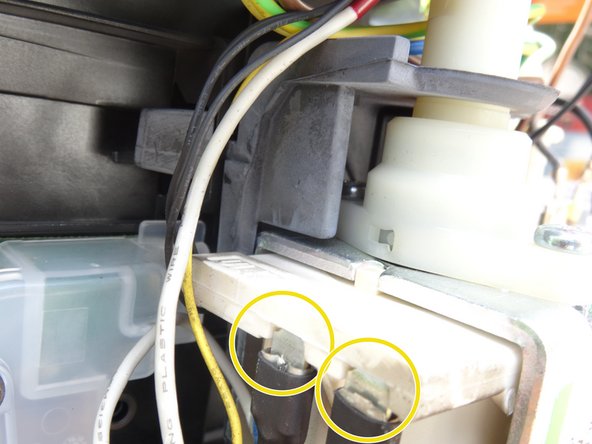
- Pull the two flat connectors off the pump.
- The thermal fuse on the cable is glued to the pump at the factory. Carefully scrape off the adhesive and pull the thermal fuse out downwards.
- When reassembling, attach the thermal fuse to the new pump with a piece of electrical tape.
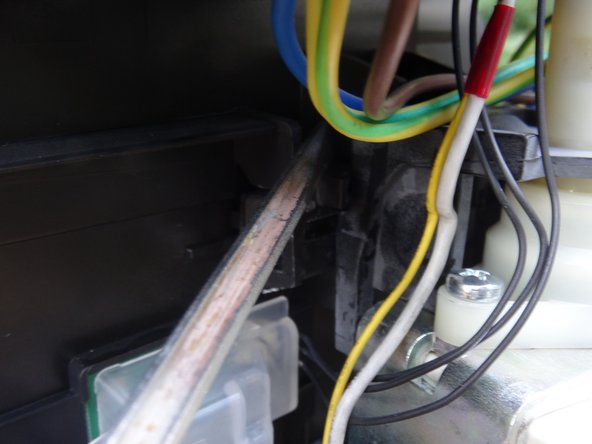
- The rubber holder for the pump is hooked at the top. Push the rubber hook away from you with a metal spatula and leave the metal spatula in place.
- Take a strong screwdriver and now push the bracket with a lot of force towards the water tank side until it gradually comes out together with the pump.
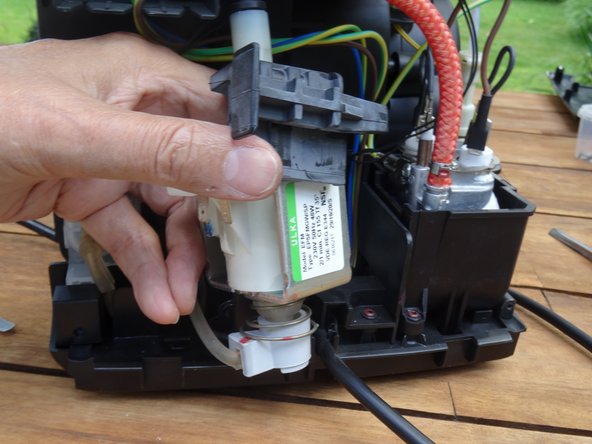
- Lift out the pump. It is still connected with two hoses.
- Pull the pump out of the lower water connection.
- Insert a 12 mm open-end wrench into the upper pump outlet.
- Turn the black connection slightly counterclockwise until it comes loose.
- Turn the pump all the way out.
- Take care of the seal on the upper connection. Replace it if necessary when replacing the pump.
- The factory-installed pump was an Ulka EP5FMGW. Replace it with an Ulka EX5, which has a metal fitting.
- Ulka pumps can be opened and possibly repaired, but replacement is usually better.
- Secure the thermal fuse to the pump with electrical tape.