iPhone 16 Pro Front Camera Assembly Removal
ID: 181226
Description: Prerequisite guide to remove the front camera...
Steps:
- Allow the phone's battery to drain below 25%, as a charged lithium-ion battery is a potential safety hazard.
- Unplug any cables from the phone.
- Hold the power and either volume buttons and slide to power off the phone.
- If the screen or back glass is badly cracked, lay overlapping strips of packing tape over the glass to protect yourself and make disassembly easier.
- Make sure there's a smooth area near the bottom edge that's big enough for a suction cup to stick to.
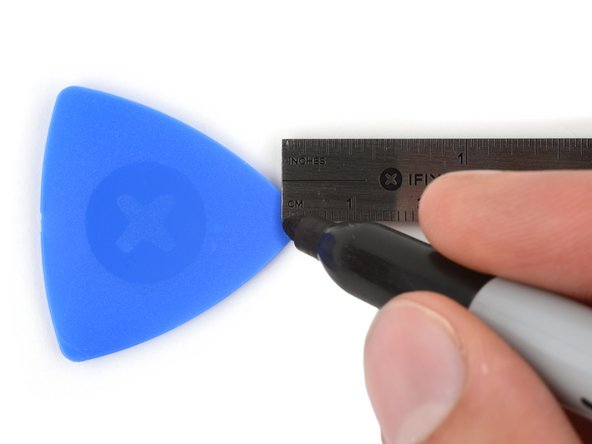
- If inserted too far, an opening pick can damage your device. Follow this step to mark your pick and prevent damage.
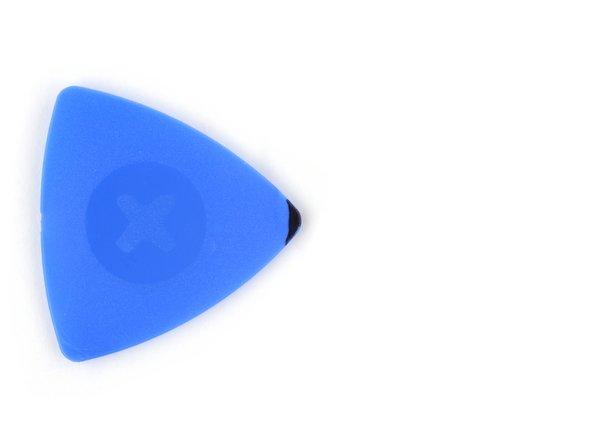
- Measure 3 mm from the tip and mark the opening pick with a permanent marker.
- You can also mark the other corners of the pick with different measurements.
- Alternatively, tape a coin to a pick 3 mm from the tip.
- Use a P2 pentalobe screwdriver to remove the two 7.4 mm‑long screws on either side of the USB-C port.
- The 5G mmWave antenna is only in United States and Puerto Rico iPhone 16 Pros (model A3083). For all other models, skip the next four steps.
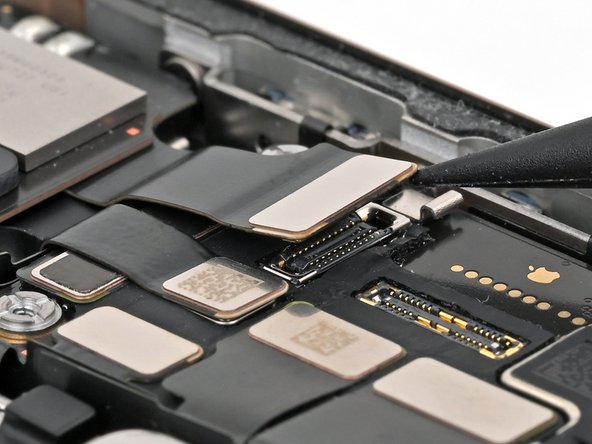
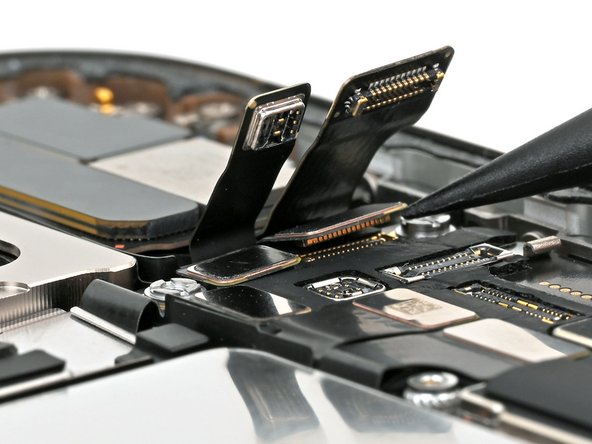
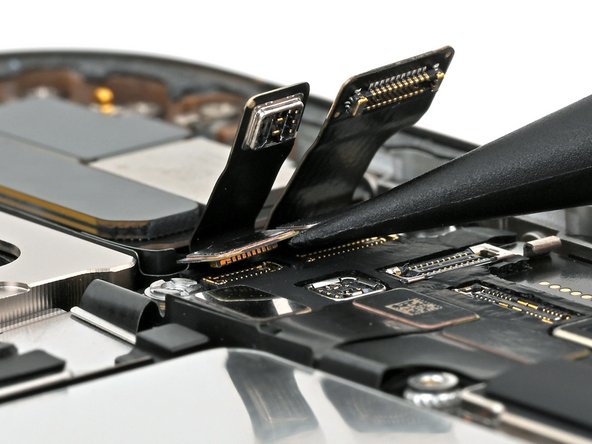
- Use the point of a spudger to pry up and disconnect the earpiece speaker and 5G mmWave antenna press connectors, located on the top right corner of the logic board.
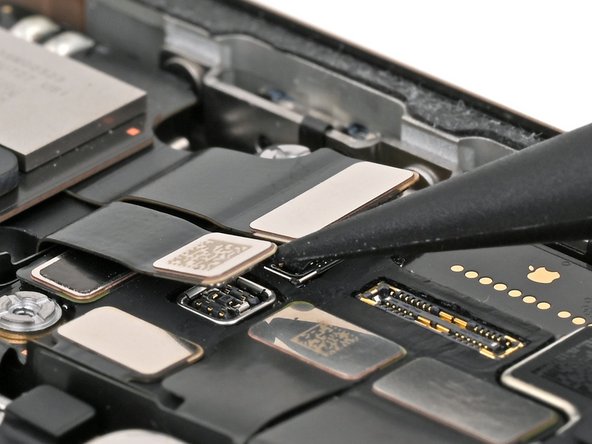
- Use the point of a spudger to pry up and disconnect the two front camera assembly press connectors underneath the previous two.
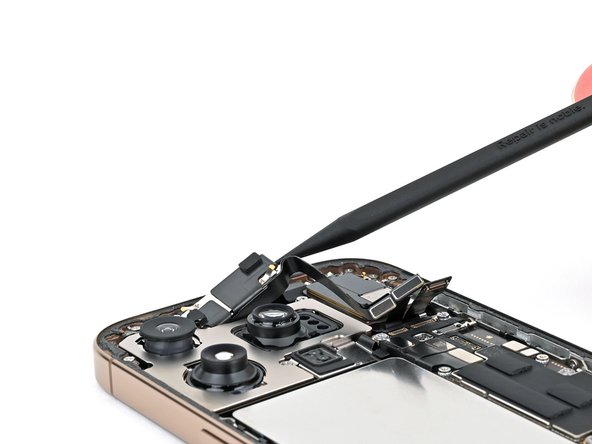
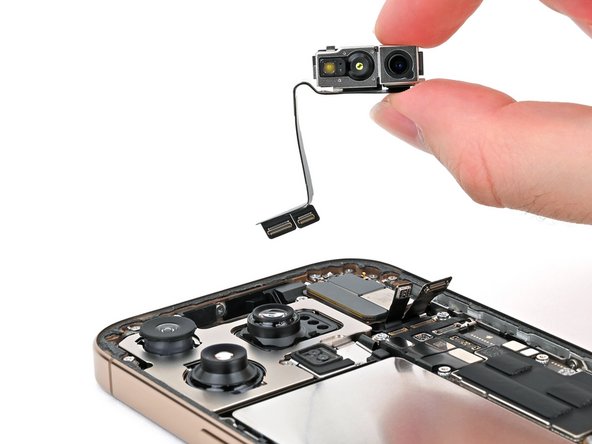
- Use a spudger or your fingers to pick up the front camera assembly and remove it from the phone.