iPhone 16 Pro Charging Port Installation
ID: 181234
Description: Reassembly steps to install the charging port...
Steps:
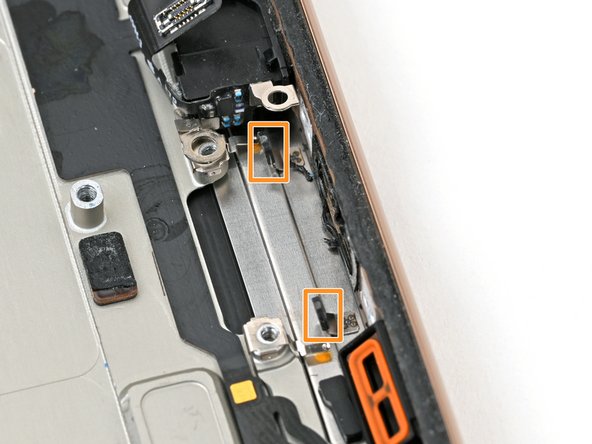
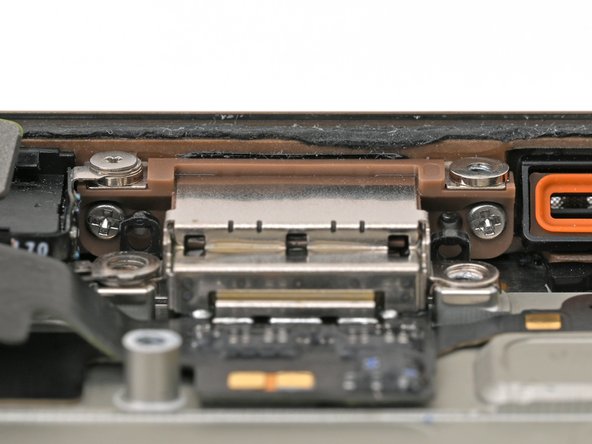
- Grounding clips clip on top of both screw posts under the charging port. Make sure they're still clipped in place. The clips should face towards the bottom edge of the iPhone.
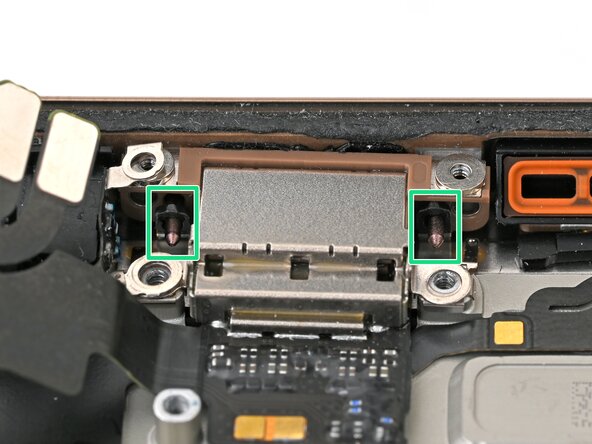
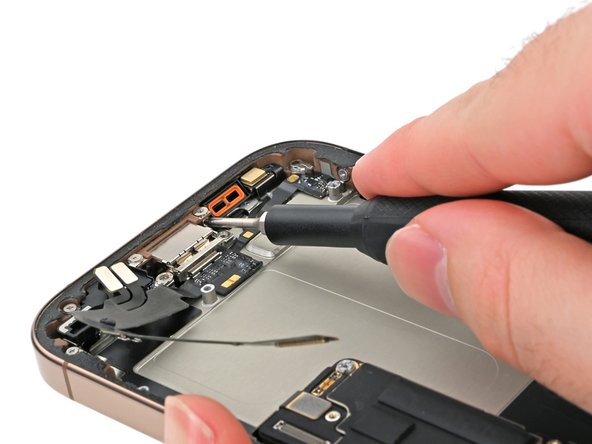
- Make sure the two black prongs on either side of the charging port are standing straight up. If they were bent when you removed the port, use the point of a spudger to carefully straighten them.
- If you have replacement adhesive, use tweezers to remove all of the original adhesive securing the port to the frame before installing it.
- If you don't have new adhesive, you can leave the old adhesive in place, but the phone will no longer be water-resistant.
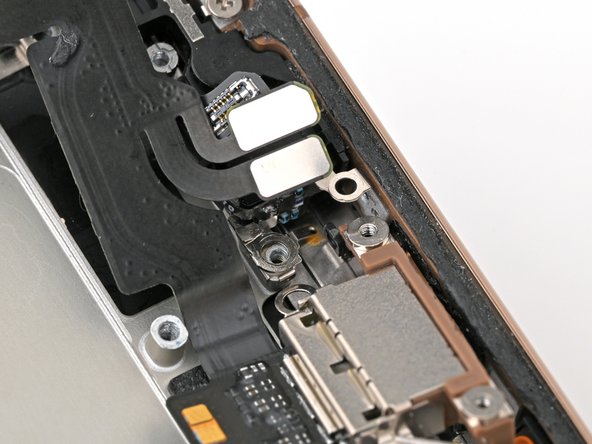
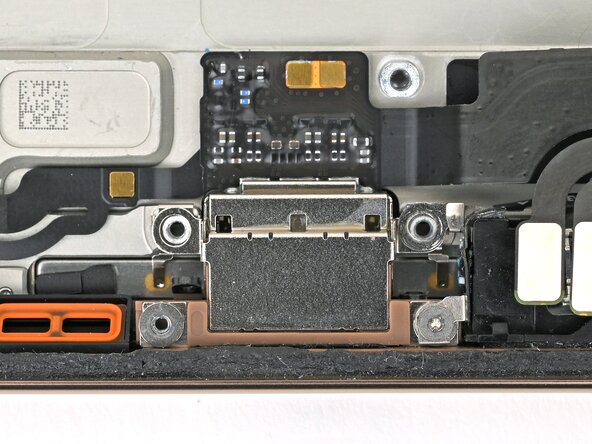
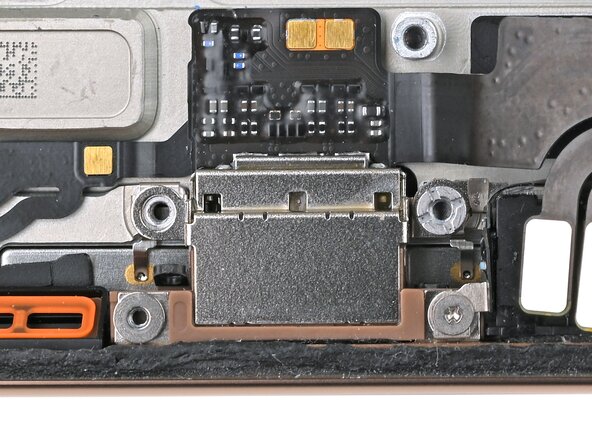
- Slide the charging port in place so its screw posts sit between the black prongs and the bottom of the frame.
- Slide the charging port screw tabs on the cable-side of the port between the screw posts and the screw tabs on the microphone.
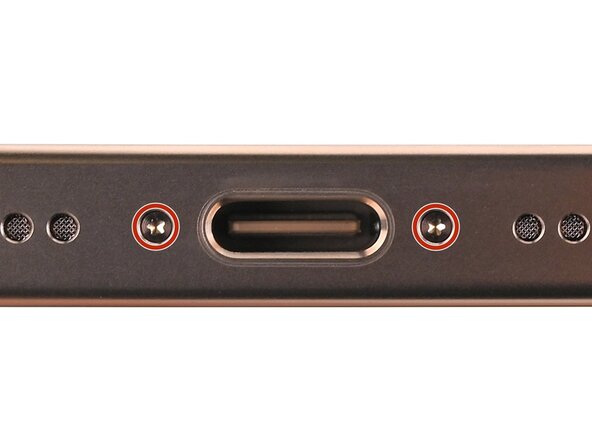
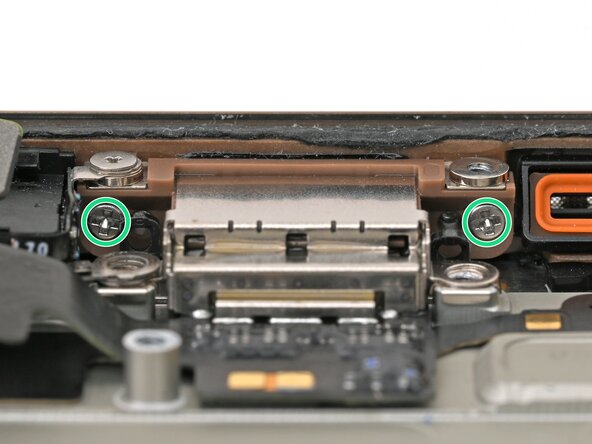
- Use a P2 pentalobe screwdriver to install the two 7.4 mm‑long screws on either side of the charging port from outside the phone.
- Ensure the two screws are sticking through the holes in the black prongs. This will help align the port with the frame.
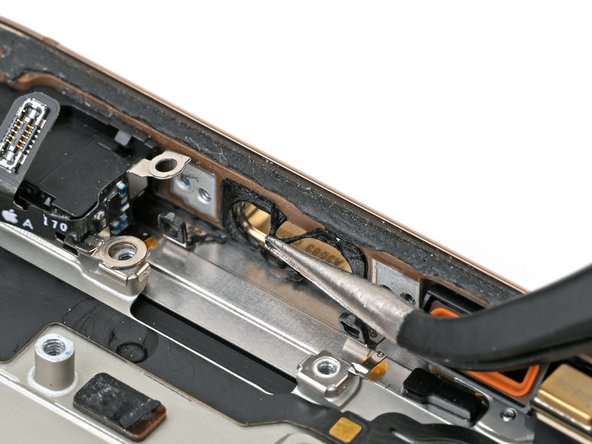
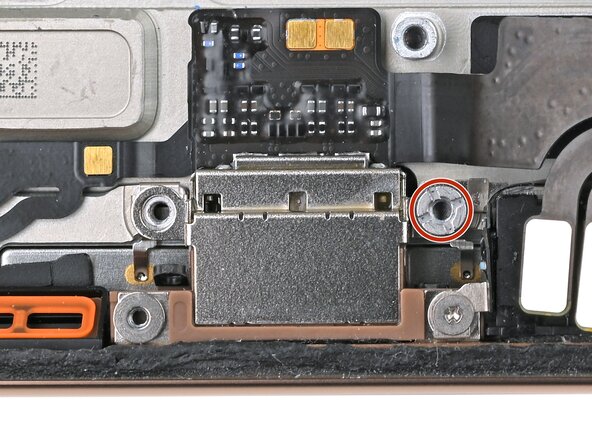
- Use a tri-point Y000 screwdriver to install the 1.3 mm‑long screw in the bottom-right corner of the charging port to secure it to the frame.
- Use a P2 pentalobe screwdriver to remove the two 7.4 mm‑long screws on either side of the charging port from outside the phone.
- Use a Phillips screwdriver to install the two 3.4 mm‑long screws securing the charging port to the frame.
- These screws are tight and can be difficult to reach. Angle your screwdriver at as shallow of an angle as you can to avoid stripping them.
- Use a standoff screwdriver to install the 3.6 mm‑long screw securing the charging port and microphone to the frame.