Acer Predator Helios 300 PH315-53 SATA Hard Disk Drive (HDD) / Solid State Drive (SDD) Replacement
ID: 181516
Description: Use this guide to repair or replace the SATA...
Steps:
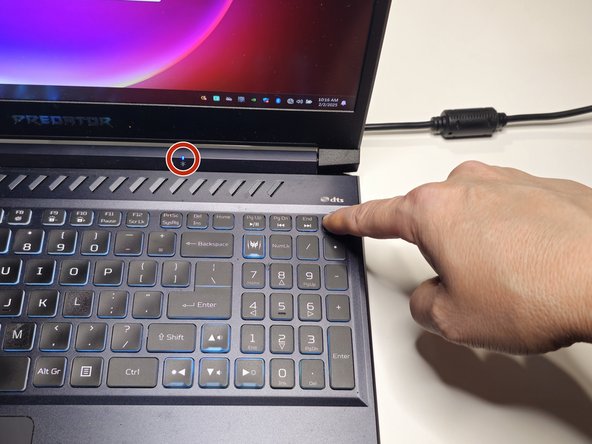
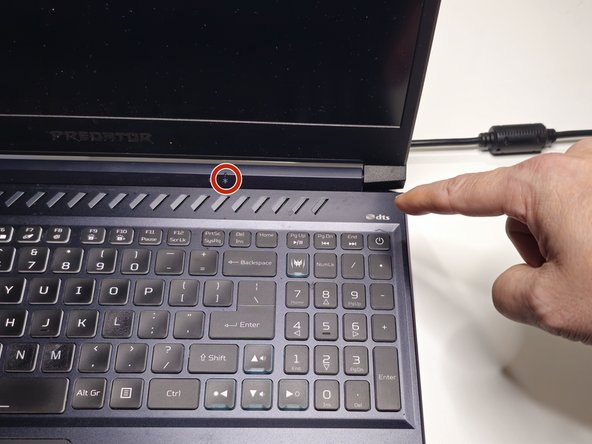
- Turn off the laptop by holding down the power button for 7 seconds.
- Verify that the blue power indicator light is turned off.
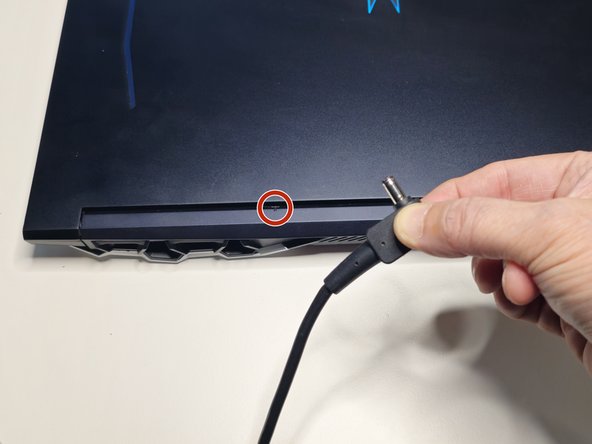
- Remove the plug from the back of your laptop.
- Verify that the charging light is off after you remove the plug.
- The battery’s charging light turns “amber” when plugged into the power cord and charging. The indicator light switches to blue once the battery is fully charged.
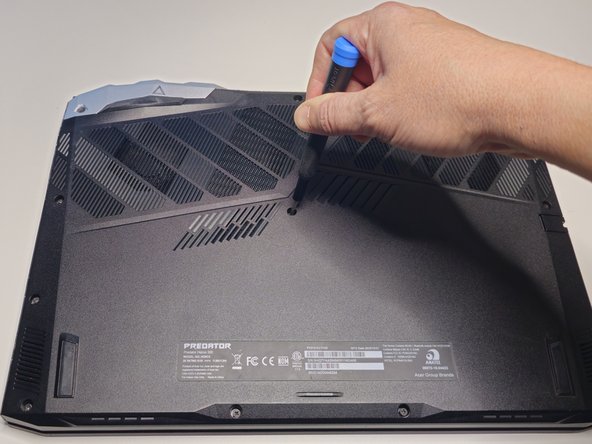
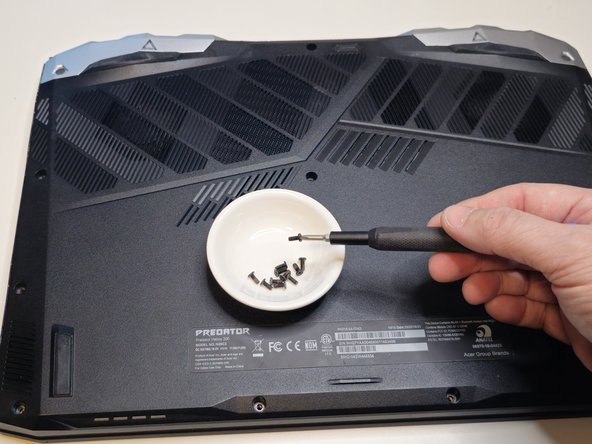
- Remove the eleven screws from the bottom case with a Phillips #1 Screwdriver.
- A spudger is a tool that can help separate electronic panels without scratching or damaging your device.
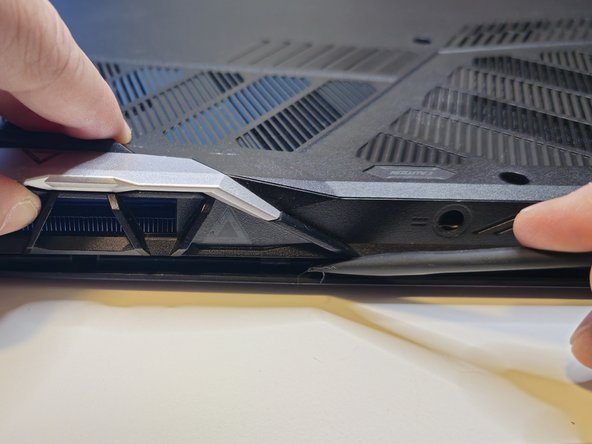
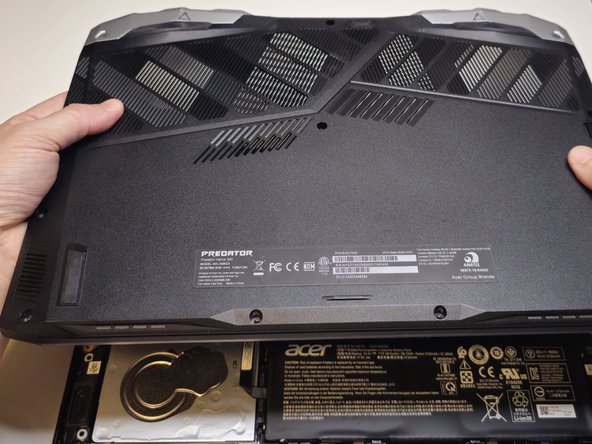
- Use your thumb to apply gentle upward pressure on the laptop vent while using a spudger to separate the bottom case from the top case.
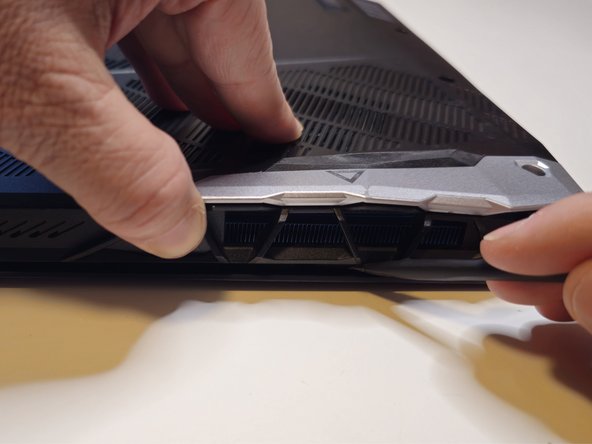
- Work the spudger along the seam where the bottom case meets the top case.
- Apply gentle upward pressure on the opposite laptop vent as you work the spudger across the back of the laptop.
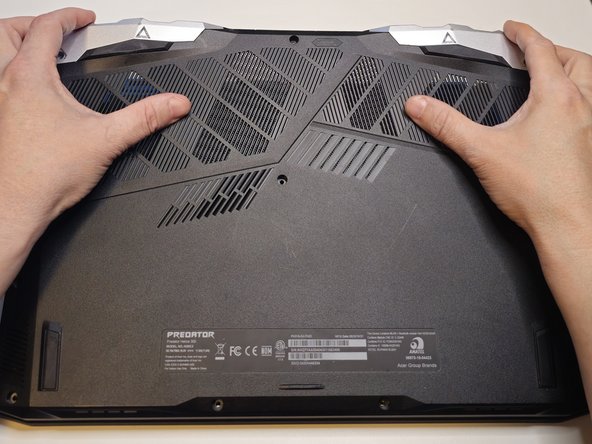
- Turn the laptop so the laptop vents are facing away from you and the bottom case remains face up.
- Use your fingertips to pull gently upward on the vents while using your palms to apply gentle downward pressure on the bottom case.
- Move your hands outward from the center of the laptop to each side, continuing to pull the bottom case gently upward with your fingertips.
- Lift the bottom case away from the laptop.
- Always consider protecting against electrostatic discharge (ESD) when working on the components inside your laptop.
- A properly grounded ESD mat and wristband can protect your laptop from ESD damage.
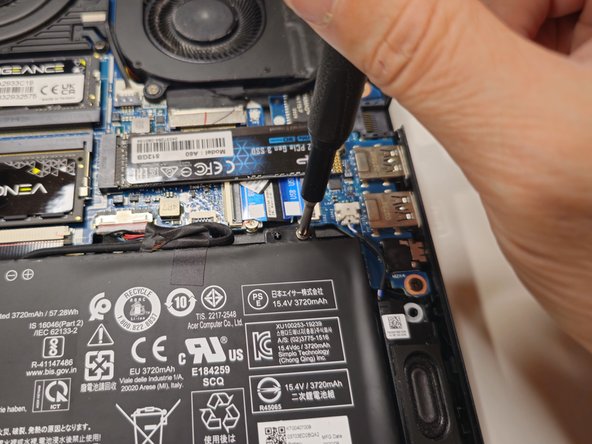
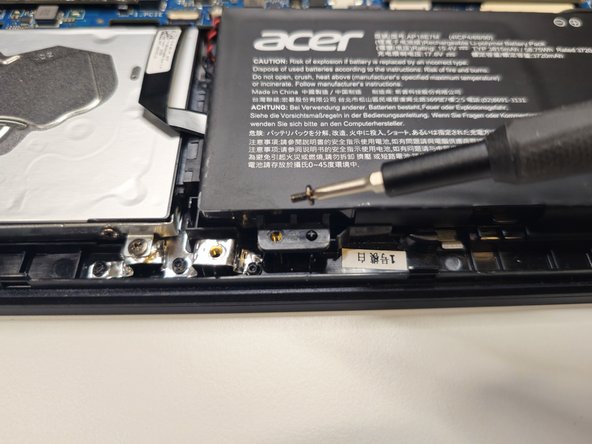
- Remove the two screws securing the battery to the top case with a Phillips #0 Screwdriver.
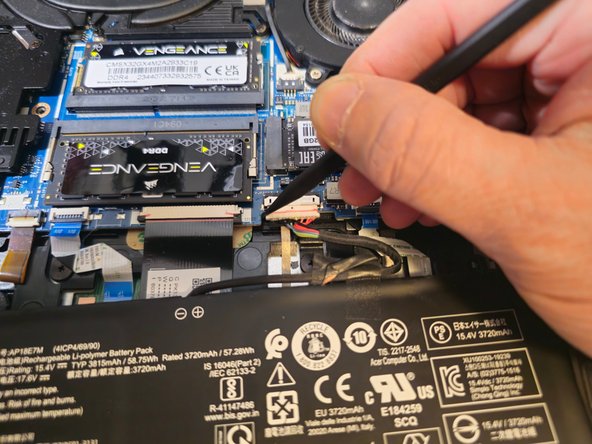
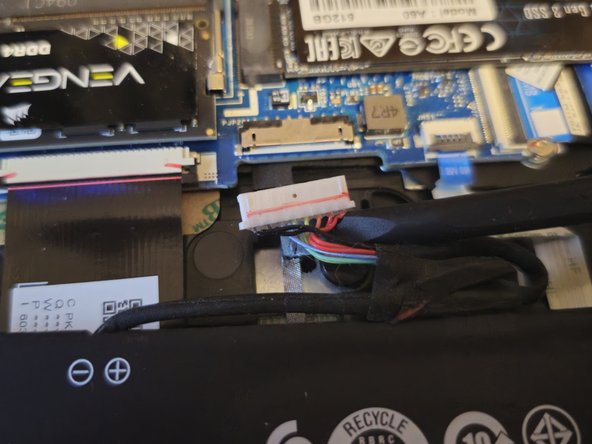
- Lift the battery up and away from the motherboard to expose its connection wire.
- Gently remove the connection wire from the motherboard using a spudger.
- Remove the cable only a little at a time from each side, as shown in the photos. This avoids damaging the connections.
- Lift the disconnected battery out of the laptop.
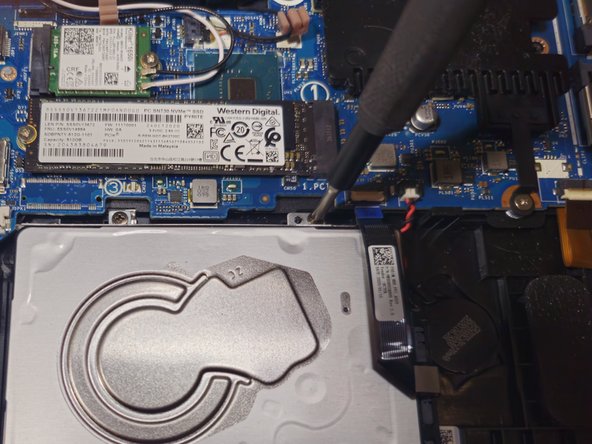
- Remove the four screws that secure the SATA drive to the top case.
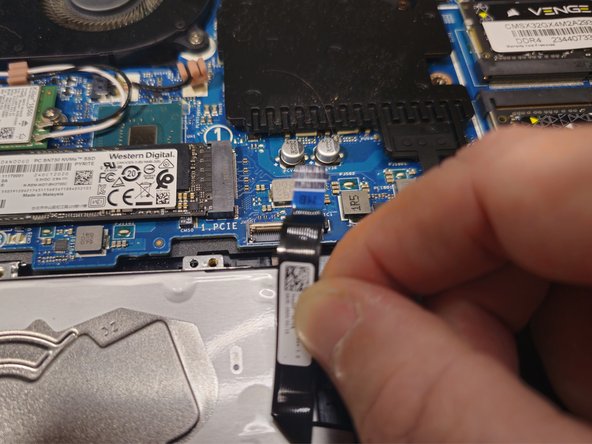
- Using a spudger, gently lift the white retaining-bracket that secures the SATA III cable to the motherboard.
- With the retaining-bracket lifted, remove the SATA III cable from the motherboard.
- Remove the SATA III drive from the laptop.
- Grip the cable connection at the back of the SATA III drive with two fingers, and pull it away from the drive.
- The SATA III drive sits inside a mount designed to secure it to the top case of your laptop.
- Remove the four screws securing the SATA III drive to its mount with a Phillips #0 screwdriver.
- Your replacement SATA III drive may not have a mount that can secure it to the top case of your laptop. Use the original mount if your new drive does not have one.