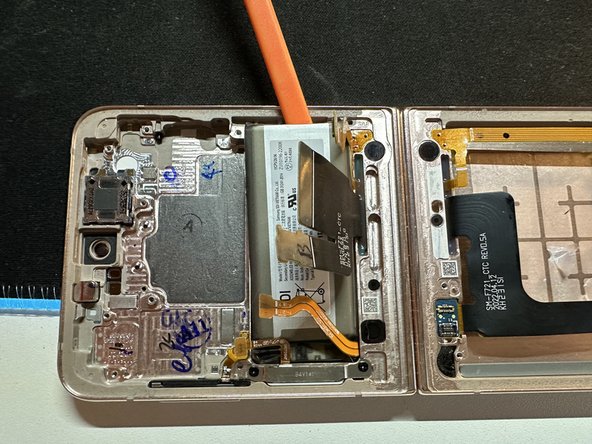
Samsung Galaxy Z Flip 4 Display Replacement
ID: 181528
Description: This guide will show you how to replace the...
Steps:
- Make sure your phone is turned off before starting this guide.
- Get your iOpener/Heatgun and start by heating up the bottom back cover.
- Start heating around the edges and place your suction cup. When heated enough, you should be able to insert a pick between the frame and the back glass.
- Go around the frame and cut all the glue to remove the back cover.
- Get your iOpener/Heatgun and start by heating up the upper back cover.
- Start heating around the edges and place your suction cup. Be careful of the display when heating. When heated enough, you should be able to insert a pick between the frame and the back glass.
- Go around the frame and cut through all the glue to remove the back cover. Be careful not to cut too deep into the glue to avoid damaging the display.
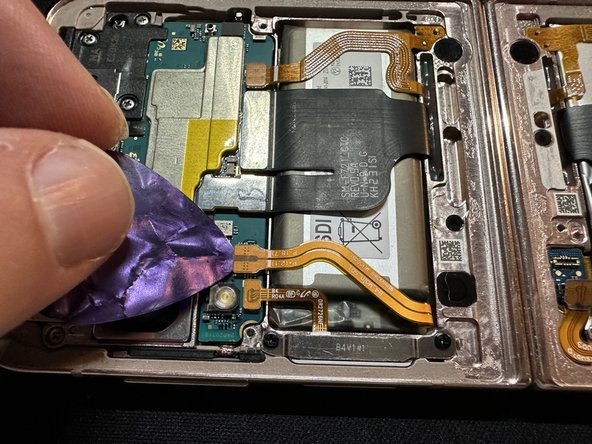
- Finally, remove the plastic clip that holds the secondary display connector in place and unplug the cable with a pair of pliers.
- Unscrew the cover that covers the main battery and wireless coil connectors.
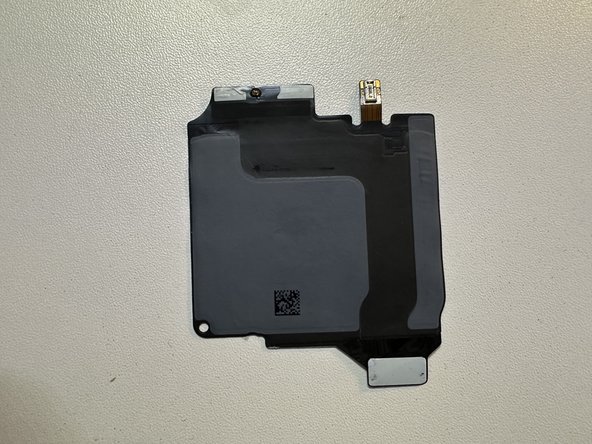
- Disconnect the connectors and remove the charging coil.
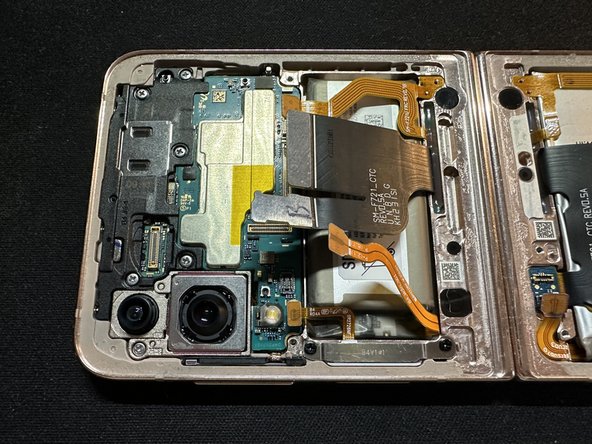
- Remove the two screws holding the cover for all connectors on the motherboard.
- Disconnect the battery and all other connectors.
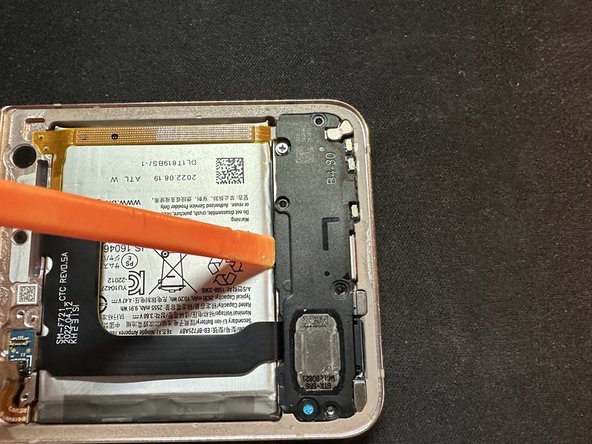
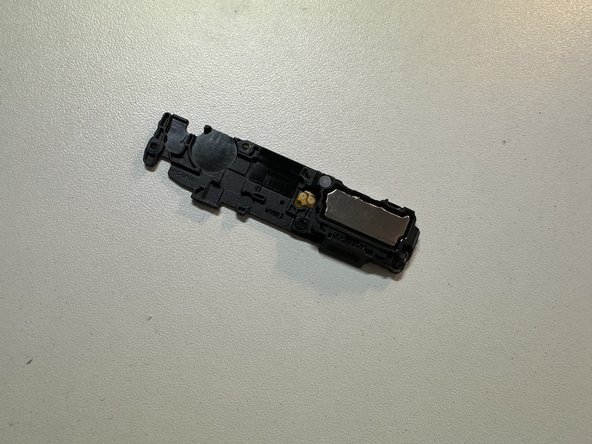
- Remove the 4 screws holding the speaker cover in place.
- Lift it with a spudger to remove it.
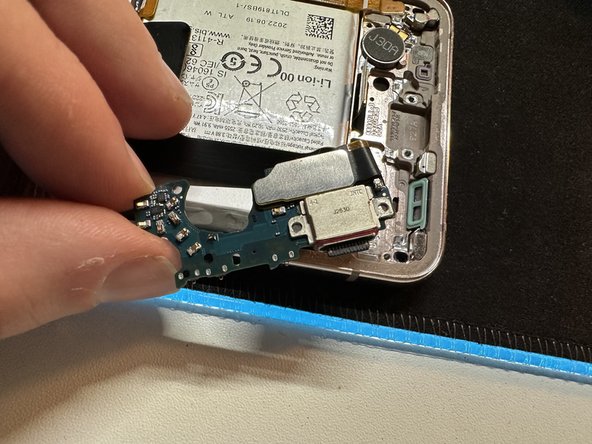
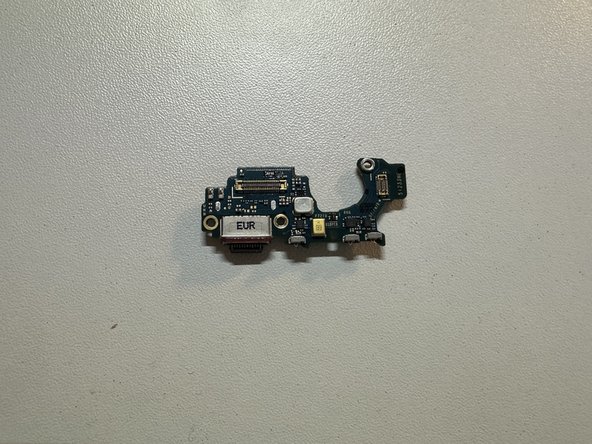
- Disconnect the two cables on the top of the charging sub-board.
- Remove the two remaining screws holding the board in place.
- Before you can remove it, flip it over and remove the last remaining connection to the display assembly.
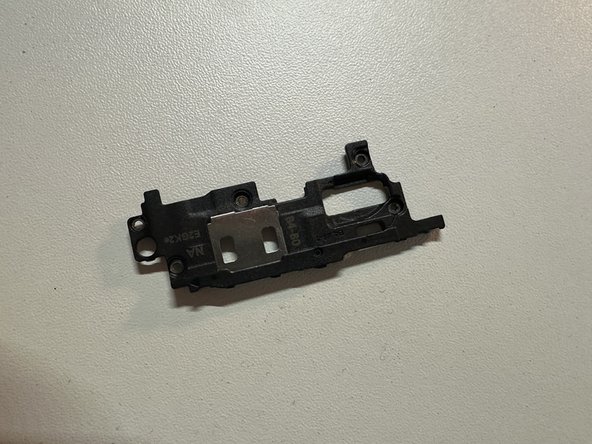
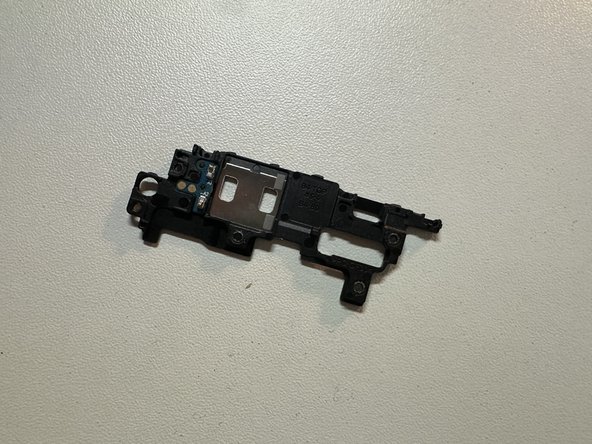
- Remove the 5 screws holding the top cover and remove it with a spudger.
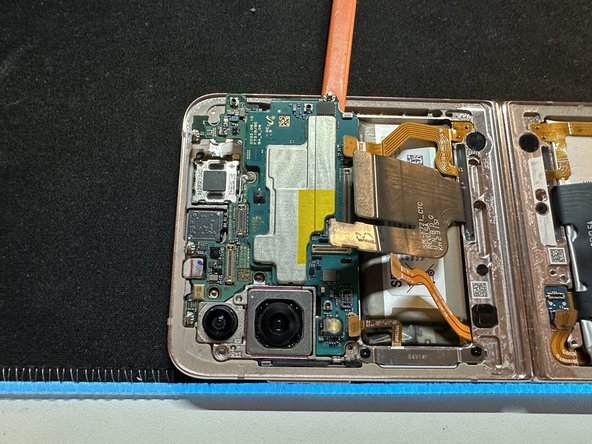
- Unscrew the last screw holding in the logic board, next to the cameras.
- Remove the SIM tray
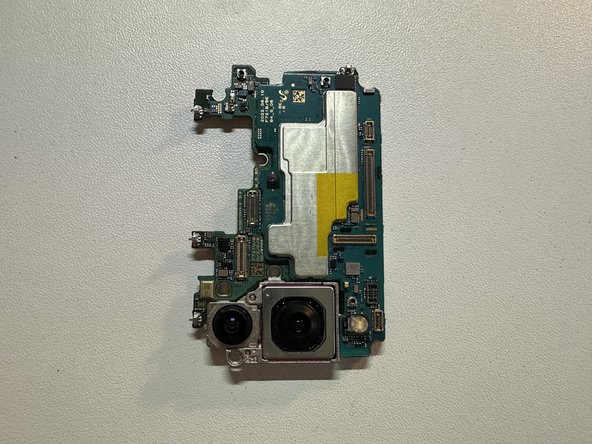
- Lift out the logic board with a spudger.
- This can be a little tricky since the camera is glued in.
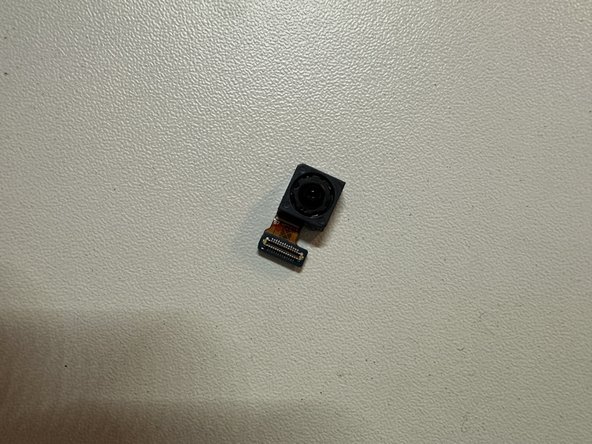
- Heat up the display where the front camera is located
- Try lifting the camera out with tweezers.
- Use isopropyl alcohol to loosen the adhesive on the battery. Pour some Isoprop into the space between the battery and the frame.
- Wait about 30 to 60 seconds for the alcohol to work, then lift the battery with a spudger.
- Repeat the same procedure for the secondary battery.